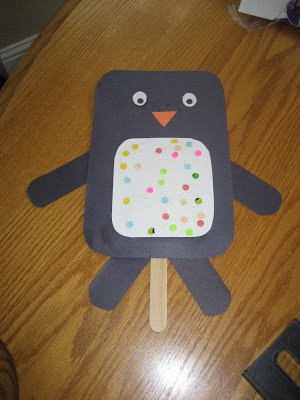
- black and a variety of colored construction paper or cardstock
- tongue depressors
- hole puncher
- scissors
- glue
Directions:
1. Pre-cut a 6"x9" rectangle and a from 3"x12" strip from black construction paper, a five inch square of white construction paper, and a 2"x9" strip from black construction paper.
2. Trim corners of rectangles and squares to make them rounded.
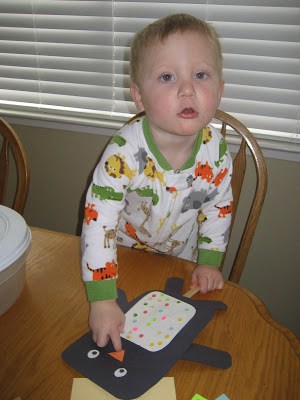
3. Have toddler use crayons or markers to decorate the white tummy. We used a hole puncher with a variety of colored paper and then glued the little circles on the tummy.
4. Assemble the bird. We used thick tape and I reinforced the back of the penguin with cardstock so that it wouldn't flap around as much.
5. Pre-cut eyes and a beak out of paper. Help toddler to glue eyes and beak onto the bird.
6. Attached the finished bird to the tongue depressor. I used heavy tape.
Be prepared for this bird to get a lot of loving.

Totally cute idea, but I'm going to try and make it a bit more simple next time. All arms/legs will be part of one big pre-cut shape. I would also make the whole thing out of heavy cardstock. The hole punching part was our favorite. We would probably color the tummy more with crayons next time too (little guy was done with coloring for the day though). Using yard or tissue paper on the tummy would also be cool.
Language Development:
We did a lot lot labeling of the bird's body parts- beak, wings, feet, eyes, tummy.
Other words we talked about were flap, penguin, cold, and lots of color words. We took the penguin around the house with us and talked about things he might like to do. Since the penguin is a little puppet, we practiced some conversational skills (with me being the puppet).
Idea modified from The Best of the Mailbox- Arts and Crafts Preschool





Leave a Comment