We've been a little train obsessed at our house lately, so this was the perfect craft for a somewhat rainy day.
Materials Needed:
- 3-4 toilet paper rolls or 2 paper towel rolls
- colored cardstock or colored note cards
- tape or glue (I always use tape)
- crayons and markers
- stickers
- scissors
- bottle top to use for tracing
- yarn or ribbon
Prep Ahead- cut colored construction paper into pieces about the size of a 3x5 note card (or just use note cards). If you want two cars on the train, you'll need three pieces of paper per car.
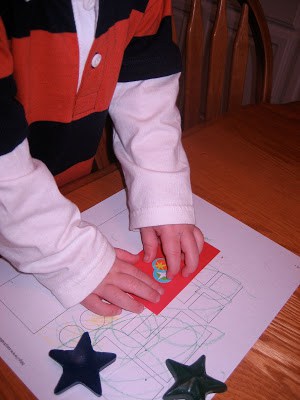
Step 1: Have child color/decorate the pieces of construction paper using markers, crayons, stickers, etc.
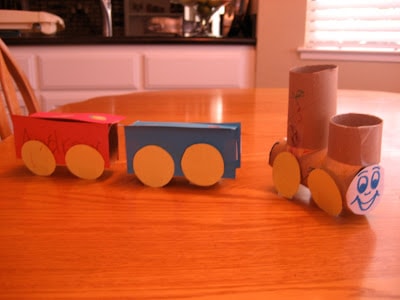
Step 2: While the child decorates, cut one of the toilet rolls into two different sized pieces. Then tape the pieces to another toilet roll to make the train engine.
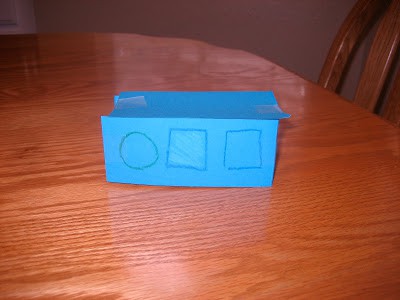
Step 3: Once your child finishes decorating the pieces of paper, tape them to two of the toilet paper rolls. Put one paper on each side and one paper for the roof of the car.
Step 4: While you do all the paper taping to the train cars, have your child decorate the completed train engine.
Step 5: (Optional) Draw a face onto a circle piece of paper to make your child's train come alive. Tape the paper to the front of the engine. We are obviously obsessed with Thomas around here.
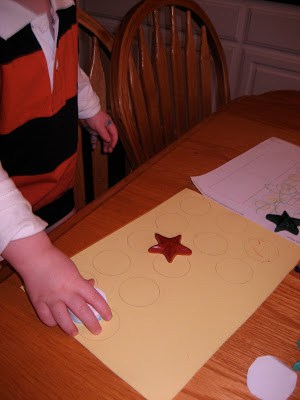
Step 6: Trace a lid or top onto a piece of cardstock to make the wheels for your train. If you have three cars/engines, you'll need 12 wheels. This takes awhile to cut out, so either prep this ahead of time, or send your child to play while you do it. I had my son help color the wheels while I cut.
Step 7: Tape the wheels onto the train cars.
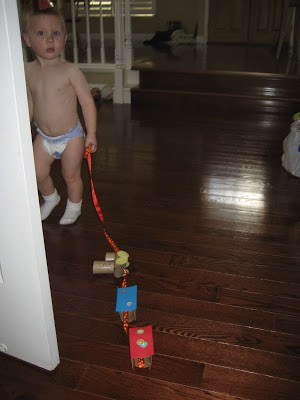
Step 8: Tape one long piece of ribbon or yarn through the train cars and leave a long piece coming out the front so that your child can pull the train around.
Let me know if I missed any steps 🙂
Grade: B+
We really enjoyed the process of putting this together. It took about 45 minutes to complete it. If I had prepared ahead of time better (but who has time for that?:)), I would have prepped some of the paper/wheels so that there would've been less cutting time. Using tape made this very easy to assemble. I also loved that we had everything you'd need for this in our house. This could also be easily made out of shoe boxes, animal cracker boxes, or cereal boxes to make it a little different. My little guy liked making this more than he did playing with the train.
Language Development:
There are endless possibilities for language development when doing this activity. At the beginning we focused on receptive language skills and practiced listening and following directions. I would tell him to color specific parts of the train or show me particular shapes or colors. When he would incorrectly respond, I would demonstrate what I had been asking and then wait a little bit and give the same direction again to see if he could correctly complete the task. For example, "can you get the green crayon?" or "color the square."
I drew different shapes on one of his cars and spent the second part of the activity talking about the shapes that we saw. I mentioned that we were coloring the rectangles that were on the train car... or the circles that were the train wheels.
Other things you could talk about would include...
- parts of a train (engine, wheels, car, windows, doors, etc)
- different ways to move- drive the train fast, slow, up, over, around, spin, and down
- make a course for your child to drive the train on and talk about directions and describe the course- "the train track is bumpy (when driving over toys)," "turn right," "go over the hills (pillows)," etc.
Idea from Fun & Easy Toddler Crafts











Leave a Comment