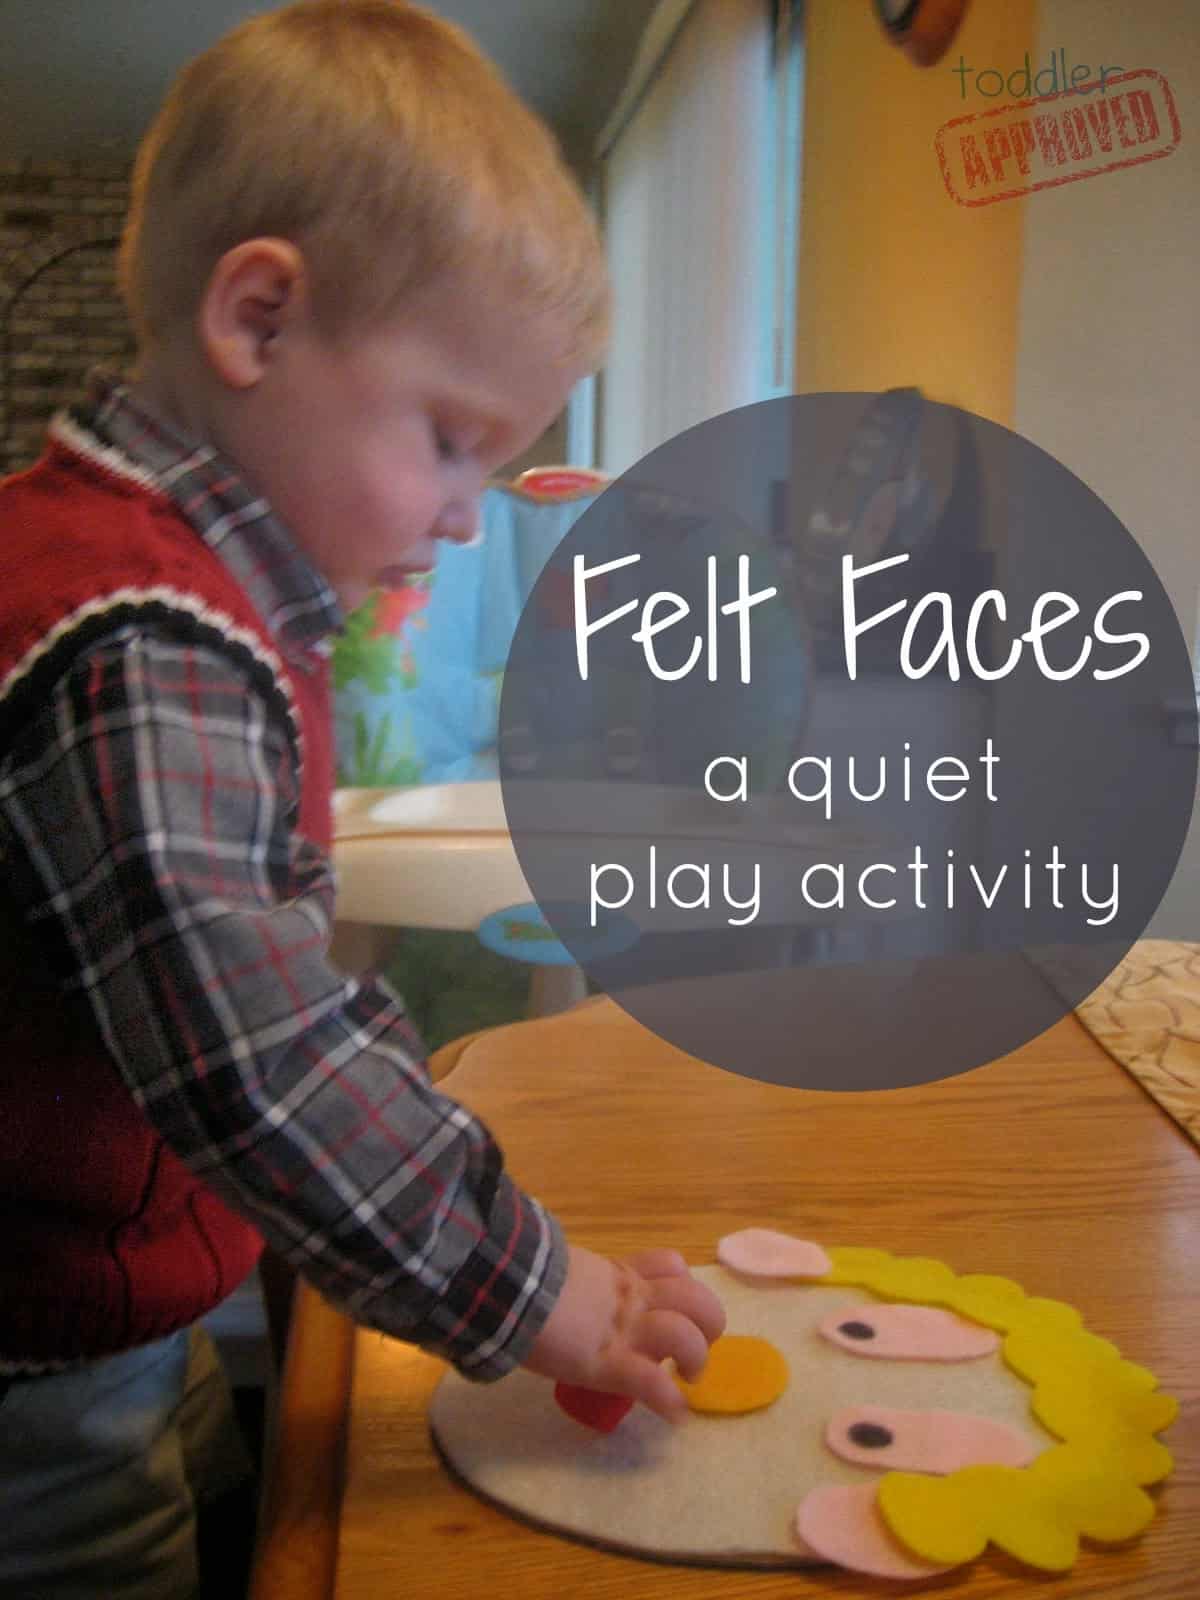
We are always looking for something to keep our little guy entertained and QUIET during church.
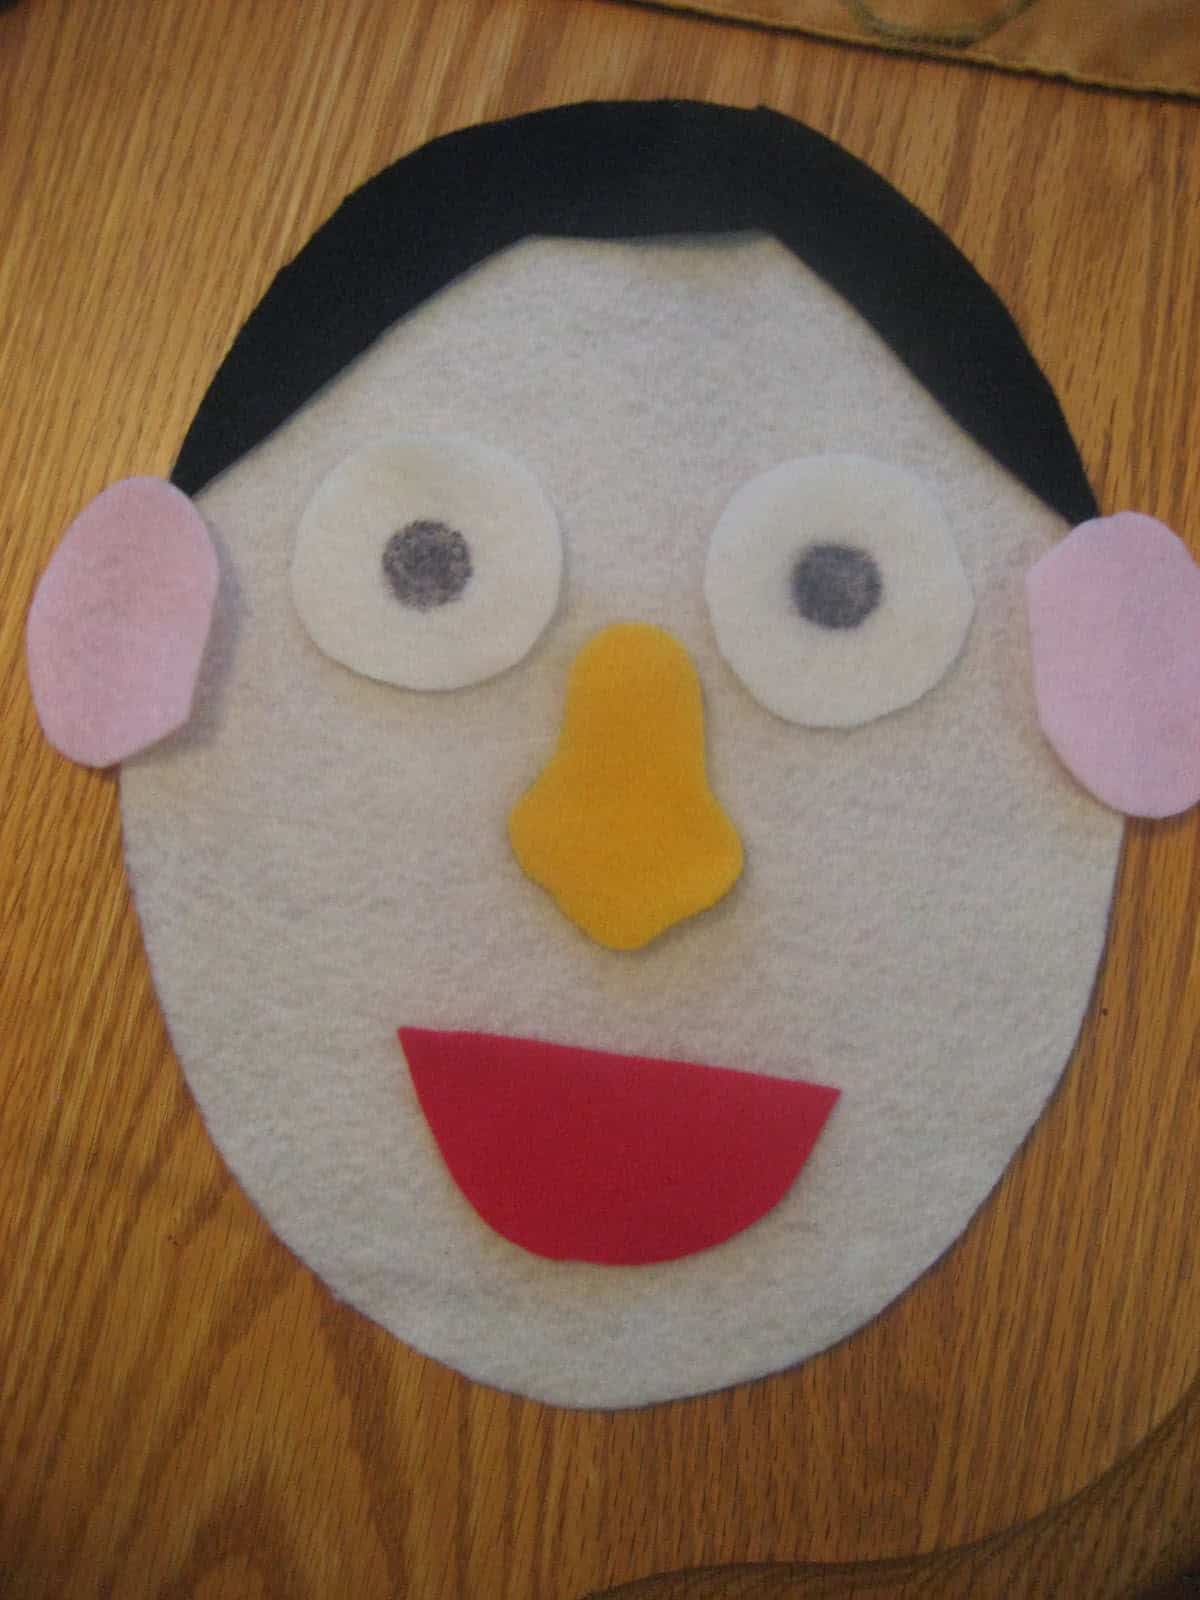
This Felt Faces activity is fun, silly, and mostly a quiet activity.
It can also be a great vocabulary building activity too (when you're not in a place where your child needs to be quiet).
You need to prep the felt materials ahead of time.
Materials Needed:
- cardboard (I cut up some used boxes)
- lots of colors of felt
- sharpie and pencil
- scissors
- ziploc bag
- white paper to use to make patterns
- glue
Directions:
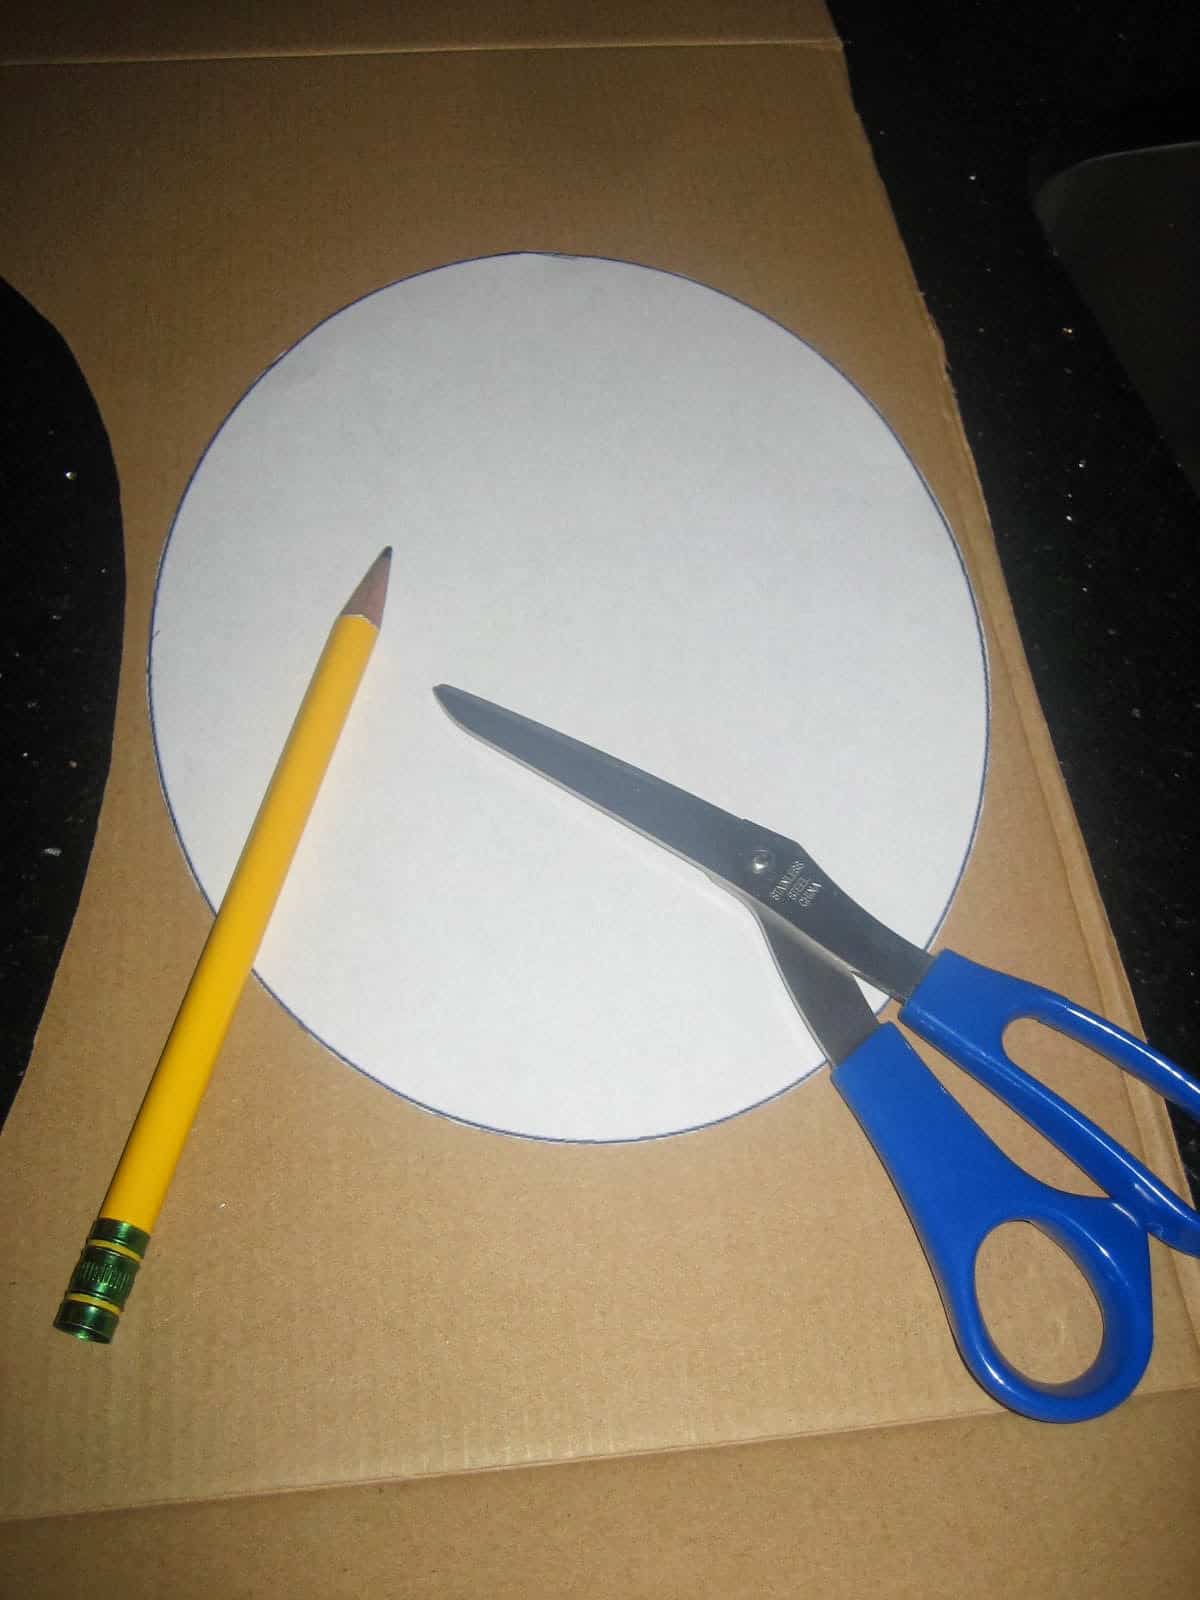
1. Draw an oval or print out an an oval pattern. Cut out the pattern.
2. Trace pattern onto cardboard and cut it out.
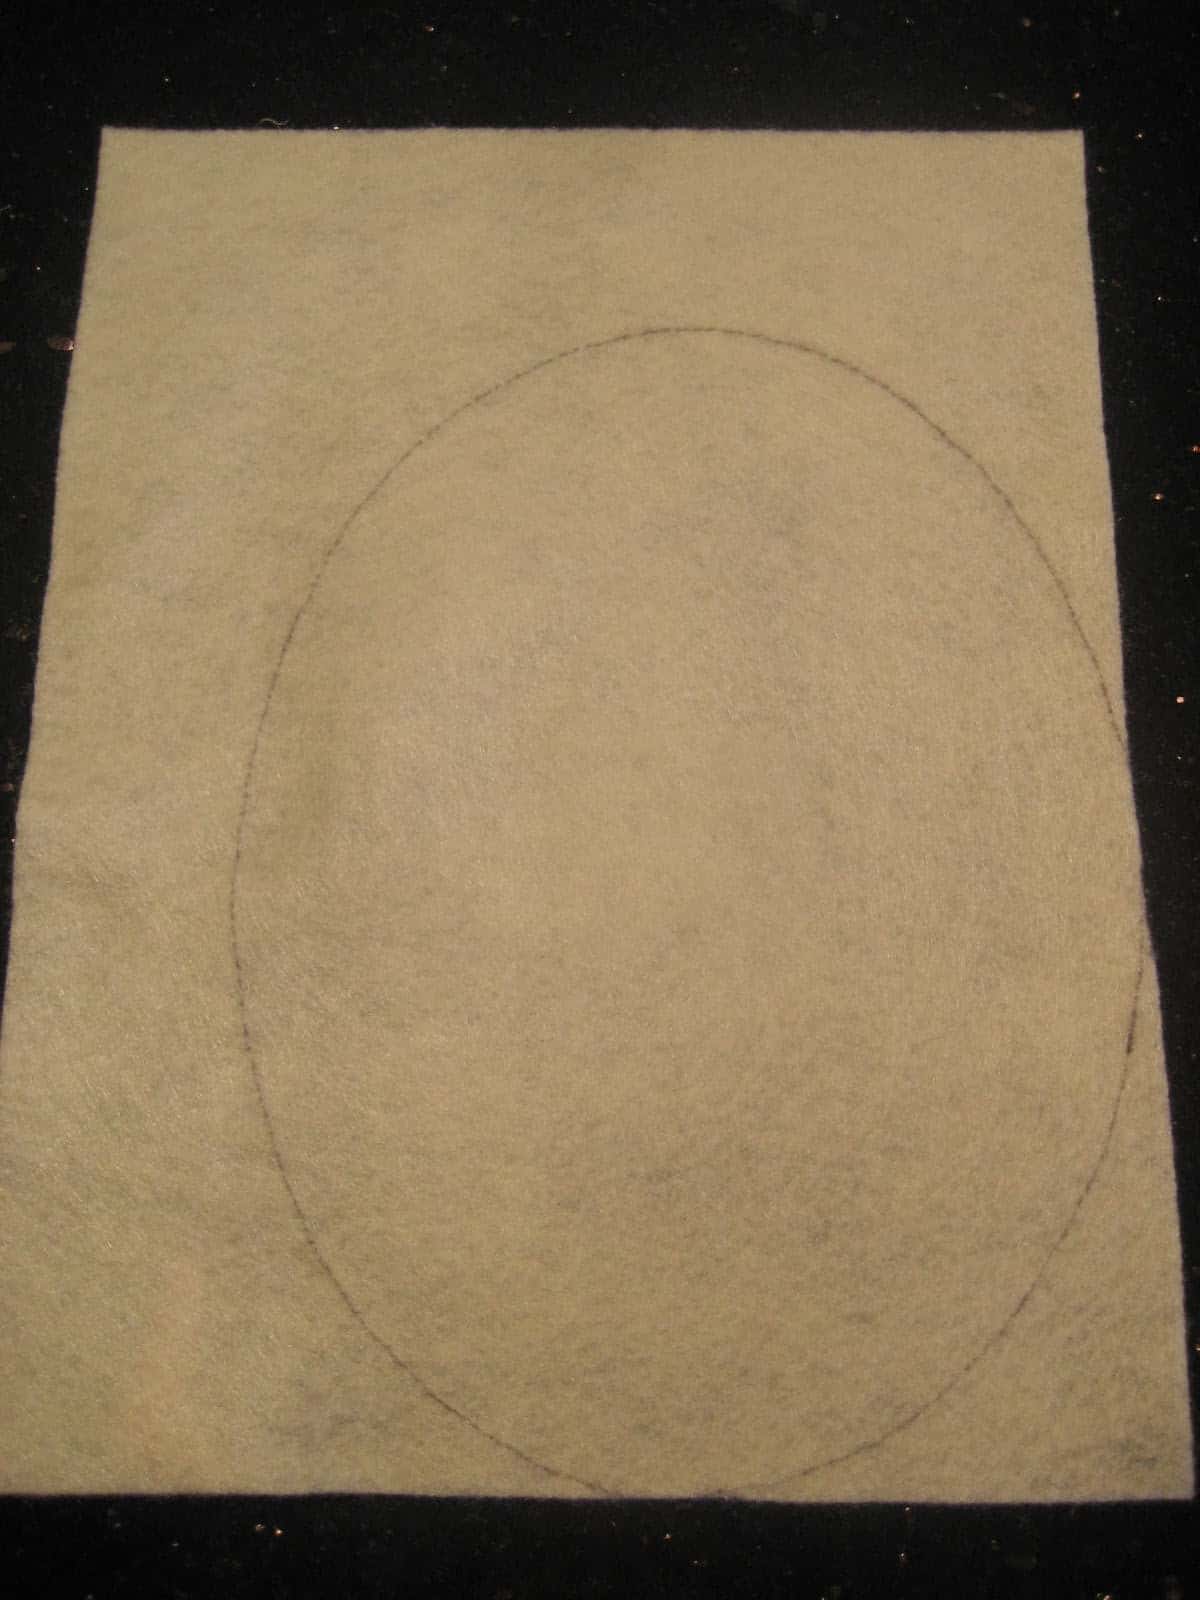
3. Trace cardboard oval onto colored felt and cut it out. This will be the face.
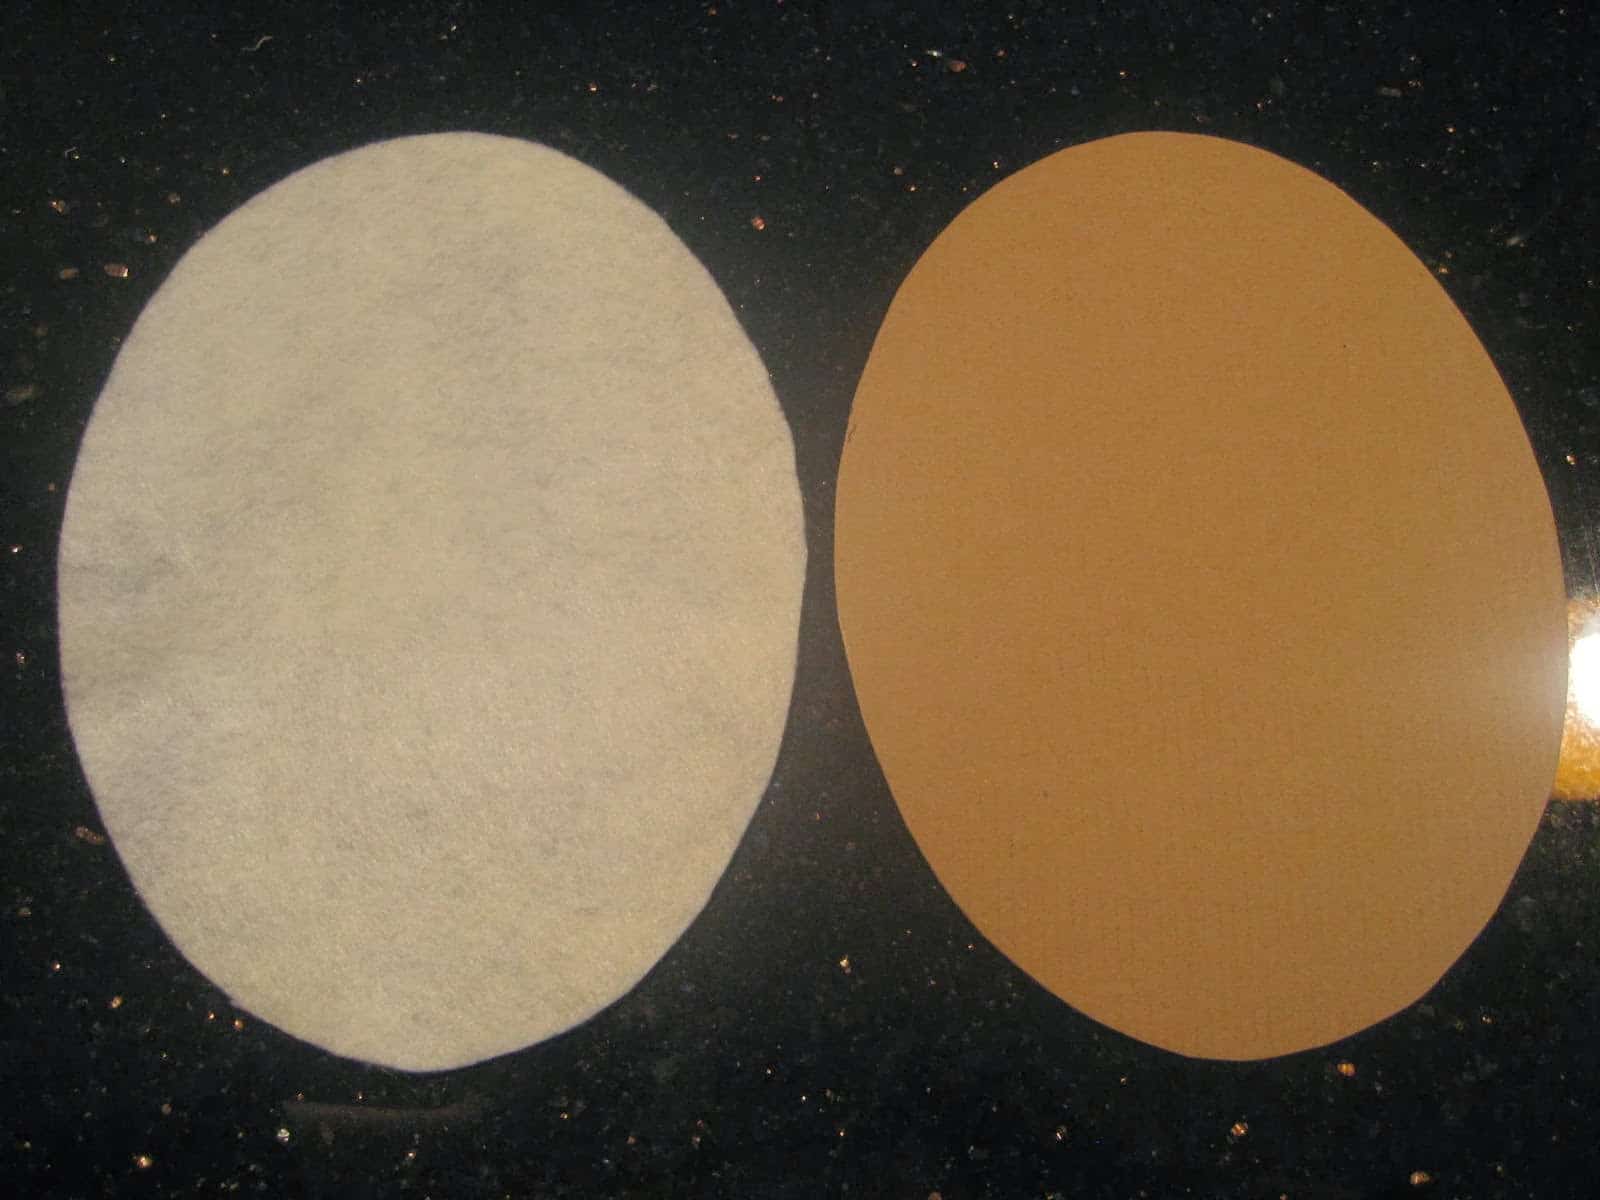
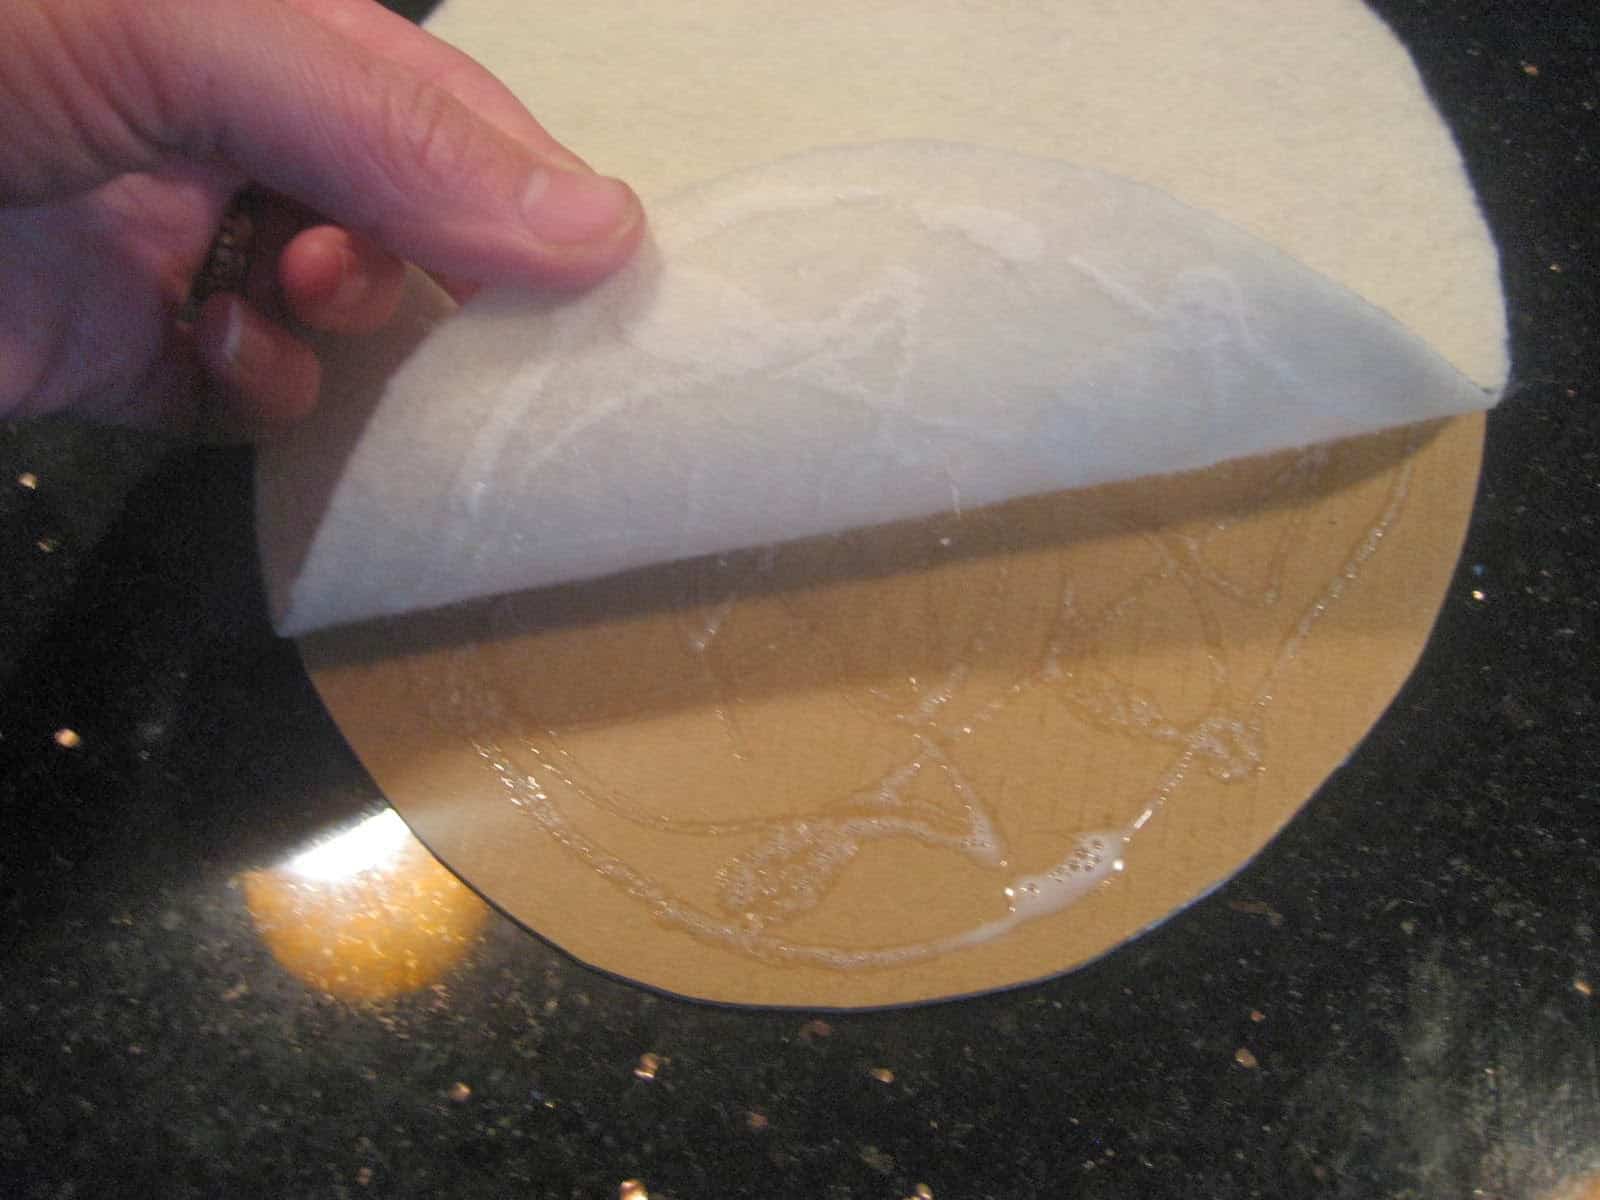
4. Take the two ovals (one cardboard, the other felt), and glue them together.
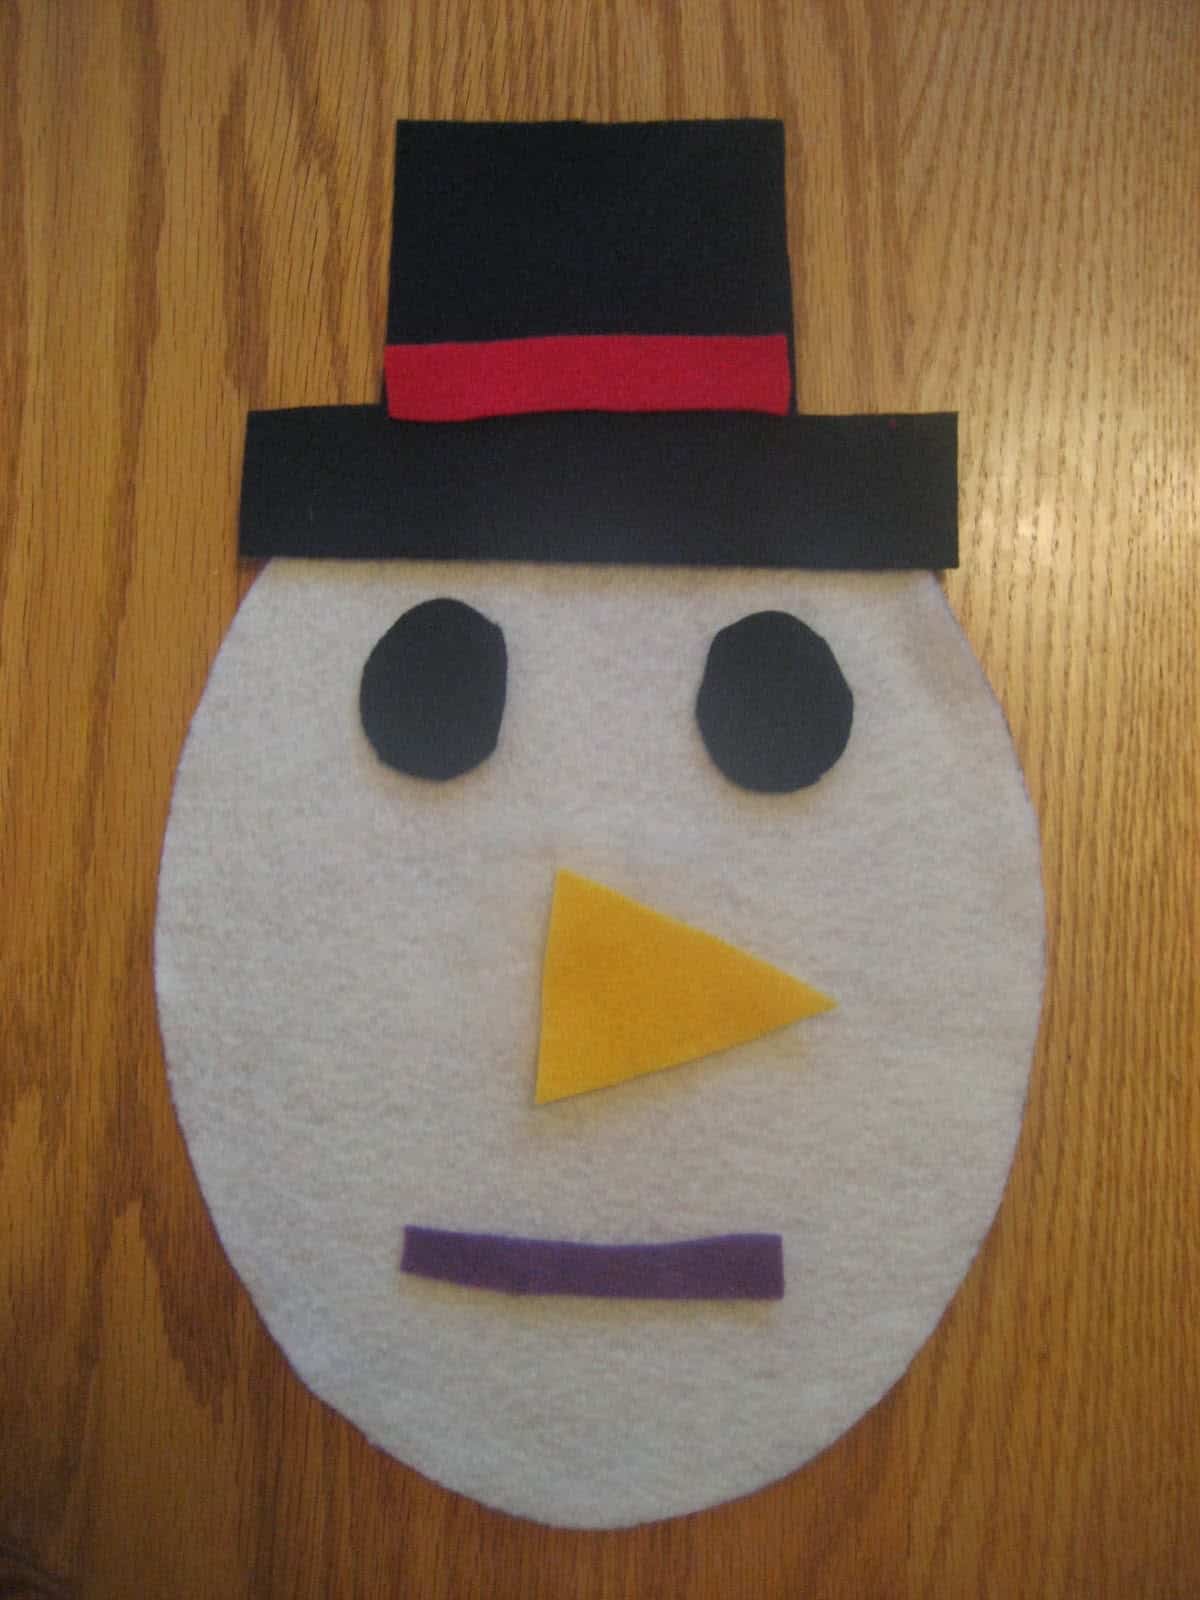
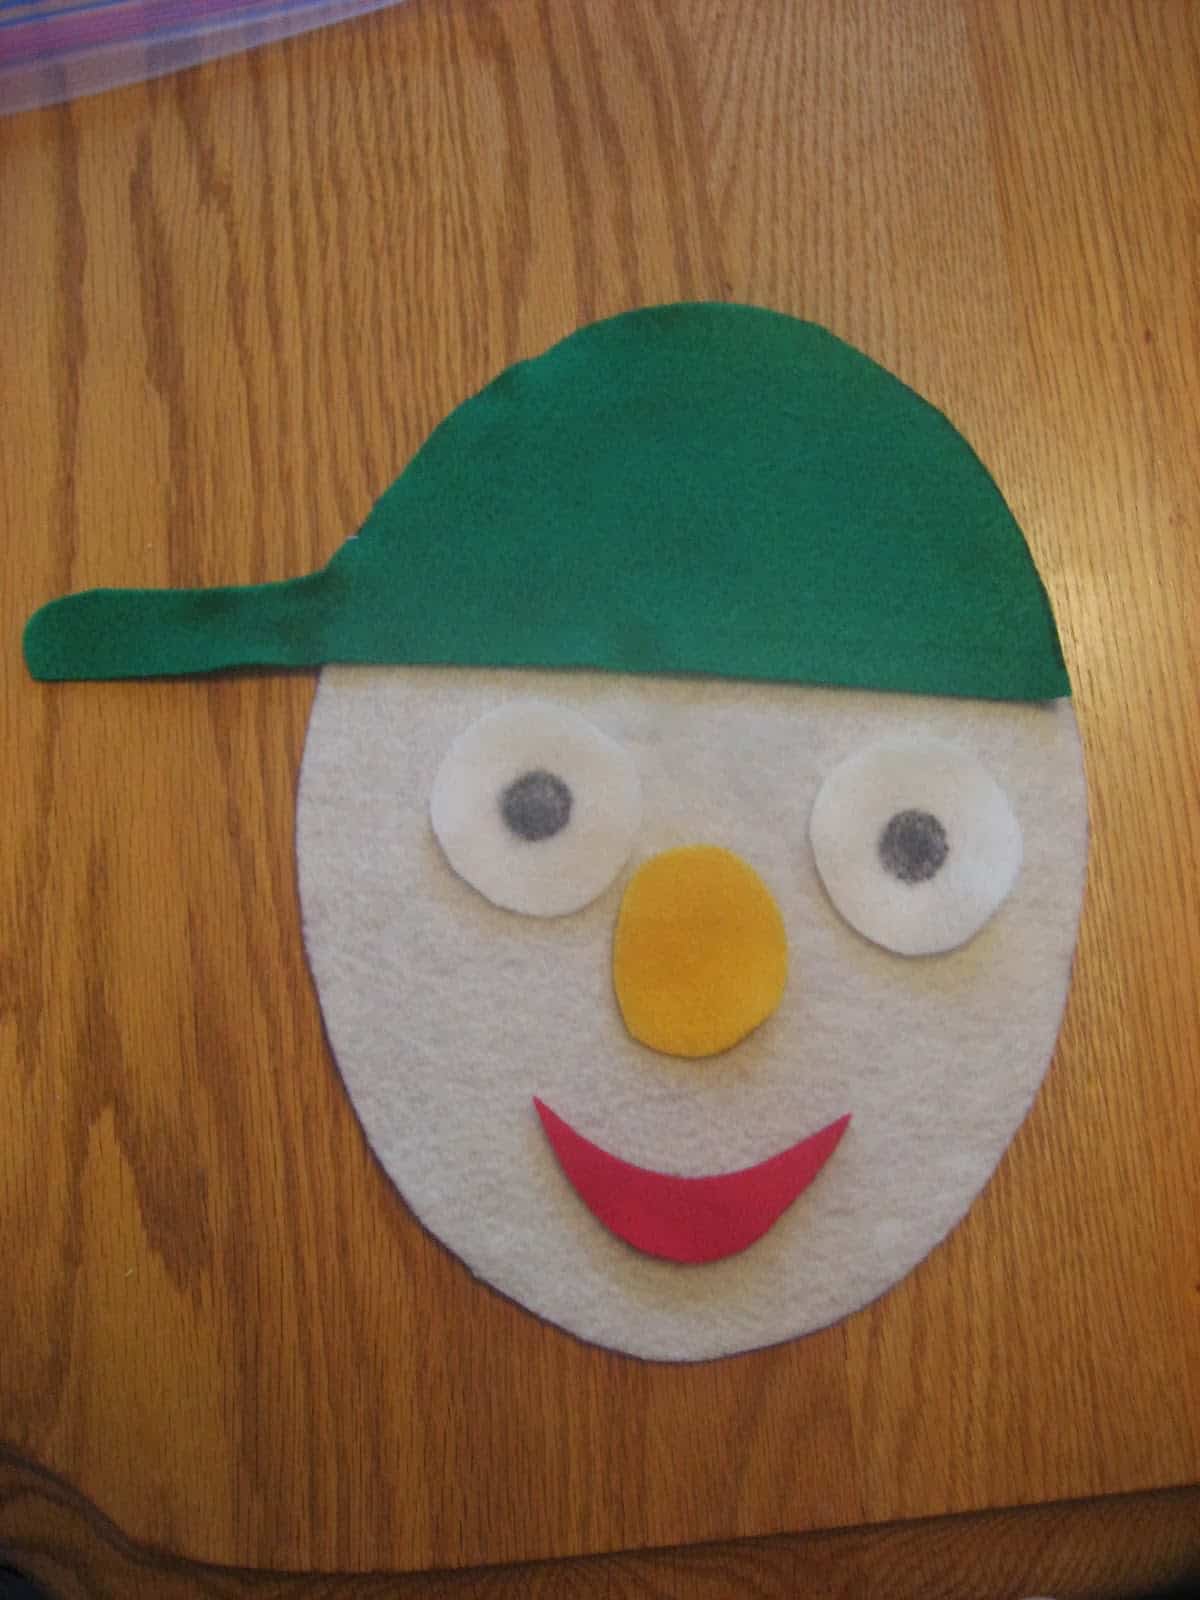
5. Then use colored felt to be creative. Cut out shapes for eyes, noses, ears, hair, mouths, hats, etc. The older your child, the more detailed your pieces can get (eyebrows, mustaches, earrings). Try and make a variety of expressions. You could also make other animals or objects. I made a snowman face and hat because my son loves snowmen.
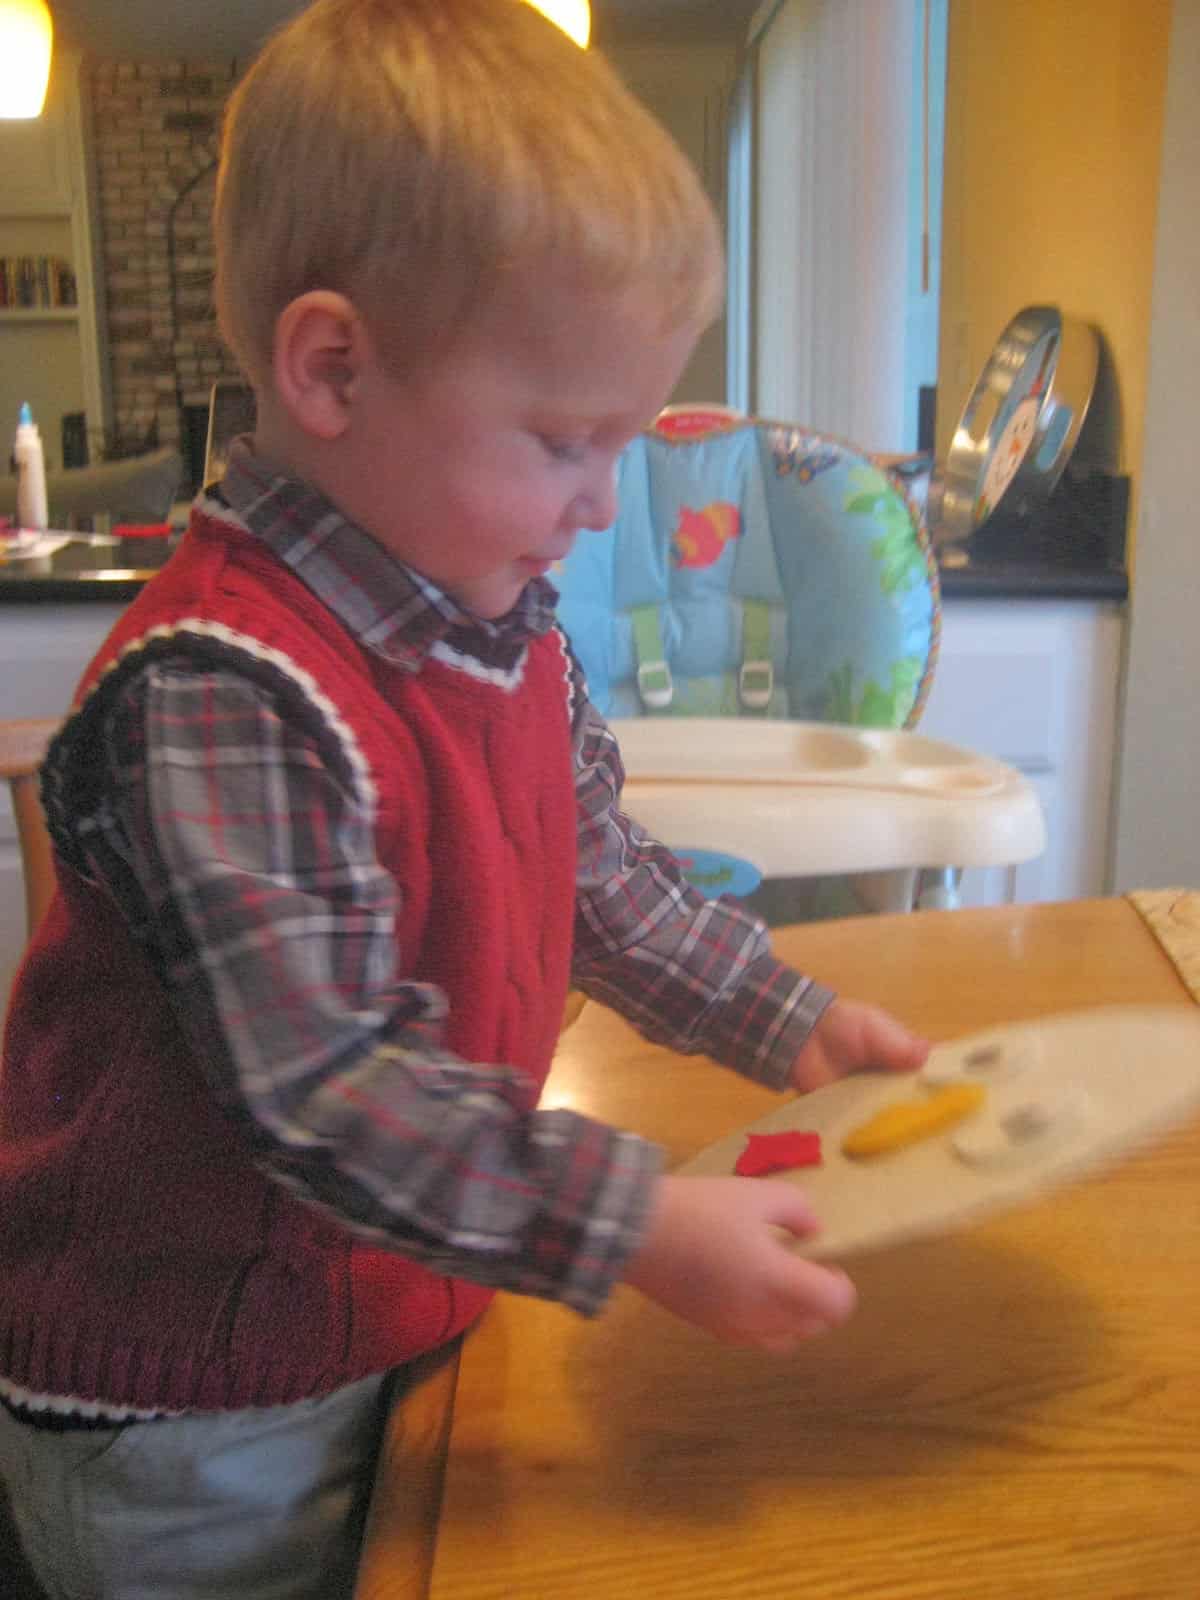
6. Give your child the pieces and let them have fun making silly faces. My little guy just laughed every time he saw some of the sillier faces.
This is also a great activity to have on the go in the car or at doctor's appointments. The felt pieces just stick to one another, don't make a big mess, and can be constantly changed, rearranged, and added to. If you also stick a piece of coarse sandpaper to the back of each piece (eyes, nose, etc.), they will stick to the felt even better. You could also just cut the pieces out of thick paper (instead of felt) and back them with sandpaper and they'd also stick.
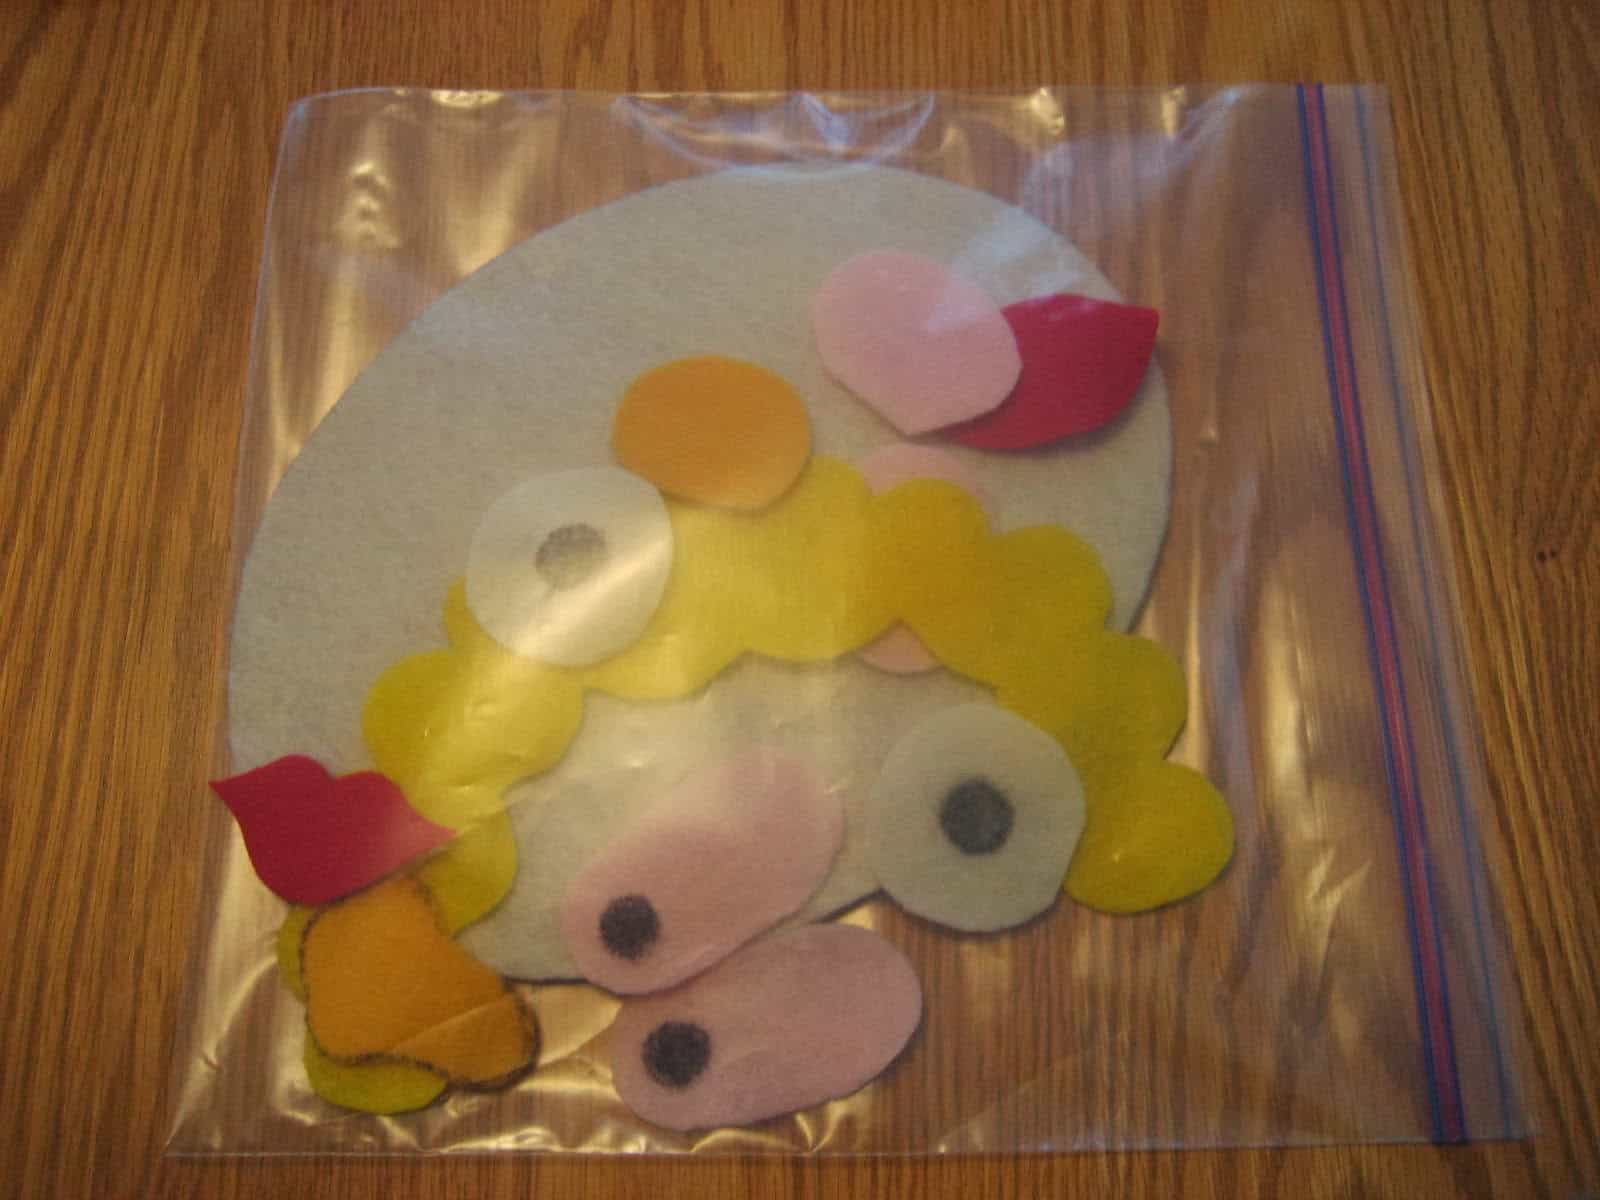
After they are done, the face and pieces can easily be stored in a ziploc bag.
Some other things we tried...
A few observations...
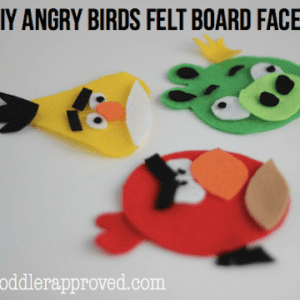
For an almost two year-old, putting the facial pieces in the correct general area is tricky (at least for my son), but the activity is still fun. He loved watching me arrange the faces in different ways and then trying himself. For older kids this is a great independent activity and can be catered to specific interests. Felt faces can be cut to look like animals or other favorite objects. We've even made Angry Birds!
Language Development:
You can pick and choose the skills you want to focus on for this activity... because there are so many. For older kids, you can practice directional skills, like "put the mouth on the bottom of the face" or "put the other eye on the left side." For younger kids, you can work on naming the body parts and facial expressions, like happy, sad, and grumpy. You can even cut tears out of felt so that the felt face can be sad or make an angry face and talk about emotions. The older the child is, the more detail you can either add to the oval or just talk about- cheeks, chin, forehead, etc.
Some other favorite felt quiet activities we love are...
- Felt Ice Cream cones via The Iowa Farmer's Wife
- Easy Touch and Feel Alphabet via No Time for Flashcards
- Geometric Felt Shapes Train via Mama Smiles
If you want more creative ideas using felt, head on over and follow our Felt & Flannel Fun Pinterest Board.






Love the idea!
Just a question: what kind of glue do you use? Once I used super glue to attach the velcro for the 'pin donkey's tail' & it damaged the cloth badly :S
Just Elmers or craft glue
Love the idea!
Just a question: what kind of glue do you use? Once I used super glue for the 'pin the donkey's tail' & it damaged the cloth badly :S
nice!!! thank you for the idea!!
super fun and cute!! we have an iPhone app that does this with Sesame St. characters and the girls love it. How much more fun to do this in real life!! Thanks for the post!!
thisfineday.com