Do you want to get kids to listen without nagging, reminding or yelling? Do you want to be a kinder parent? Don't forget to sign up for the FREE webinar from Positive Parenting Solutions that we are offering.
I am constantly in search of quick and easy "go to" activities that are quick to prep, quick to clean up, and keep the kids happy and creating for awhile.
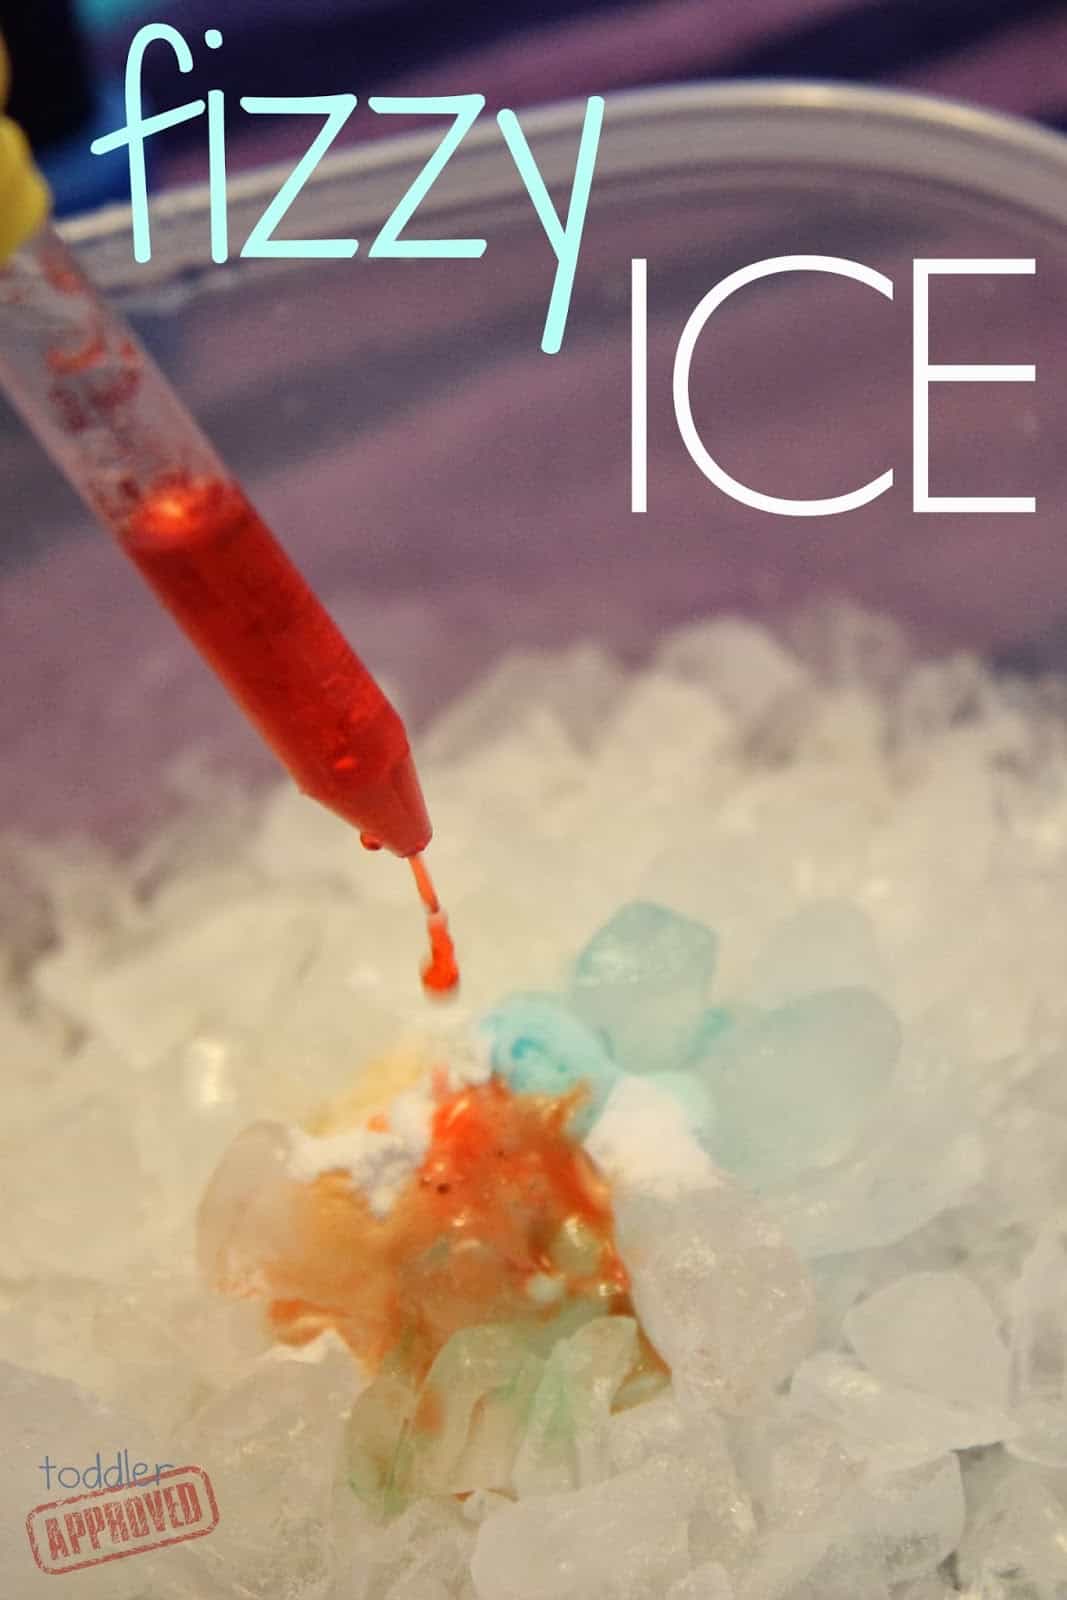
This fizzy ice science activity is definitely on our favorites list now along with the painting with ice activity we shared last week.
Here are the materials you need to make fizzy ice...
- crushed or cubed pieces of ice in a bowl or bucket
- vinegar
- food coloring
- medicine dropper
- baking soda
- little test tubes* (*optional)
Want to see how to make fizzy ice? Watch this quick video or scroll down for the full tutorial.
Here's how you make fizzy ice...
Mix vinegar and food coloring to make colored vinegar and put them in your test tubes or little cups where they are easily accessible.
Next fill up a bucket with crushed or cubed ice and work to build mounds or piles of ice. Then, add some baking soda down into the mound and put some more ice on top if it.
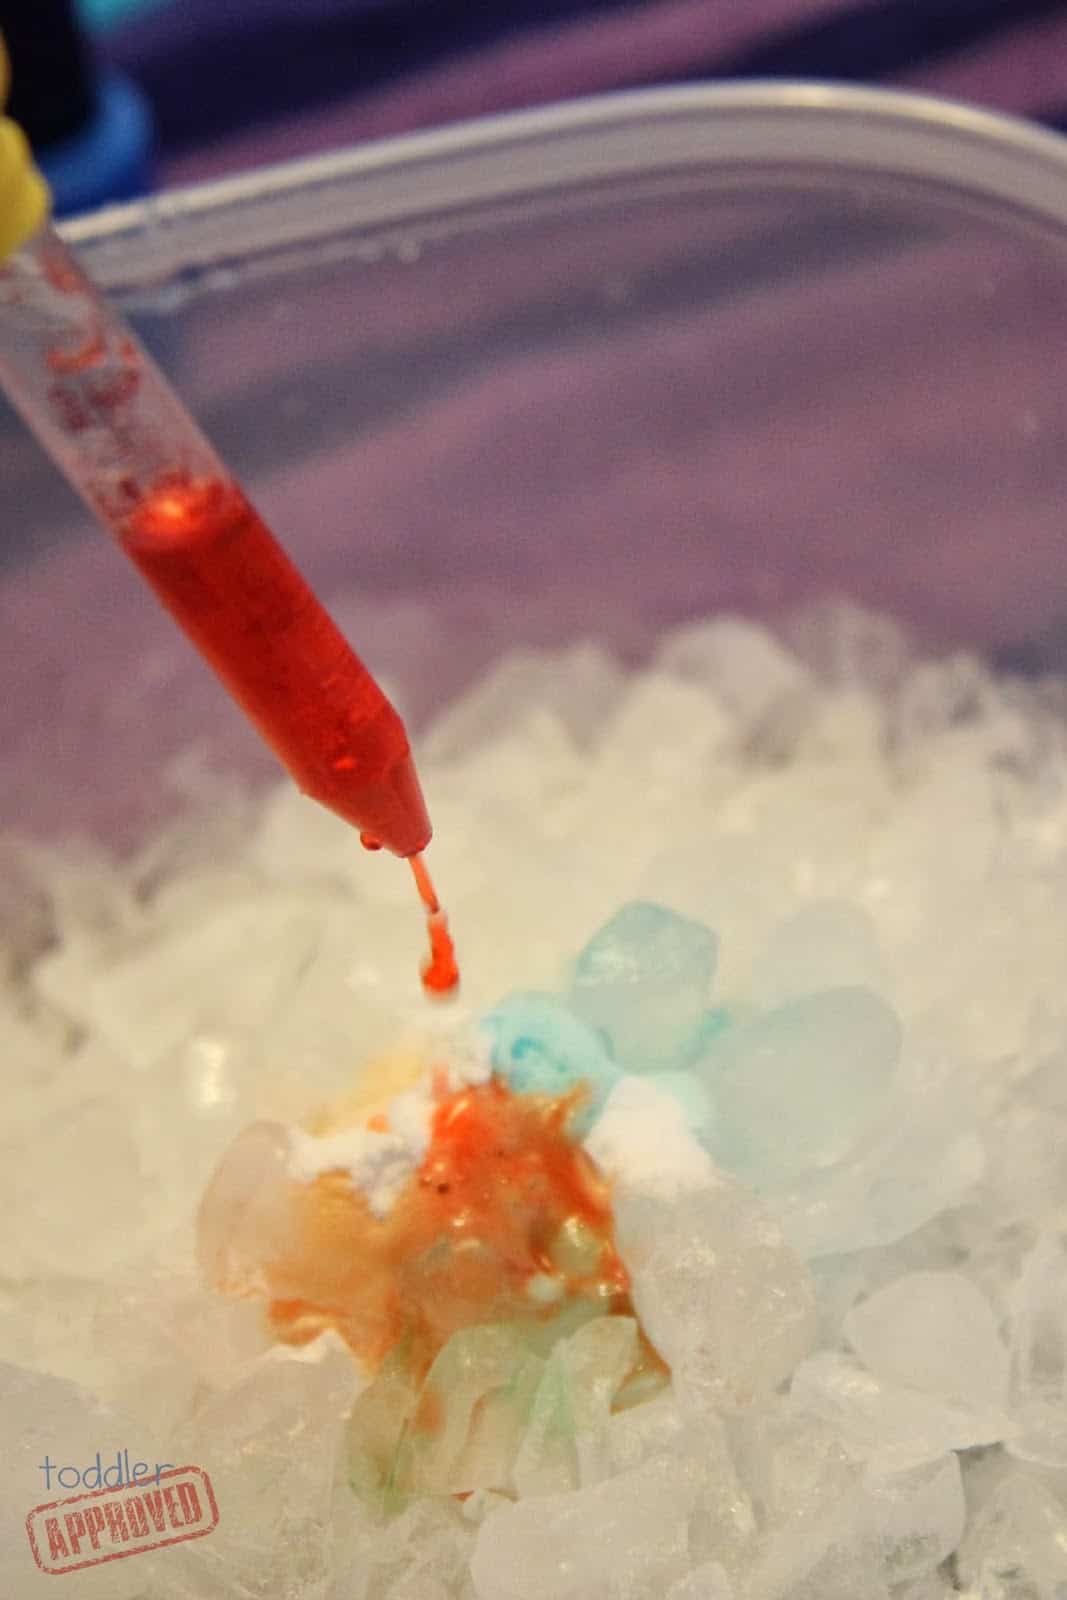
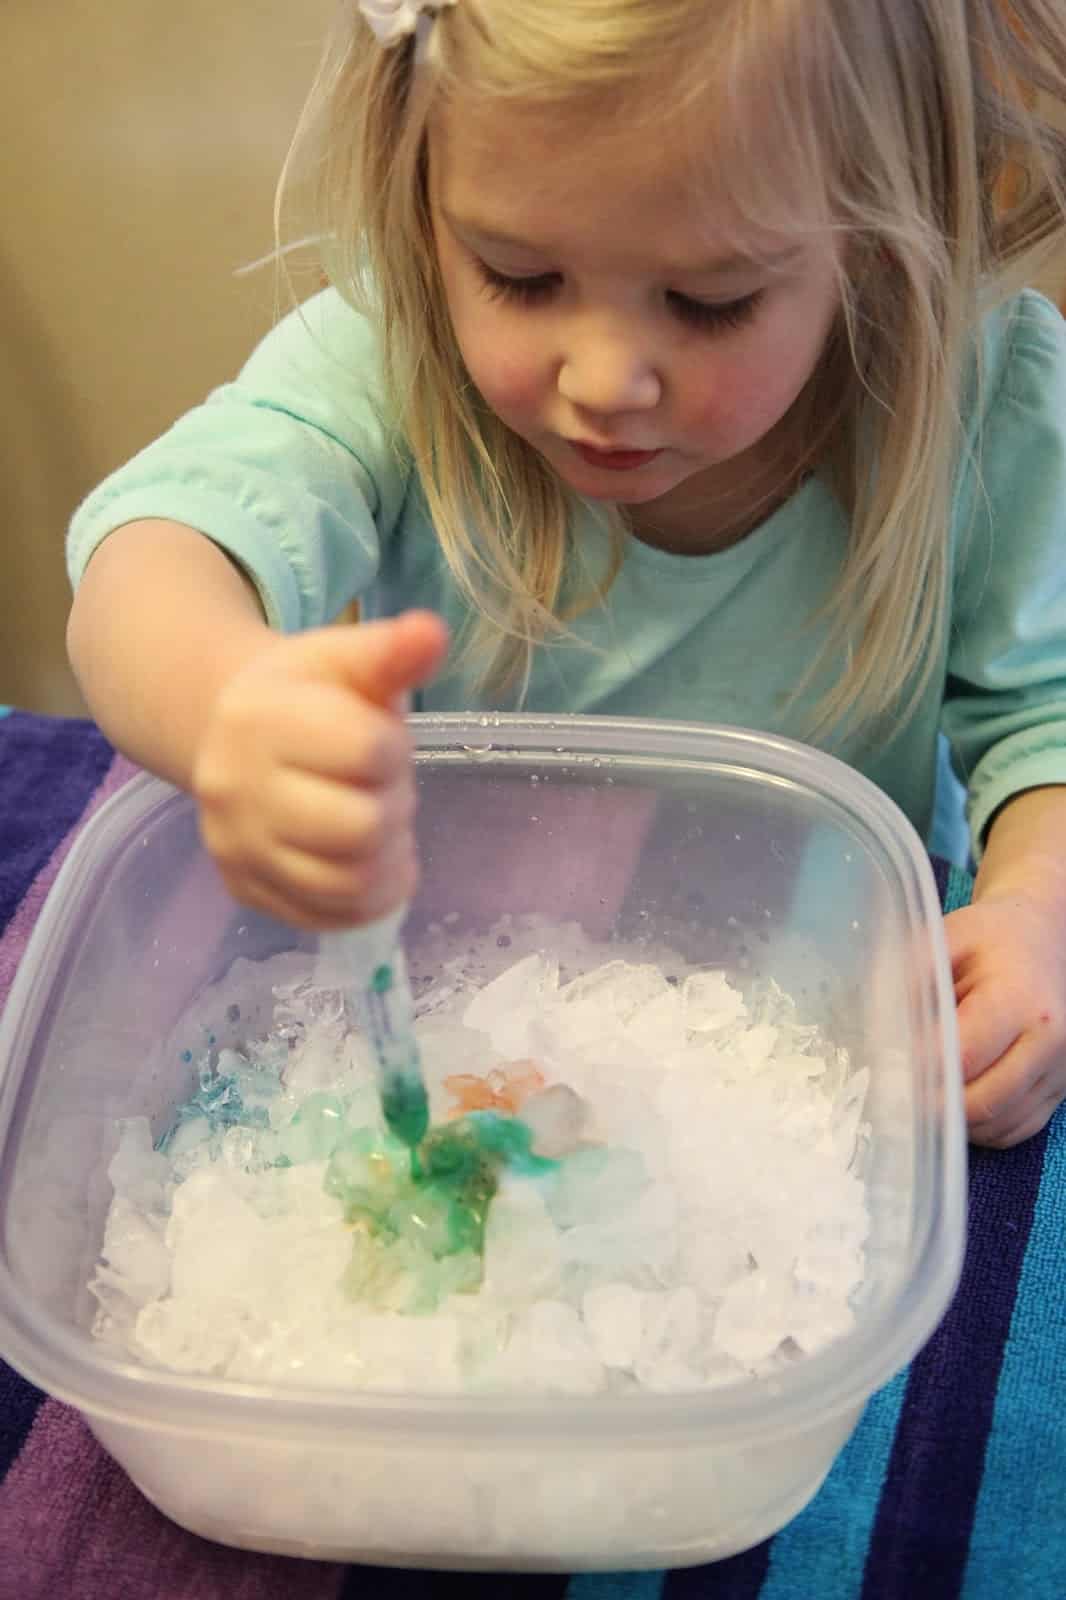
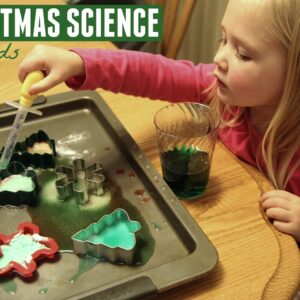
Use your medicine dropper to grab some colored vinegar and squeeze the colored vinegar onto your ice mounds (covered in baking soda).
Watch the reactions and chat with your kids about what they see! Pick a new color to drop and add that to the ice again. Add more baking soda to the ice and drop more vinegar onto the mounds and make even more observations.
This activity gets quite addictive. We mix colors and experiment until all the ice melts... and then either we start it all over again or we take a break and plan to do it again later in the day. It is amazing how fascinating ice can be once you add baking soda and vinegar.
We always also spend some time doing ice play before or after this activity too since my kids LOVE playing with ice.
Do you have any other favorite "go to" activities when you need the kids to have something to do?
We love...
playing and learning with stickers
writing letters for our paper plate mailboxes
I'll add more activities to this list when I think of them. There are loads more!









OMG so cool definitely trying this one! so many things these days are just a waste of time, this is NOT!
I love your blog and activities! I love this idea too however it flopped a bit today when we did it at preschool. Is there a secret? Not sure if the crushed ice is key (we had flat ice chip/cubes – commercial type ice) or if the baking soda needs to be pretty thick and/or clumpy or if the baking soda was diluted by the melting ice . . . we had little fizzes but nothing as cool as your photos. However, it was fun to do the pipettes and colors into the ice. 😉 Thanks for a great blog!
Kiloecho20 wow, that is a bummer to hear. I have never heard that from anyone who has tried it before. Crushed ice makes it possible to make little volcanoes with the ice that the baking soda can sit in and then can flow from when hit with the vinegar (the rough edges hang onto the baking soda better)… and yes you do want to use a good amount of baking soda each time (probably at least 1.5-2 tablespoons). Definitely try it again with crushed ice! Also, make sure to add more baking soda after each fizz. One thing that I would suggest is to always try out science activities ahead of time before sharing with your class so you can figure out what works and how else you could make it even cooler, especially if you are changing any of the materials. And you are right, ice & color & little fizzes are actually just as fun for little ones, so I'm sure your kids had a great time!
This looks like such fun! Is there a printable instruction without the color graphics?
Hi Marylee, no there aren't. I don't currently have printable instructions for my posts. Most people just access them from their phones or computer.
love it!!!
im a child care provider and i dont like to be a bored person …. this is wonderful !!!!