
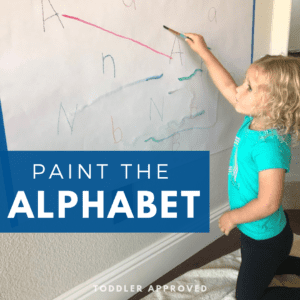
This week we are having fun exploring the alphabet! Each day this week I will be doing a simple alphabet activity with my toddler and preschooler. I will be sharing some of these activities here on the blog and on days when I don't have time to write them up, I'll just share a picture with a quick summary on Instagram (follow @kristinatoddlerapproved).
I typically define a toddler as being between age 18 months to age three. Once kids turn three I typically start calling them preschoolers. Every kid is different, so what works for one toddler might not work for another.
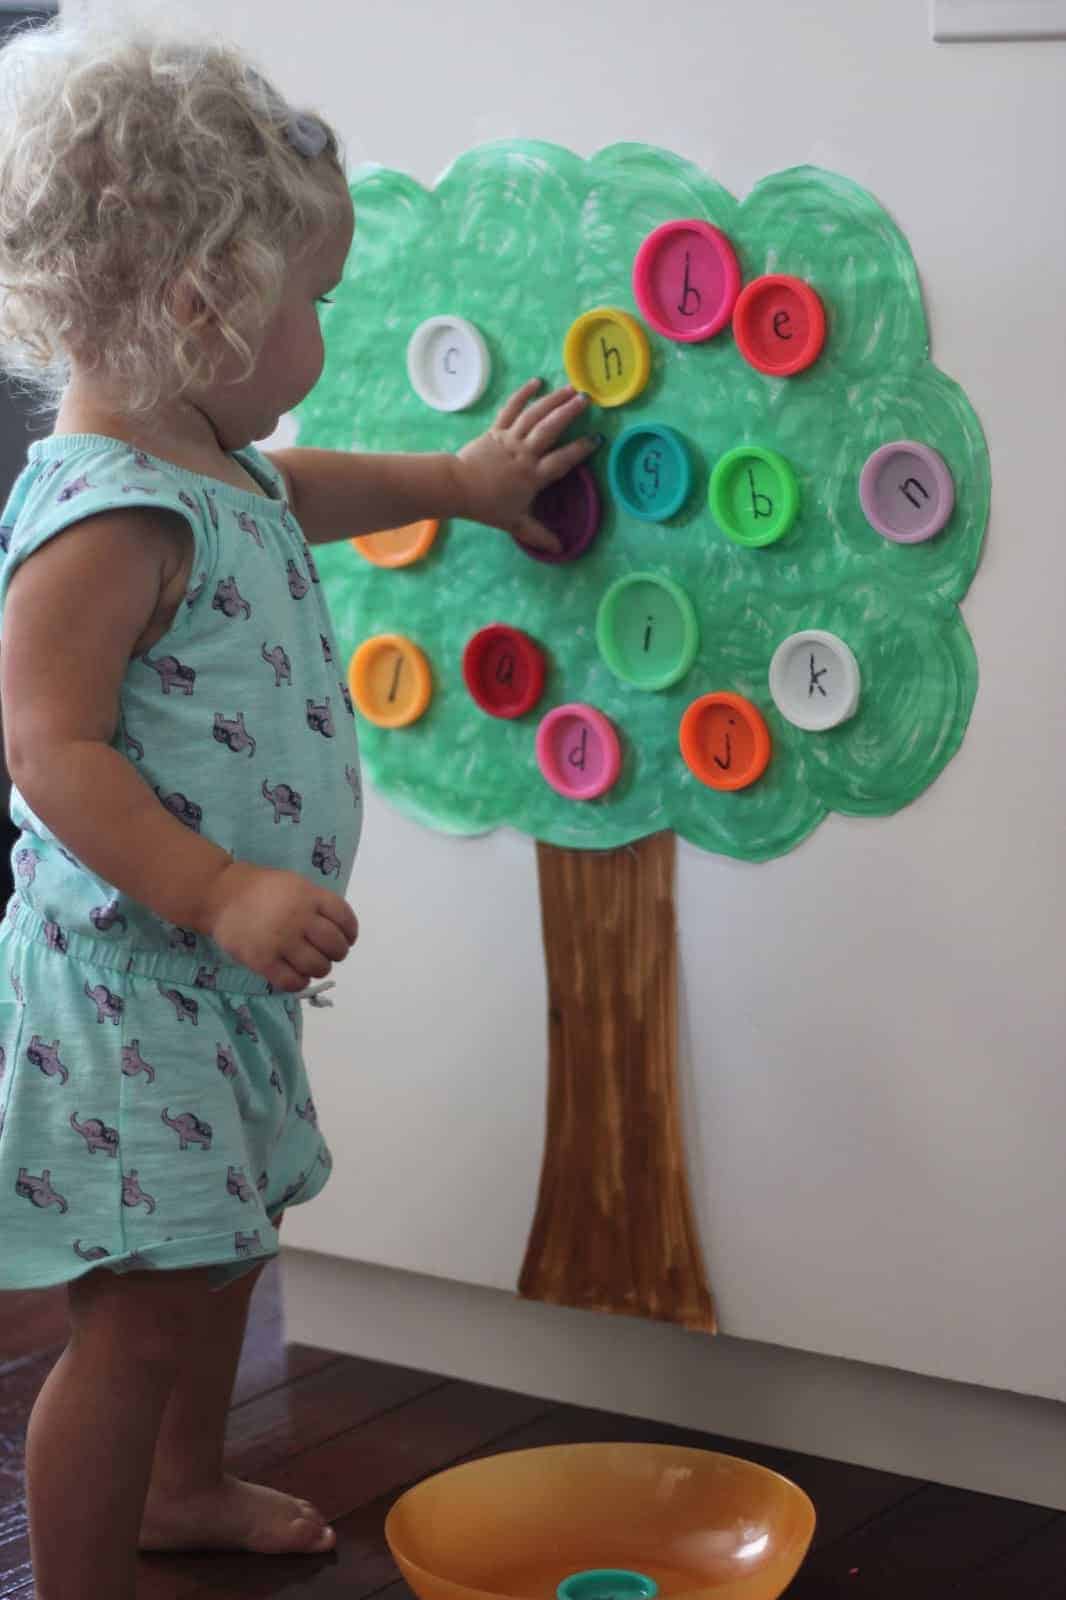
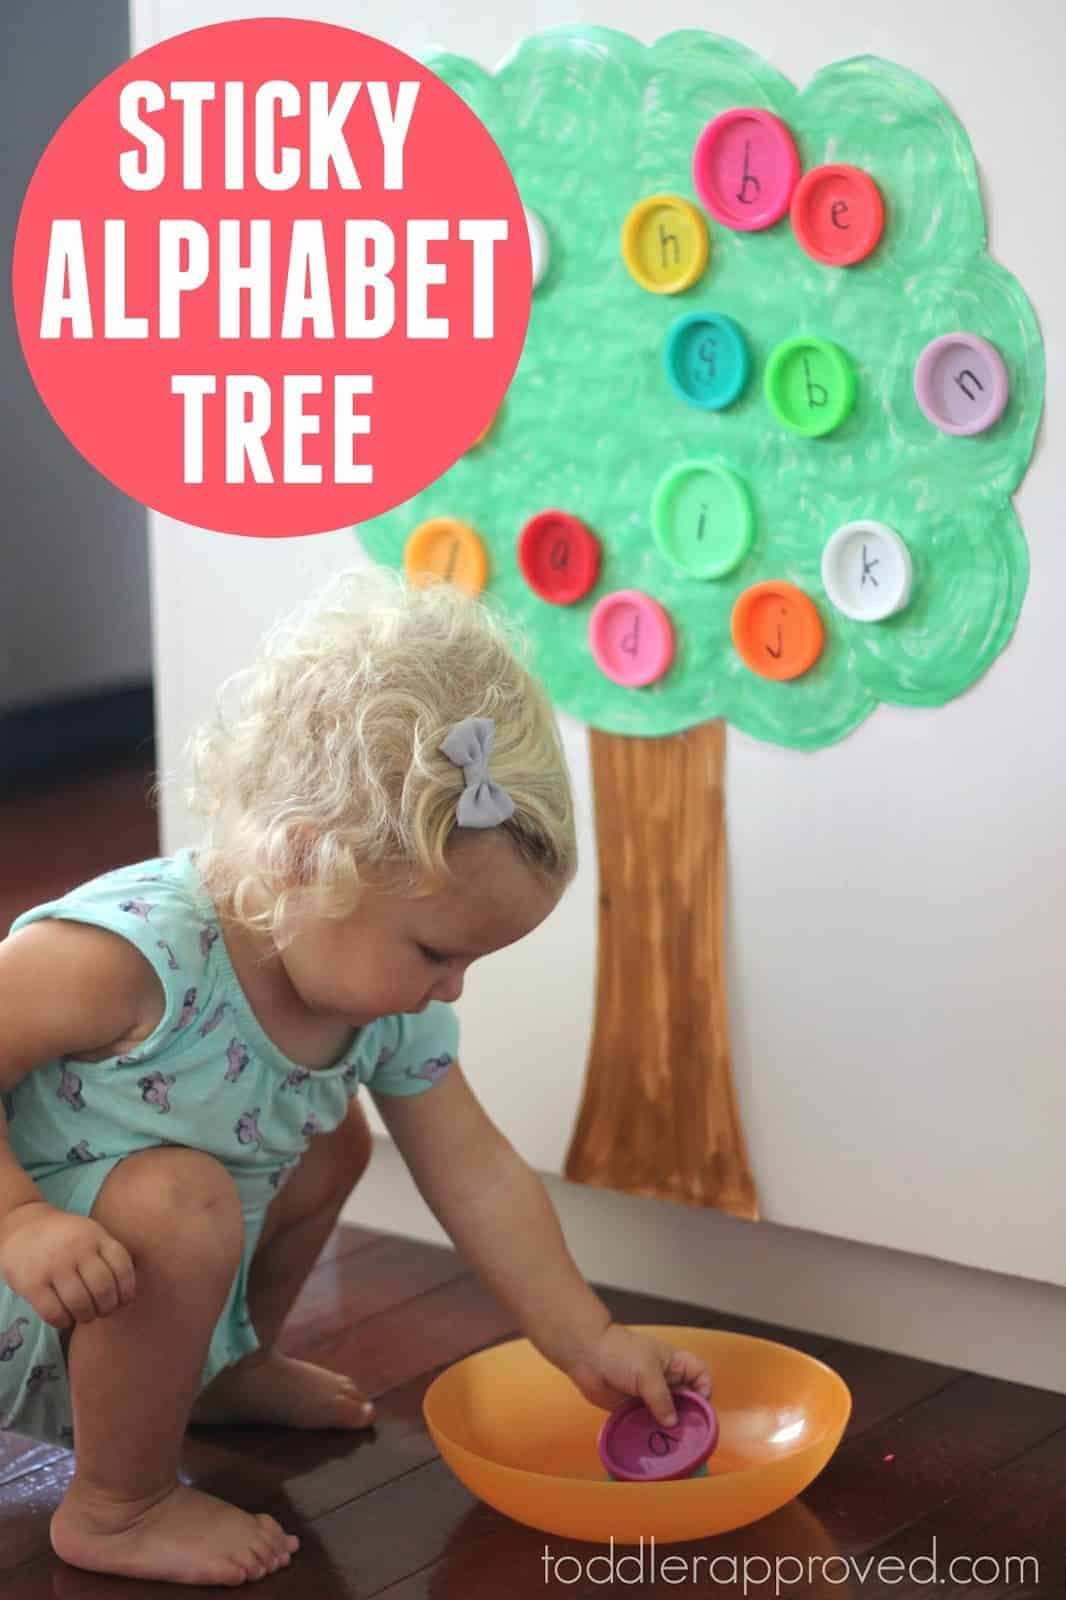
Today we are sharing a simple sticky alphabet activity for toddlers and preschoolers! The goal of this activity is to play with and explore the alphabet, talk about colors, and to explore STICKY materials!
This post contains Amazon Affiliate links.
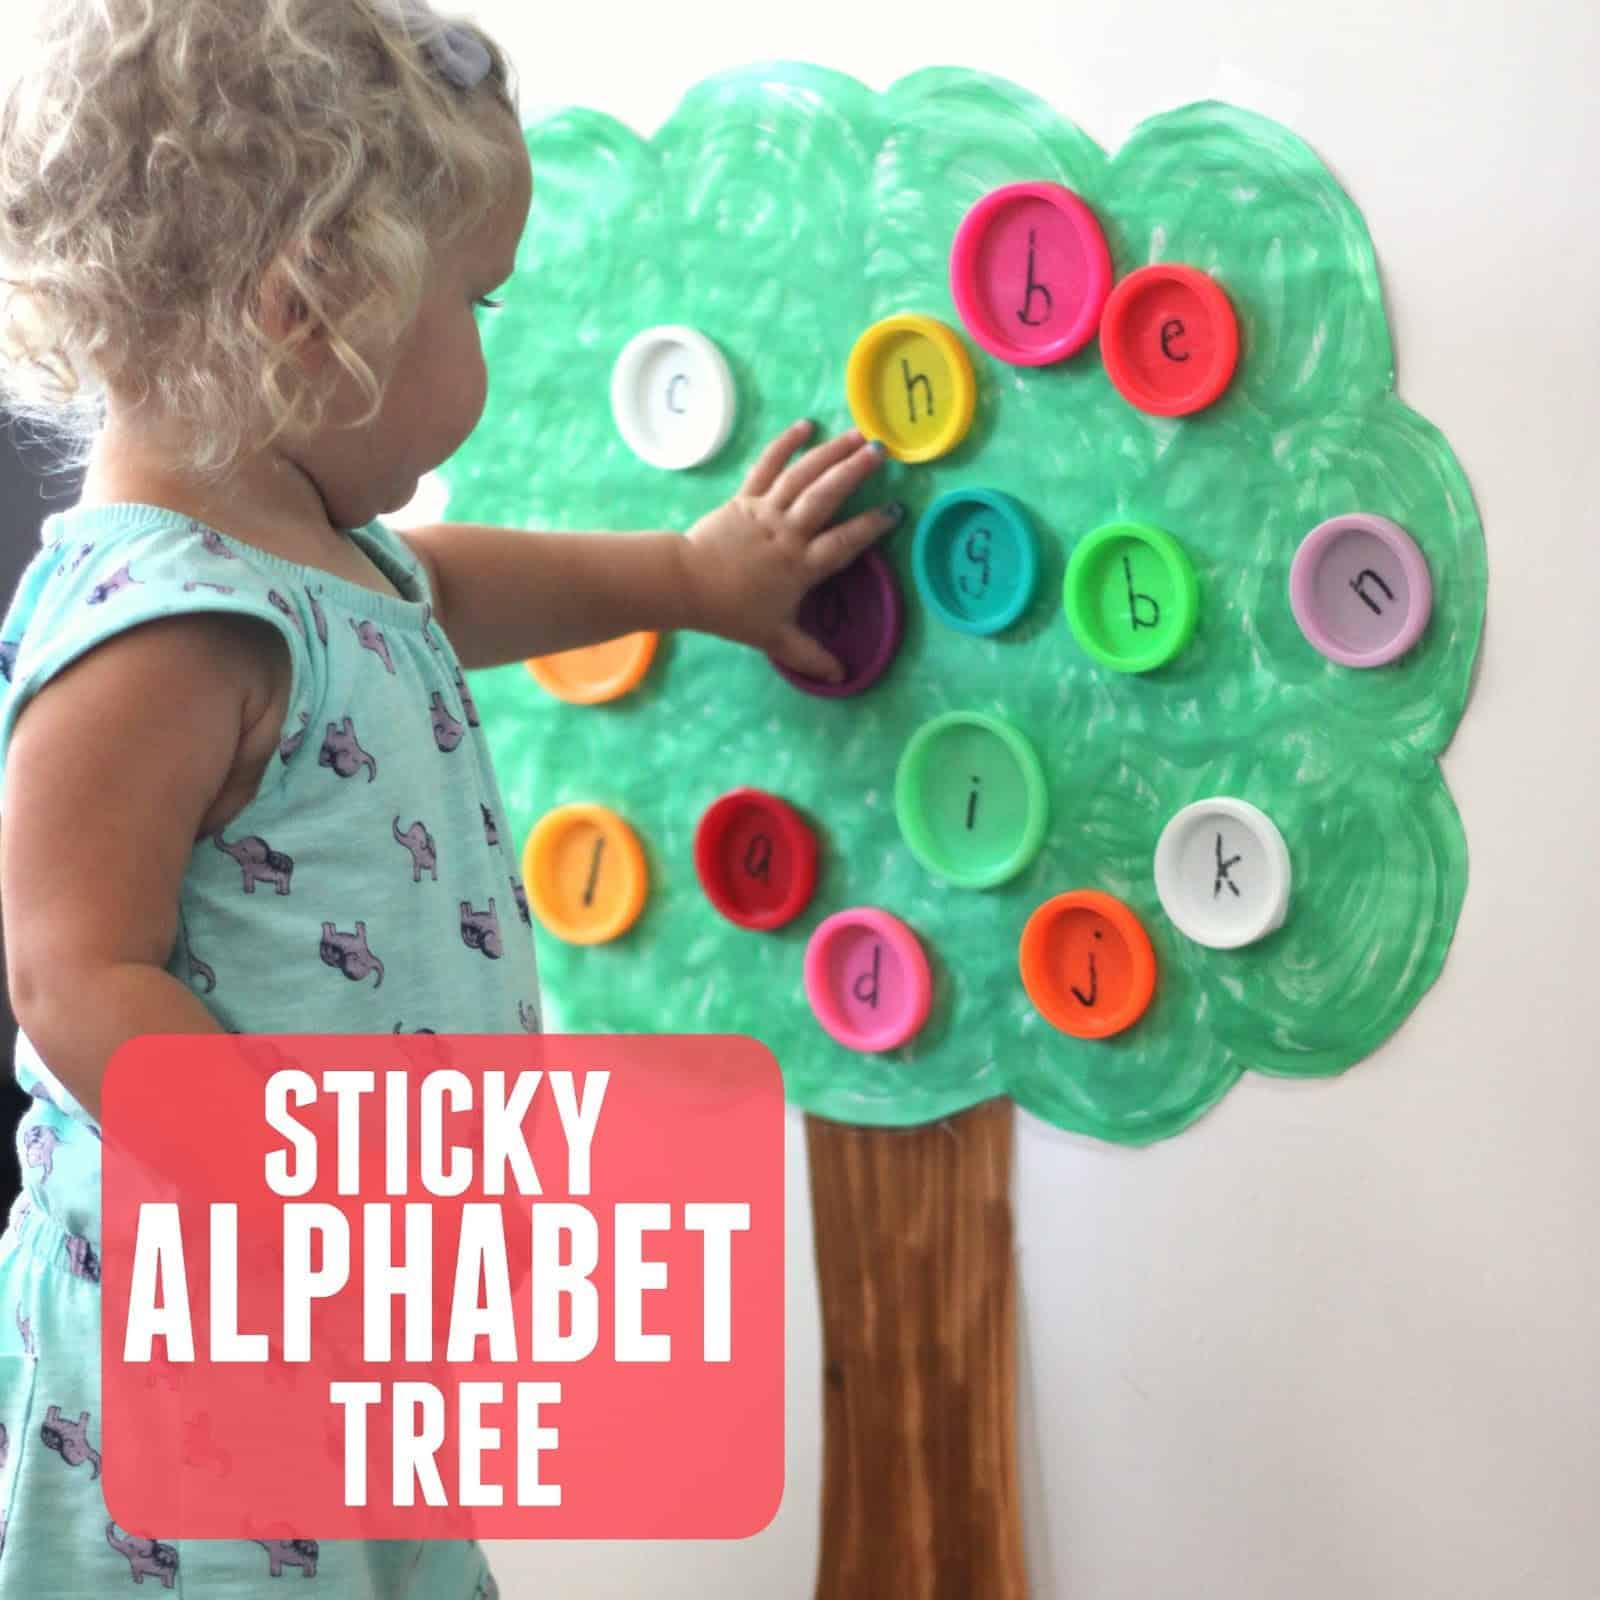
If you've followed along for awhile, you might remember our alphabet sticky wall that was our inspiration for this activity! Toddlers LOVE sticky walls!
MATERIALS NEEDED FOR STICKY ALPHABET TREE
Here are the materials you'll need to make your own sticky alphabet tree.
- lids (or circle piece of paper)
- alphabet stickers (or a white board marker)
- contact paper
- tape (painters tape and clear tape)
- brown and green paper (or white paper and markers)
WHY A TREE?
This week we are reading a variety of alphabet books. Today we read Chicka Chicka Boom Boom by Bill Martin Jr. and it inspired us to make our own alphabet tree! We decided to make a tree that is more like an apple/fruit tree versus an official Chicka Chicka Boom Boom tree.
You can find the other books we're reading this week in our 25 Easy Alphabet Activities post. You can also download our free Calendar will all of the activities we are doing this week HERE.
HOW TO SET UP YOUR STICKY ALPHABET TREE
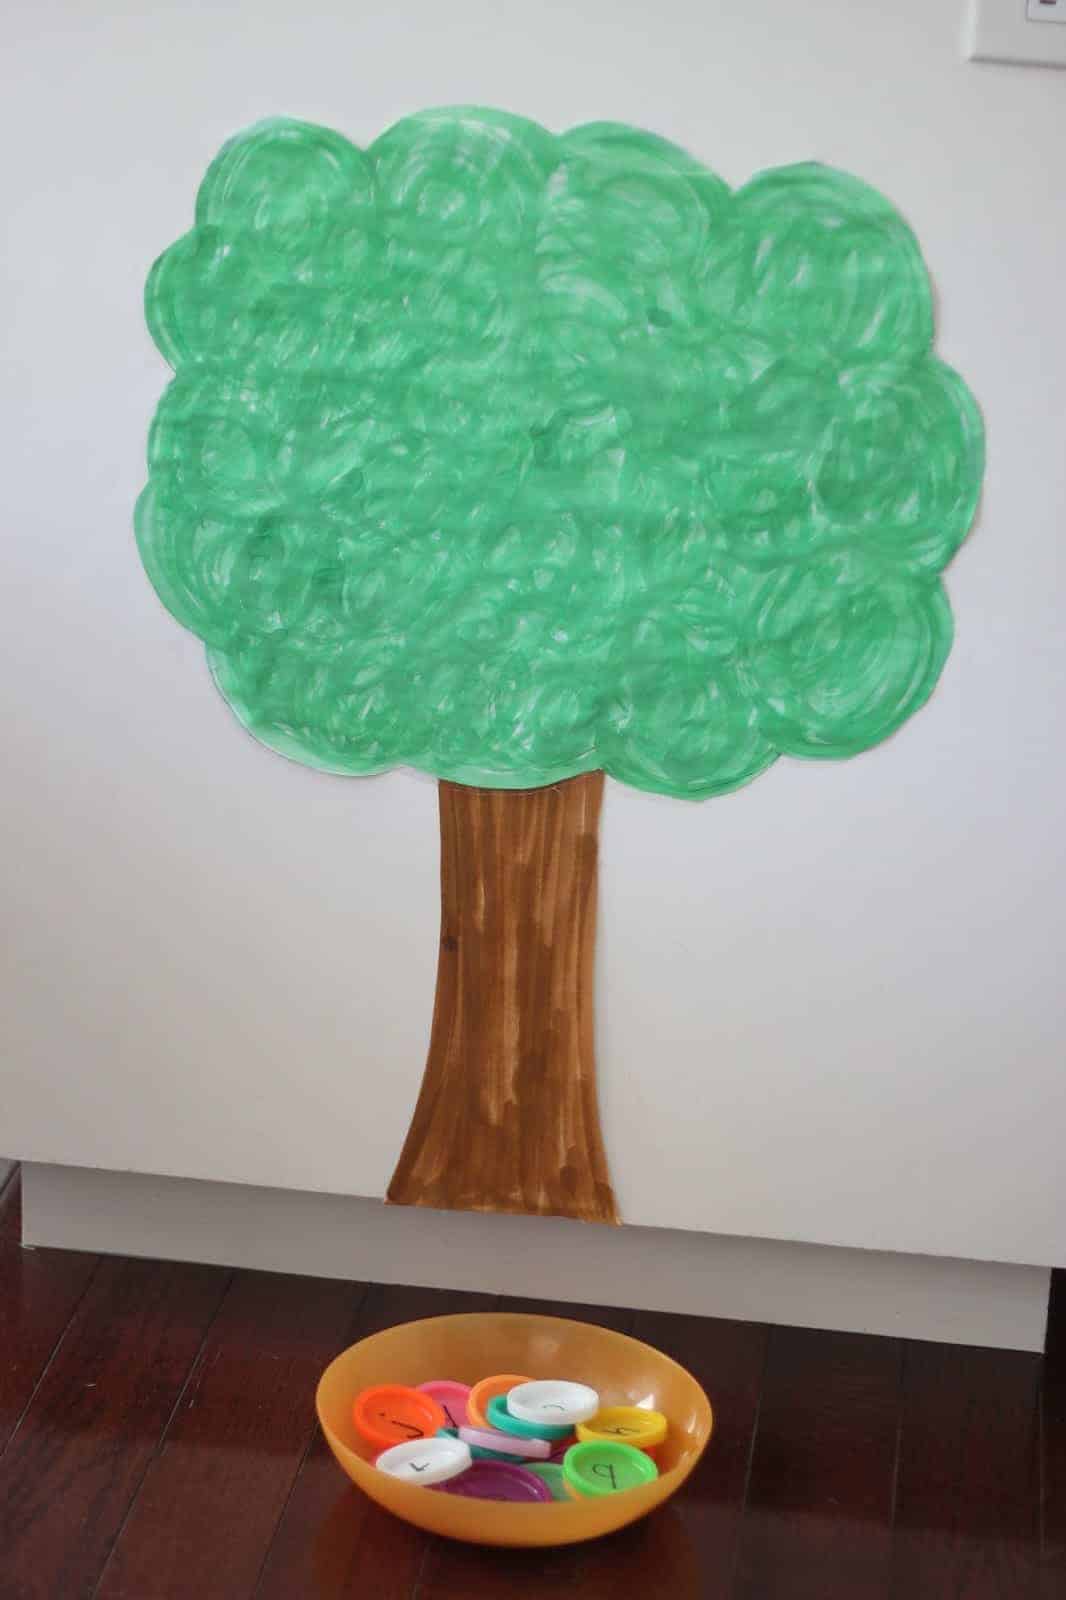
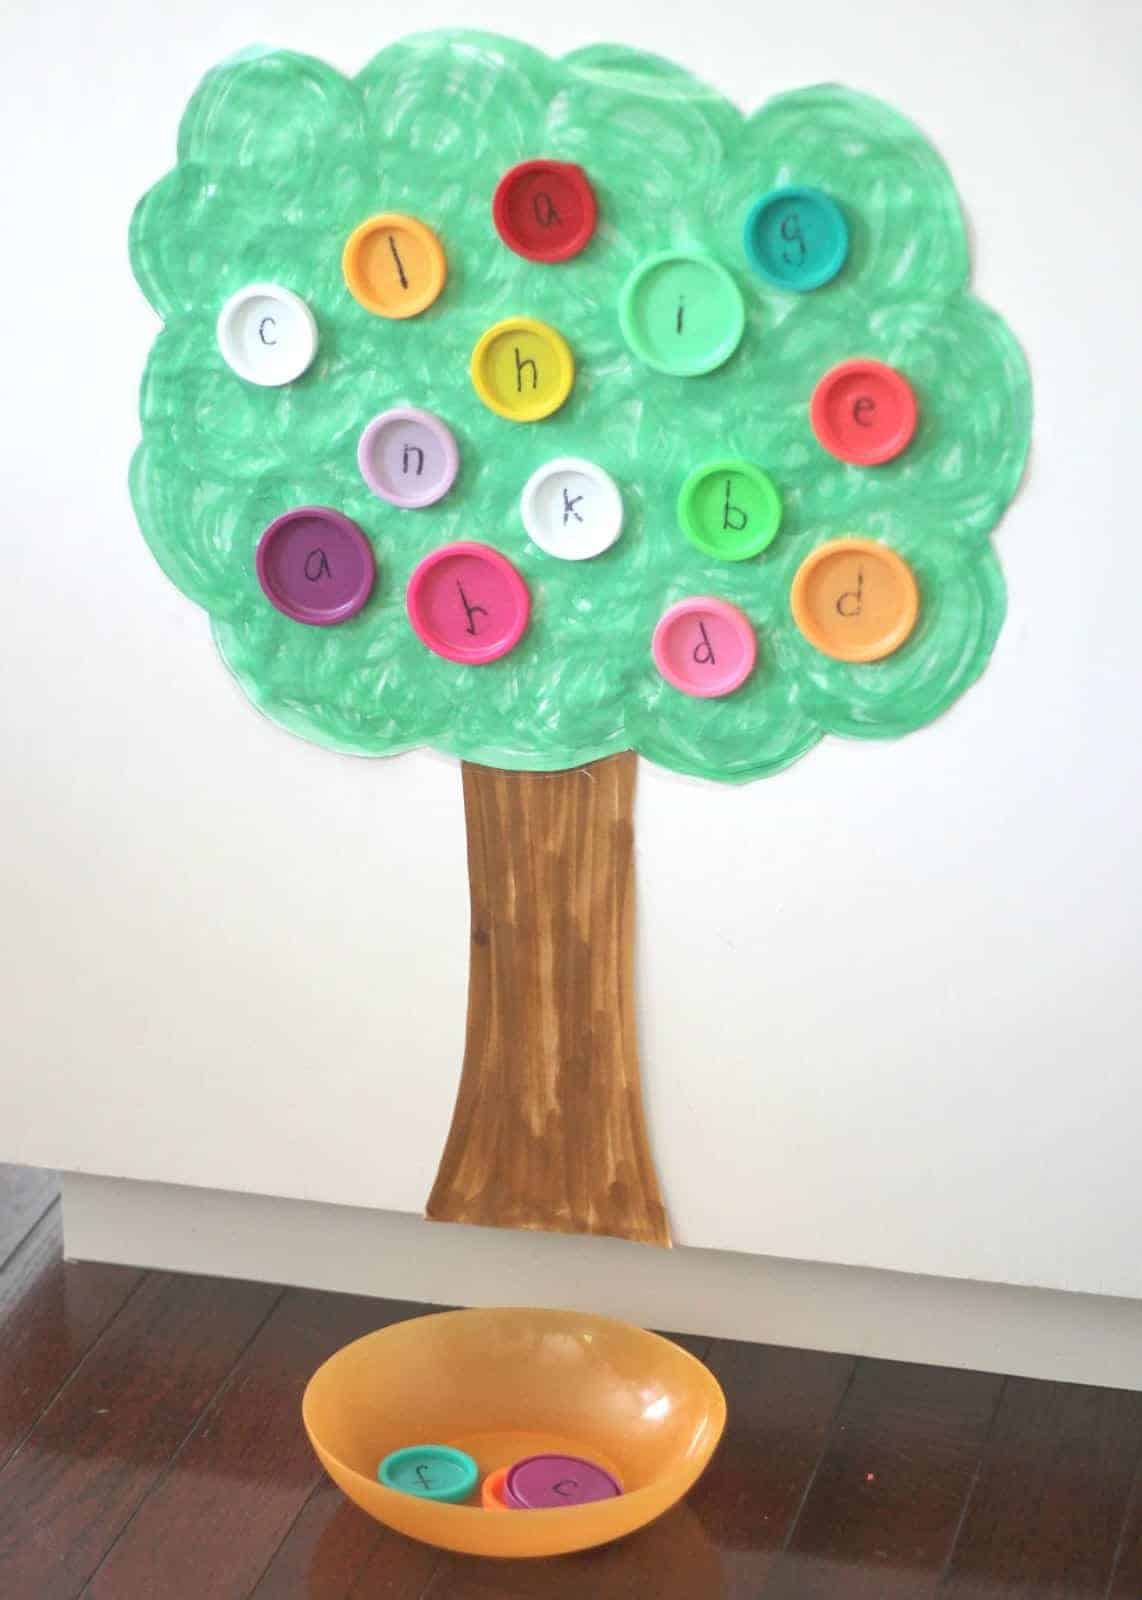
To get started you need to cut out a tree top and a tree trunk from colored paper... or you can draw them on large easel paper like I did.
Next, cut them out and stick them to a flat surface with tape. I like to use painters tape.
Next, cut out a piece of contact paper to fit your tree top. Remember you will be making the contact paper face sticky side out, so take that into consideration when you cut so that the sticky side and the tree top are the same size.
Lastly, secure your contact paper (sticky side out) on top of your green tree top. I used regular clear tape for this part.
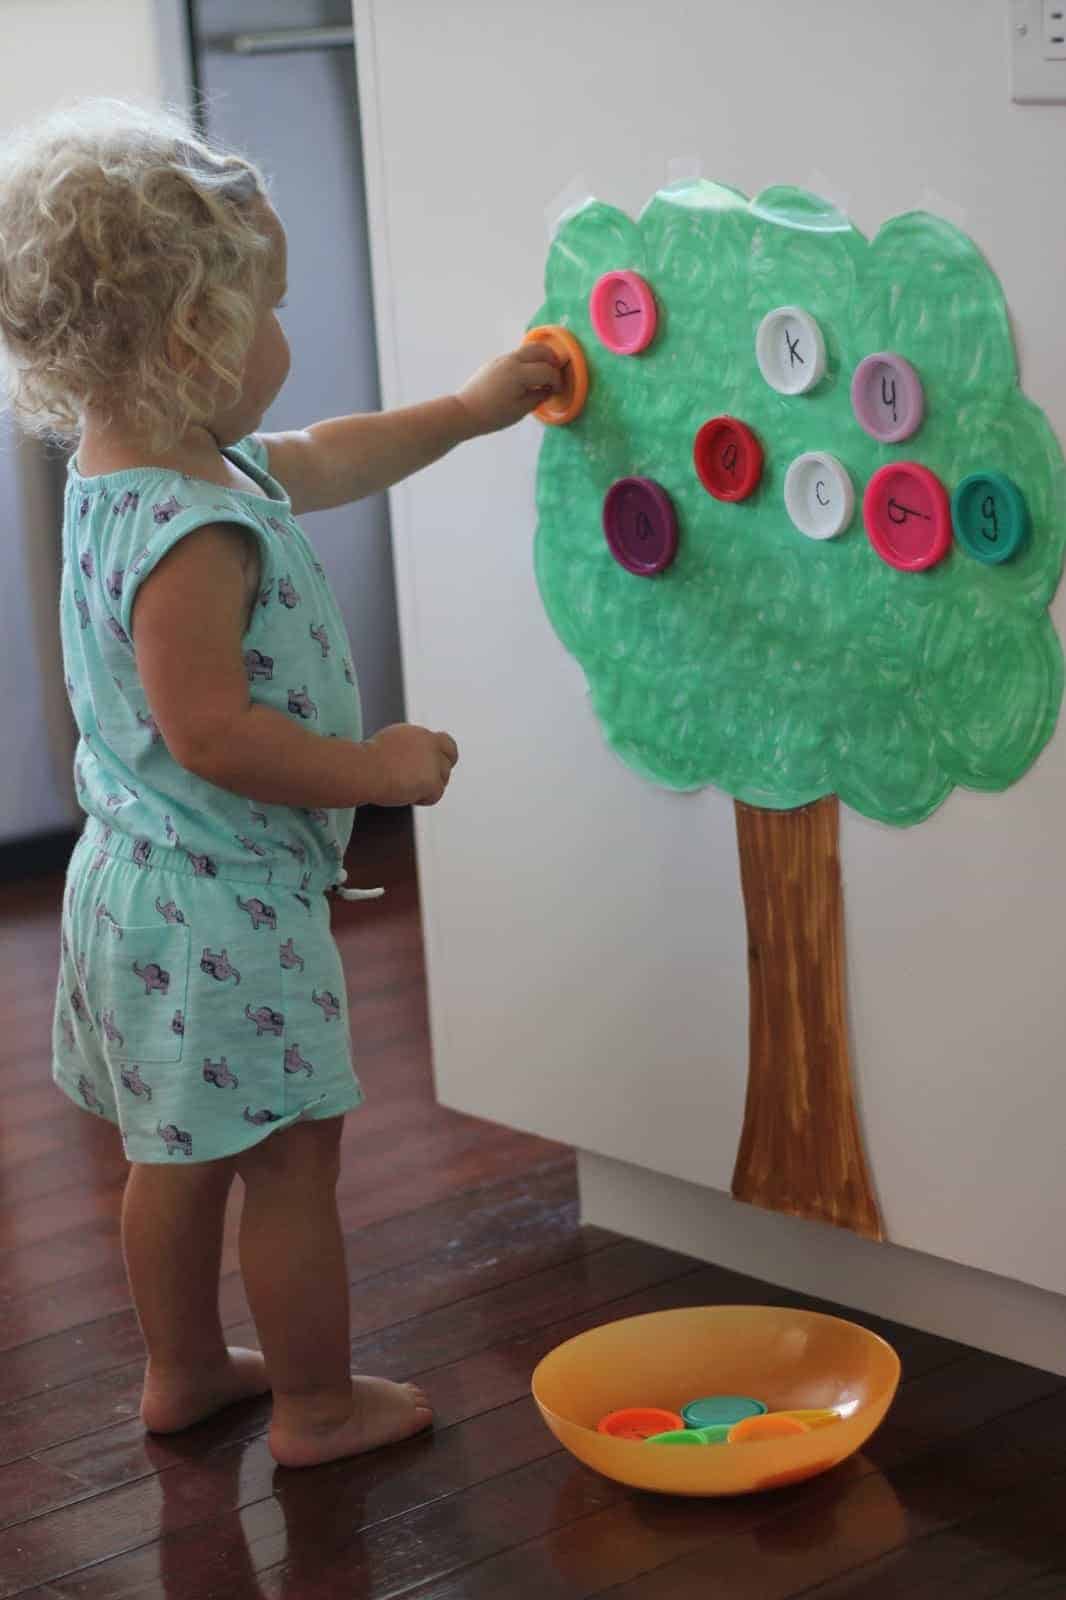
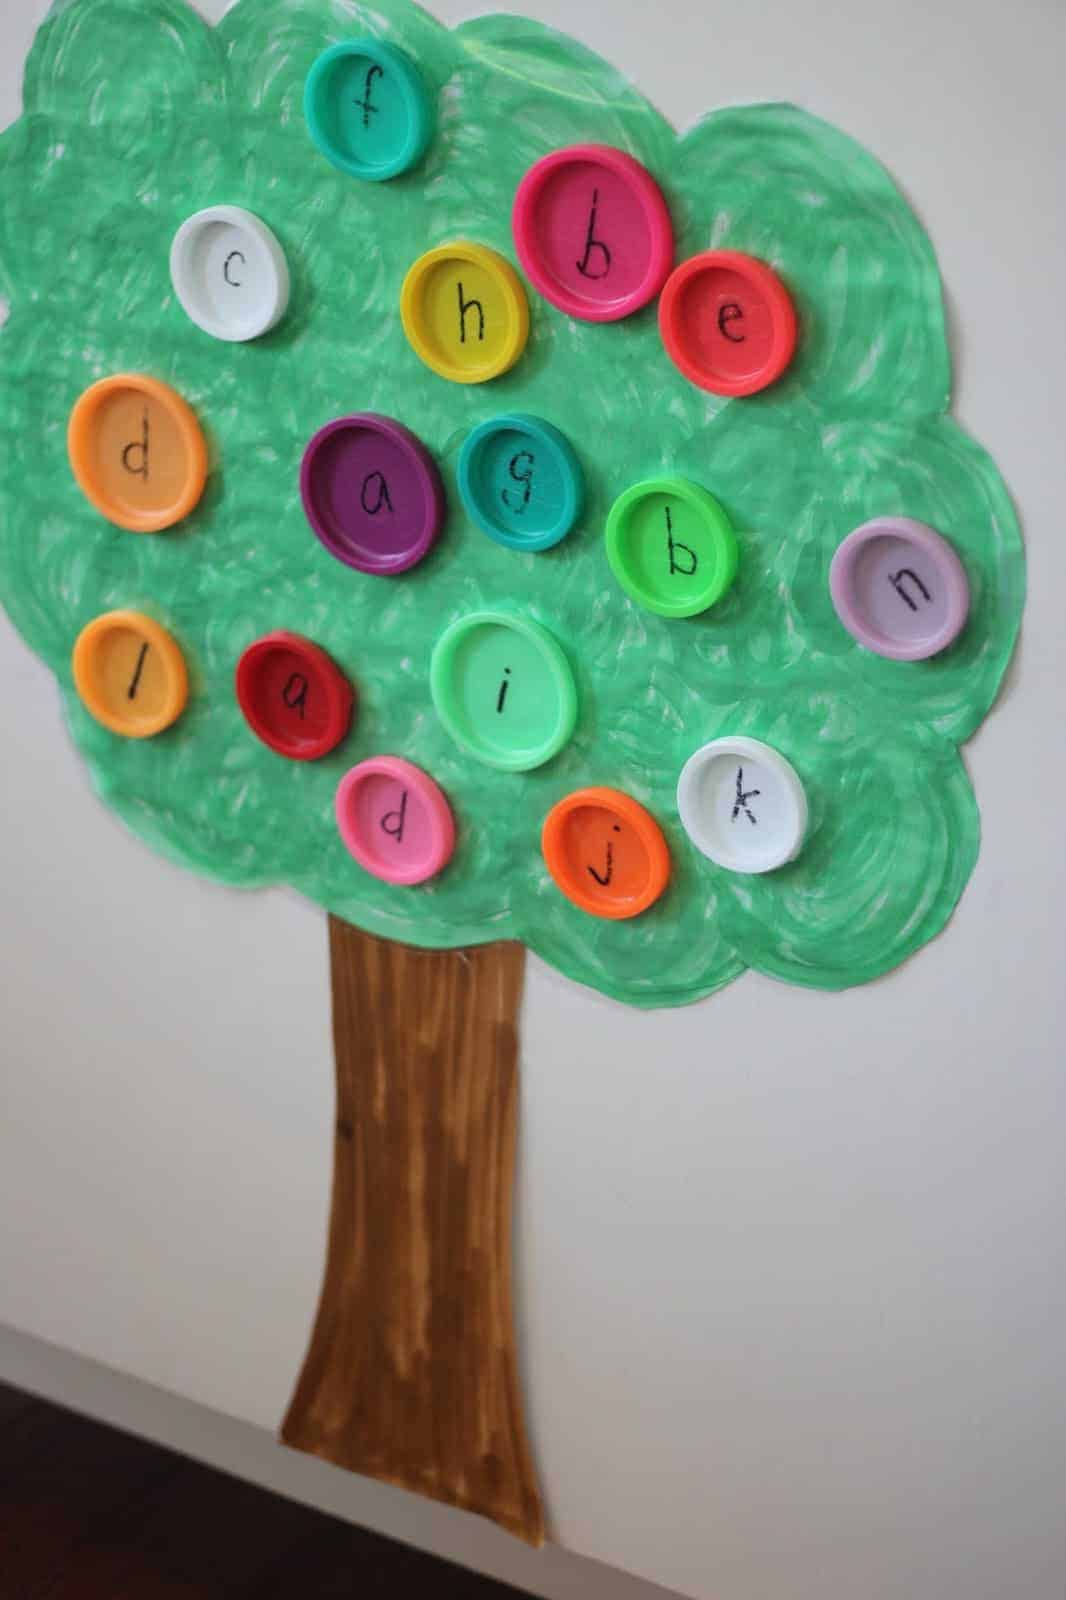
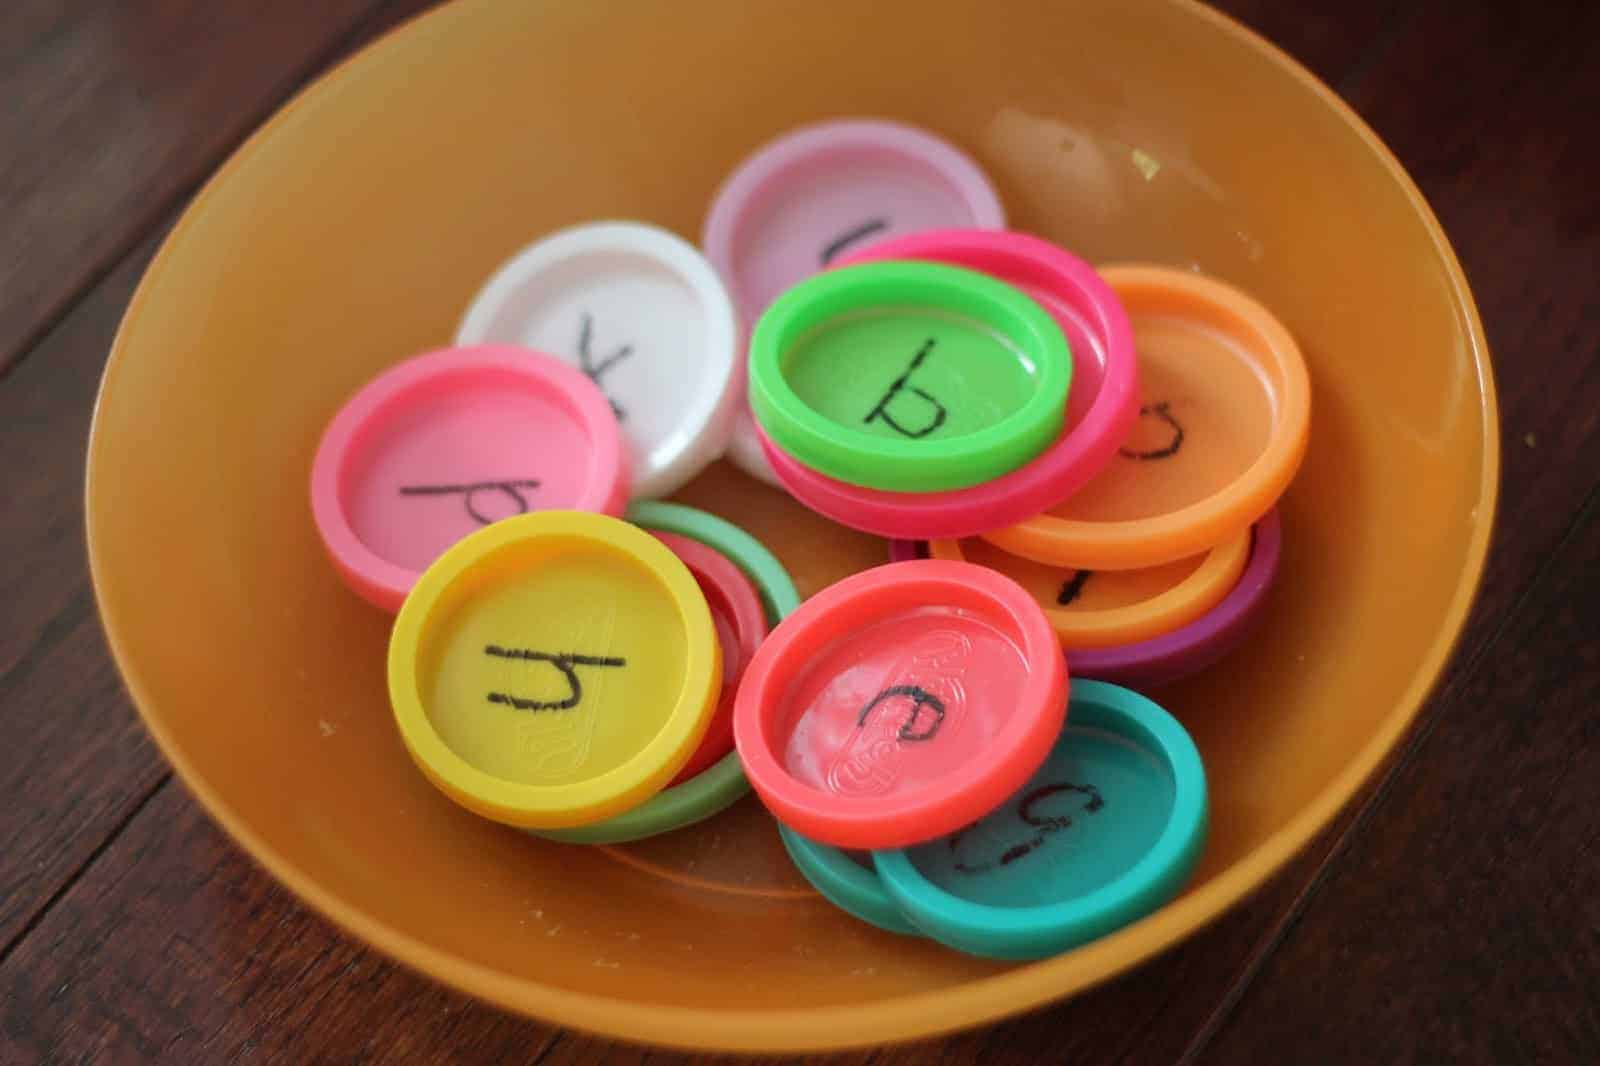
Once you tree is set up, grab some lids or circular pieces of paper and write alphabet letters on them. I used a whiteboard marker on my lids since it stays for awhile and is easier to remove than Sharpie. You can also use alphabet stickers.
I usually try and introduce my kids to lowercase letters first, though sometimes using stickers makes that tricky since it is so hard to find lowercase alphabet stickers!
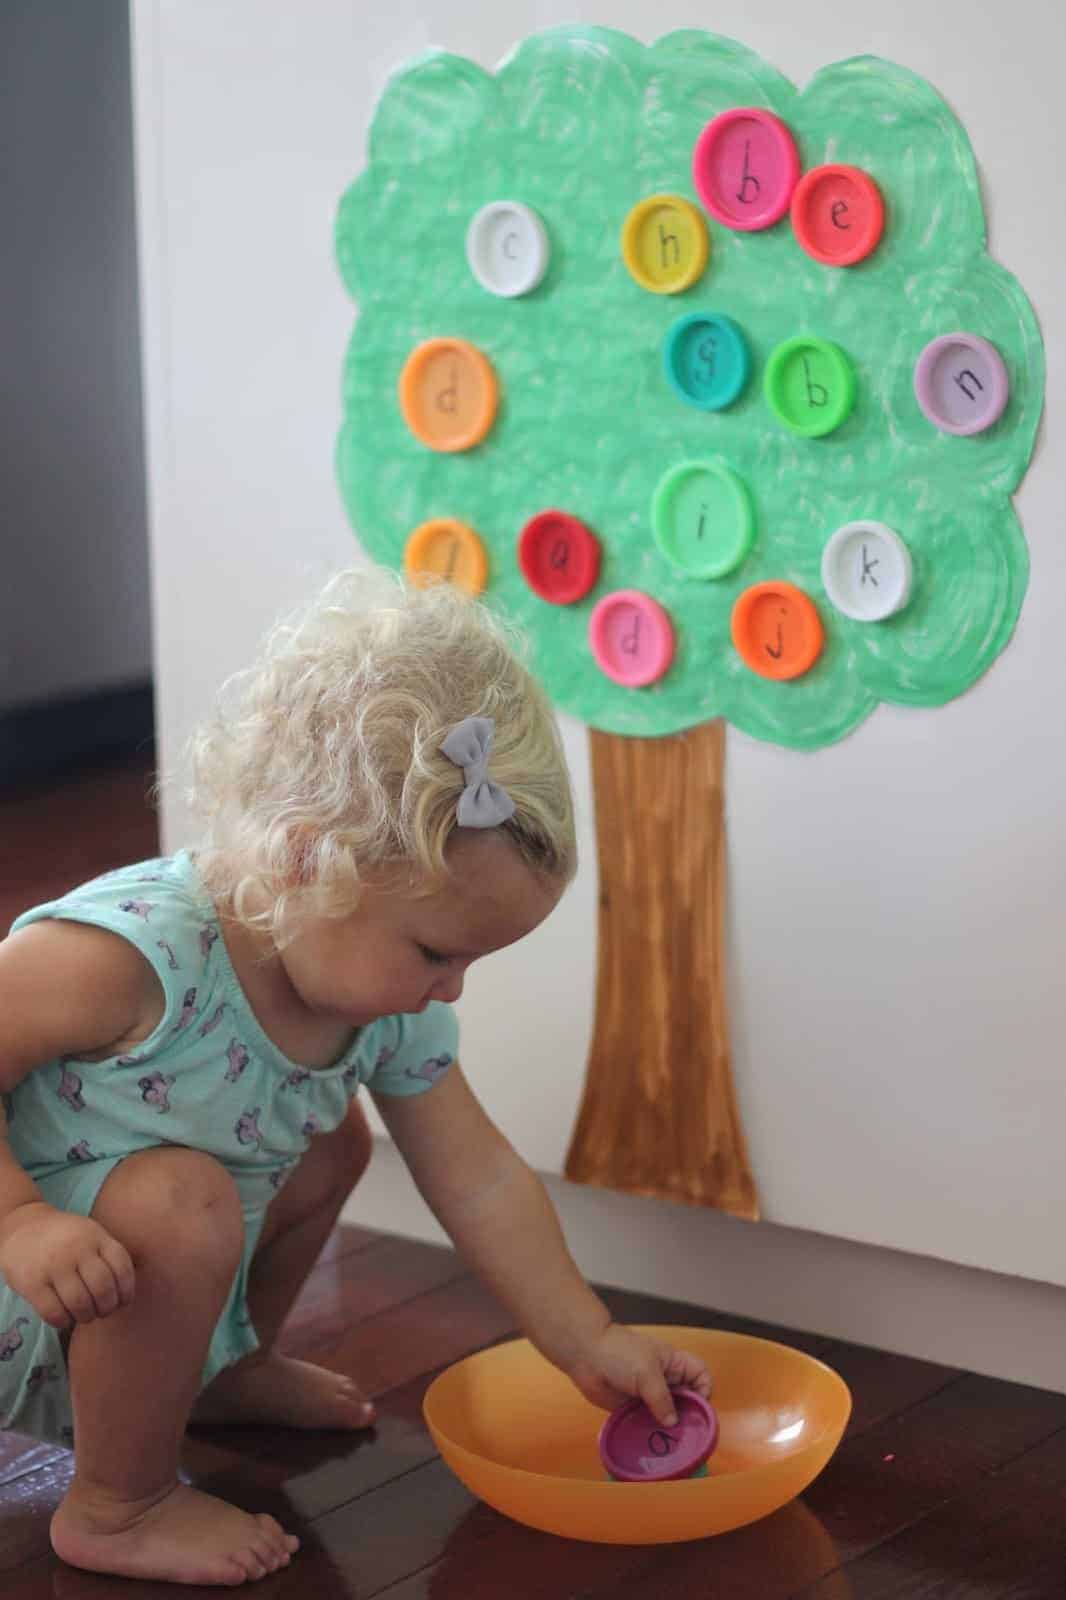
Put your lids in a bowl by your sticky wall and you are ready to start exploring!
WORDS TO USE AS YOU ARE PLAYING
Simple activities like these can be a great way to introduce your child to new words and expand their vocabulary. This is a fun exploration and play activity, not a drill and kill activity.
While we play and explore the letters and the sticky surface together, here are a few of the words I introduce.
STICKY
LID
TREE
TRUNK
STICK (ie. Can you stick the lid on the tree?)
PICK UP
CLEAN UP
FALL DOWN
I just use a variety of different words while we play and I comment on my child as she's playing and she picks up a few new words while we are exploring. Easy peasy!
HOW TO EXPLORE THE ALPHABET
With young toddlers I talk to them about the alphabet letters when they seem interested. My daughter loves the letter "b" and calls everything "b." While we played with the tree I would occasionally comment when she picked up a letter (not every time) and say the letter name and a word it is associated with. Mostly we just talk about the letters in her name (ie. "you have an A for Annabelle!")

HOW TO USE THE STICKY ALPHABET TREE WITH PRESCHOOLERS
Some preschoolers already know their letters so as they play they might say the letter names. Some might try and say the name of an object that starts with that letter. As I play alongside my preschooler I like to casually point out things. "Hey! This is C. That's the letter at the beginning of Catie's name..." or "This is a e. We've seen that somewhere recently. Do you remember where?" Sometimes our alphabet play activity will turn into an alphabet hunt!
WHAT TO DO ABOUT TODDLER DESTRUCTION?
Sometimes toddlers just want to knock down all of the letters or pull the sticky tree down! You might think, "oh no!" But don't worry too much about it. Your toddler's behavior might be telling you that they aren't interested in this sort of activity or they are telling you that they want to play and explore with the materials in a different way.
If your toddler is new to contact paper, set up some for them to play with and pull down away from your sticky alphabet tree. Let them pull it down and explore that as much as they want so that they can get an opportunity to explore the materials. You can also give your child a bucket of the alphabet lids to sort and drop and dump and explore. That is totally fine! You can still get the learning experience of talking about the letters, exploring sticky, and talking about colors this way too.
My daughter LOVED knocking the alphabet lids down off the tree and then putting them back up again... and then knocking them down again. She also threw them all over the kitchen and then sang her "clean up" song to pick them all up again.
There are so many ways you can learn and play with these materials!
We keep a big collection of lids in a container to use and reuse. These lids are all mostly from playdoh containers, since they are our favorite types (and I don't make homemade playdough nearly enough!).
NEED MORE ALPHABET ACTIVITIES?
Check out our 25 Easy Alphabet Activities post that we shared yesterday. It also includes some favorite books that we love.
Don't forget to sign up for our newsletter and grab our free printable monthly calendar as well!

Leave a Comment