Tie dyeing shirts is one of my favorite classic summer activities! It is much simpler than you think!
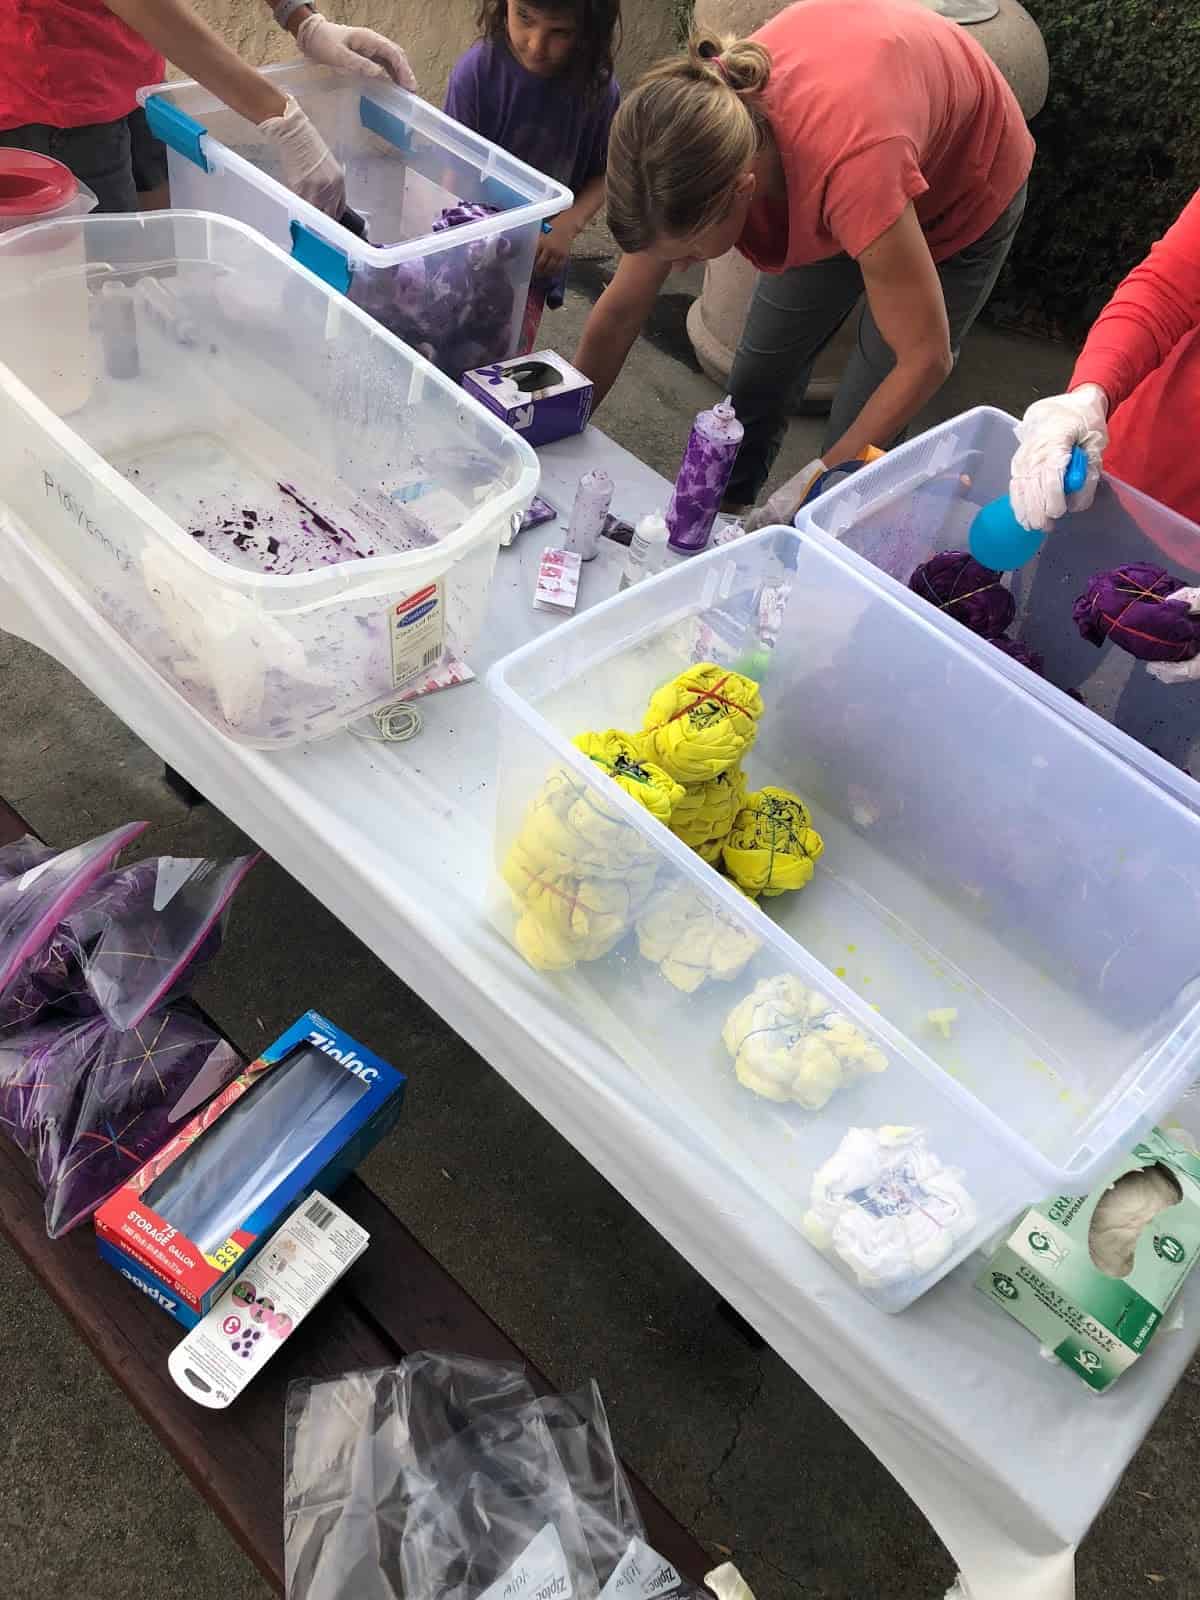
- big plastic containers (underbed storage bins work great!)
- squirt bottles (for dye)
- spray bottles (for water)
- rubber bands
- plastic gloves
- white t-shirts (the $5 Target ones are great!)
- tie dye powder
- Elmers glue
- 1-2 gallon Ziploc bags (depending on how many you are making)
Glue Batik Tie Shirts are so cool! Here's how you make them.
TIE DYE DIRECTIONS:
1. Draw a design on a piece of paper or cardstock and then slip it underneath the shirt. Let kids make whatever design they want!
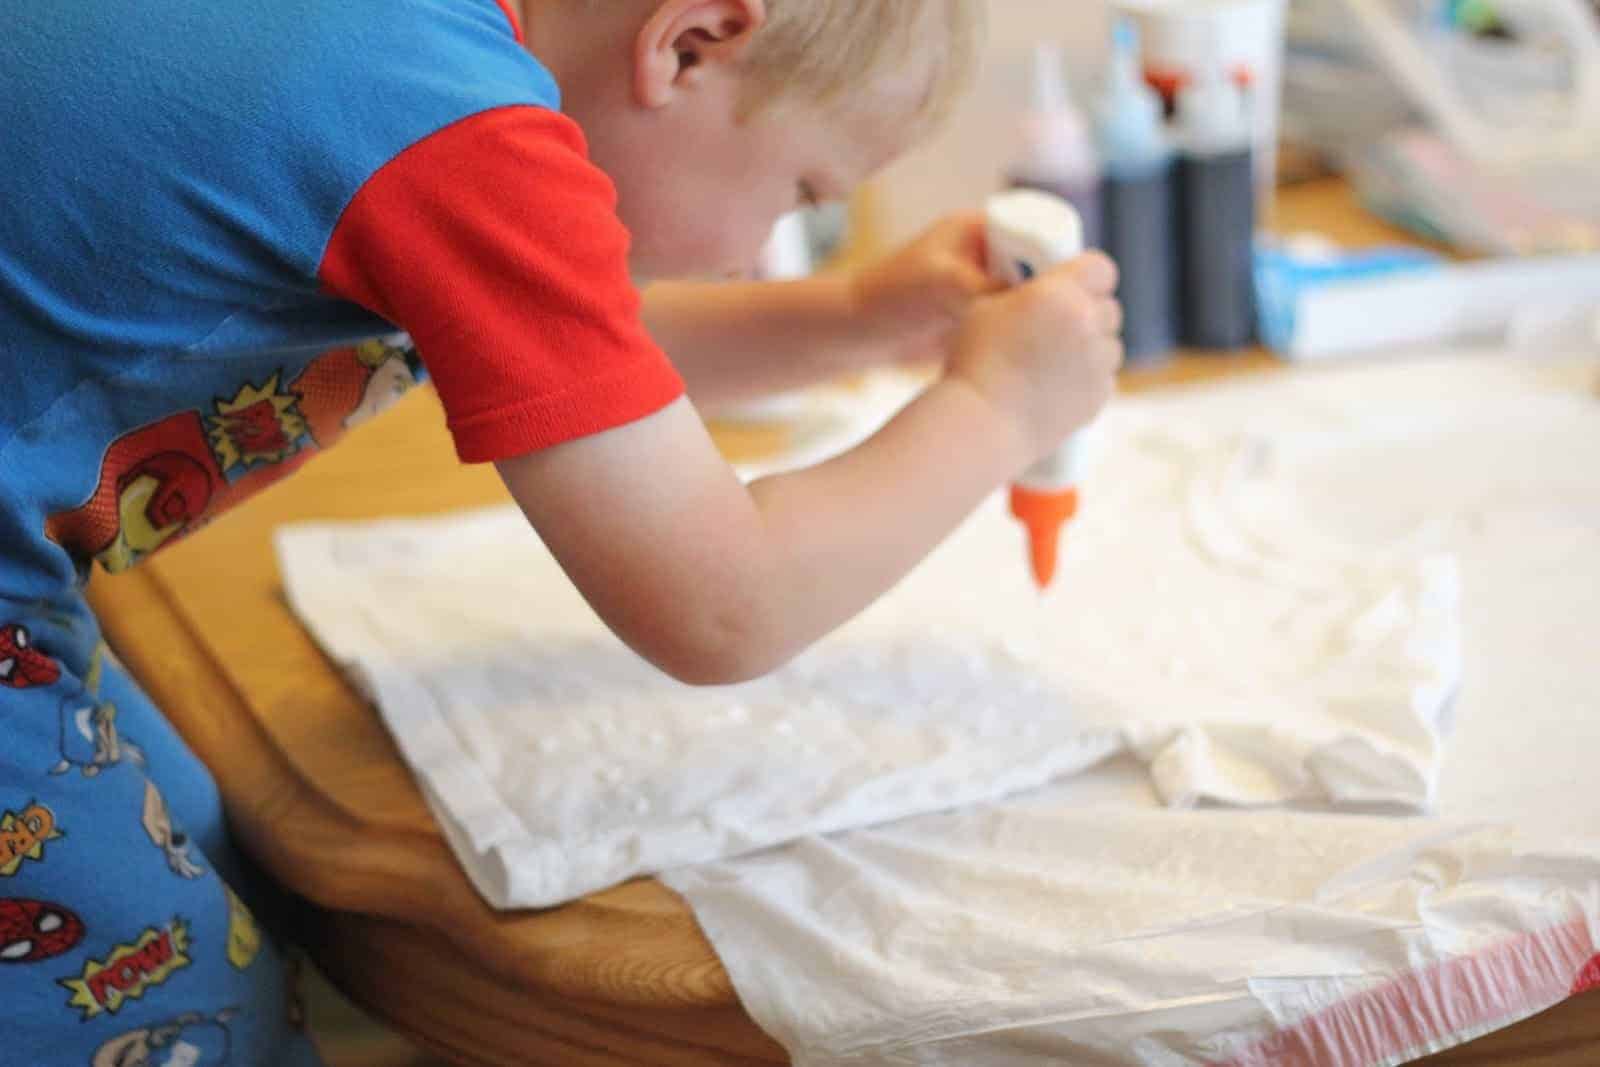
2. Use glue to trace the design onto the front of your shirt.
3. Let the glue dry.
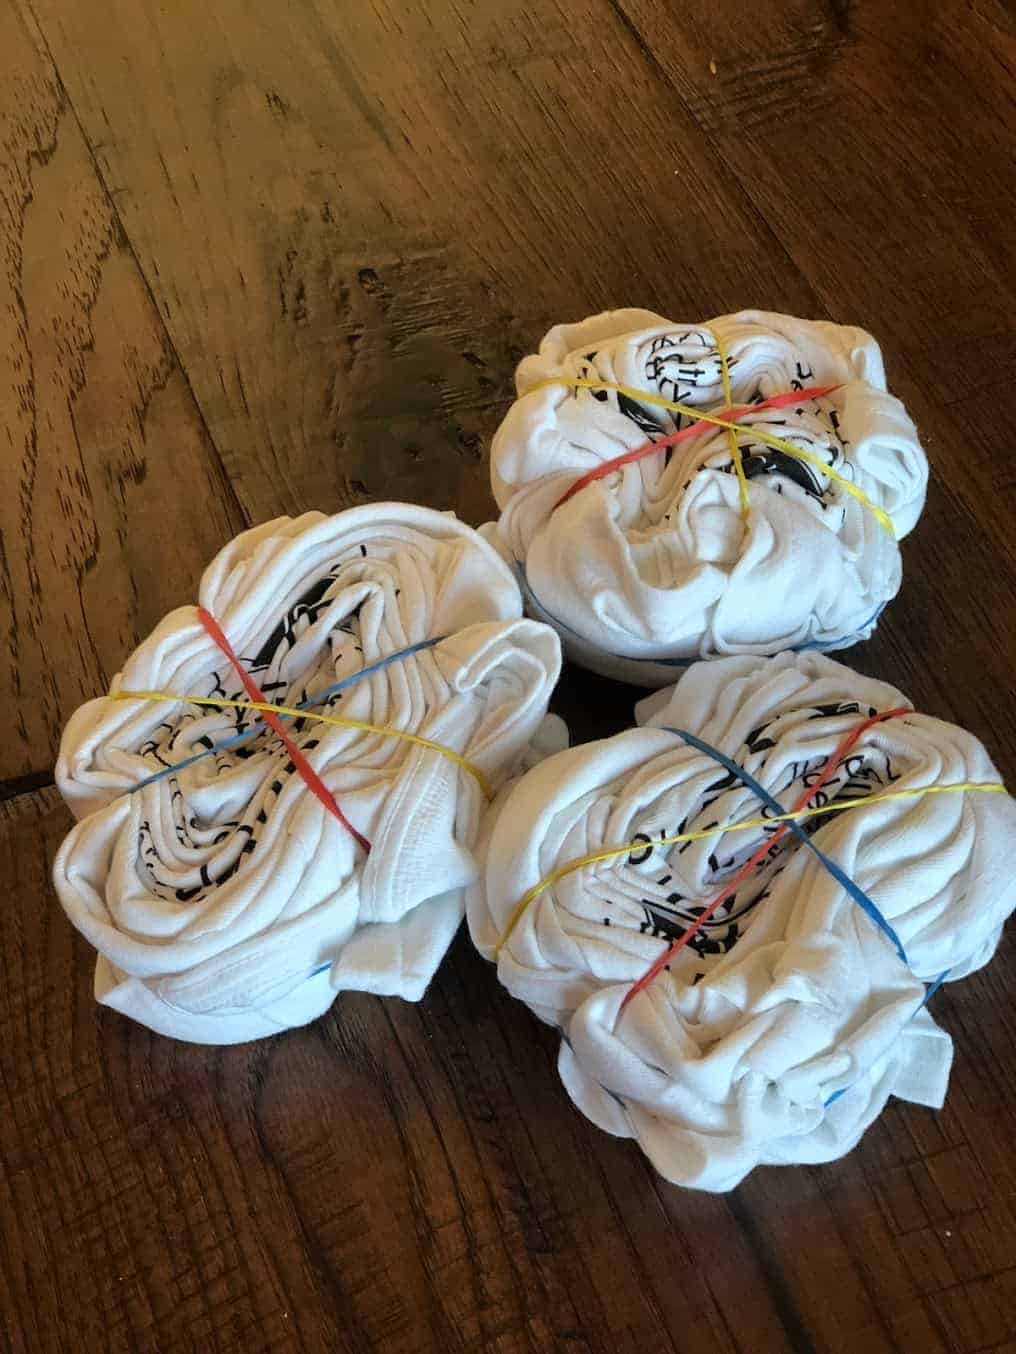
4. Scrunch up the shirt and add rubberbands where you want to create your tie dye designs (you can find loads of tutorials on YouTube that show you fun ways to tie dye- spirals, bulls-eyes, etc.). I tried to only use the rubberbands on areas where there weren’t batik designs.
5. Dampen the shirt to make it easier to apply the dye (I used a spray bottle to squirt water on the shirts). The more water you use, the more the dye can seep in. Make sure you spray water inside the creases on the shirts. This is always my kid's favorite part!
It may turn into a mini water fight.
6. Squirt dye onto the shirt with the squeeze bottles (make sure you cover table surfaces with plastic and use gloves- dye stains!).
Kids can squirt the dye as long as a grown up is nearby and helping.
8. Rinse with water to get the leftover dye out and take off the rubber bands. Follow the rest of the directions that come with your dye kit for washing and drying in the washer/dryer. Don’t wash the shirt with anything else the first few times.
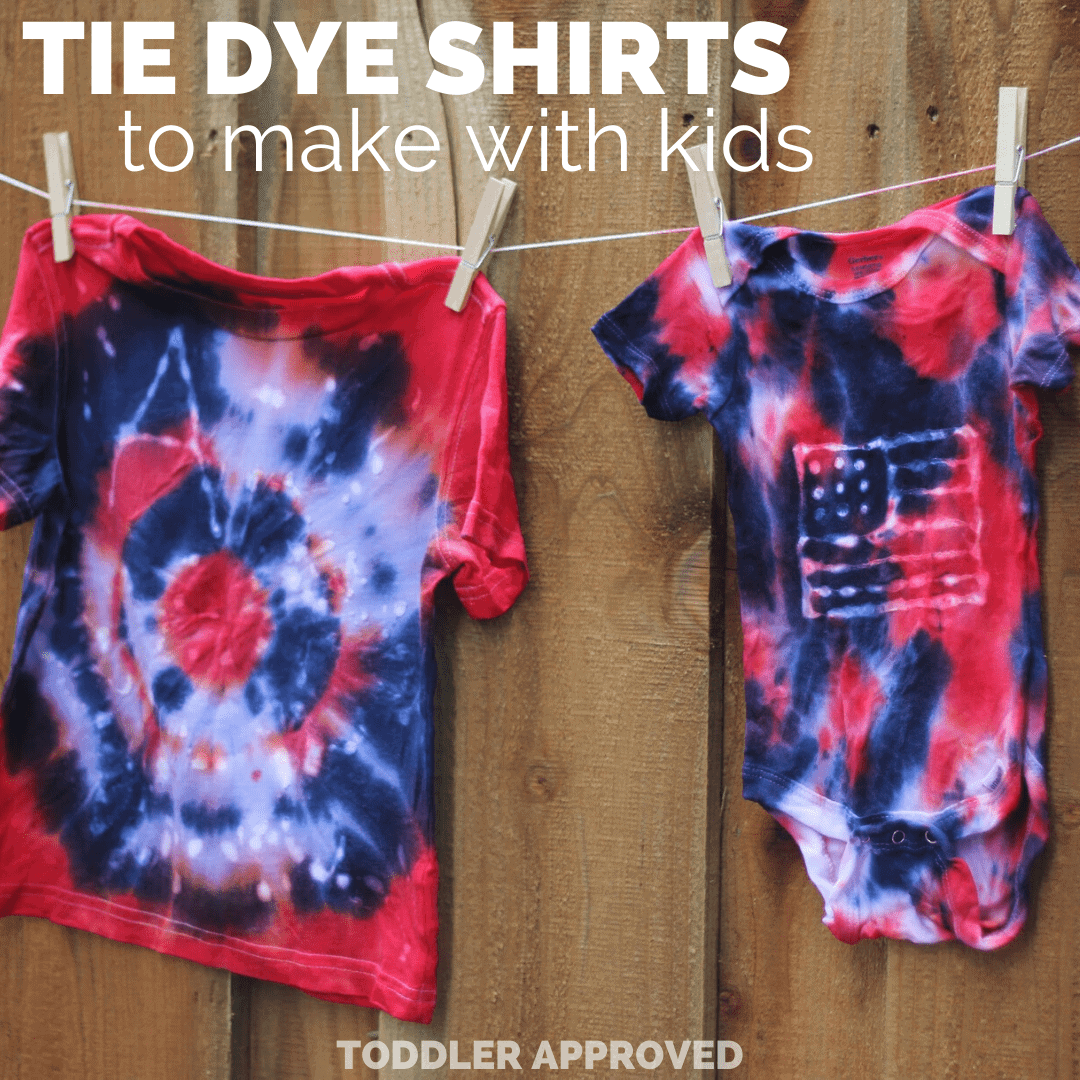
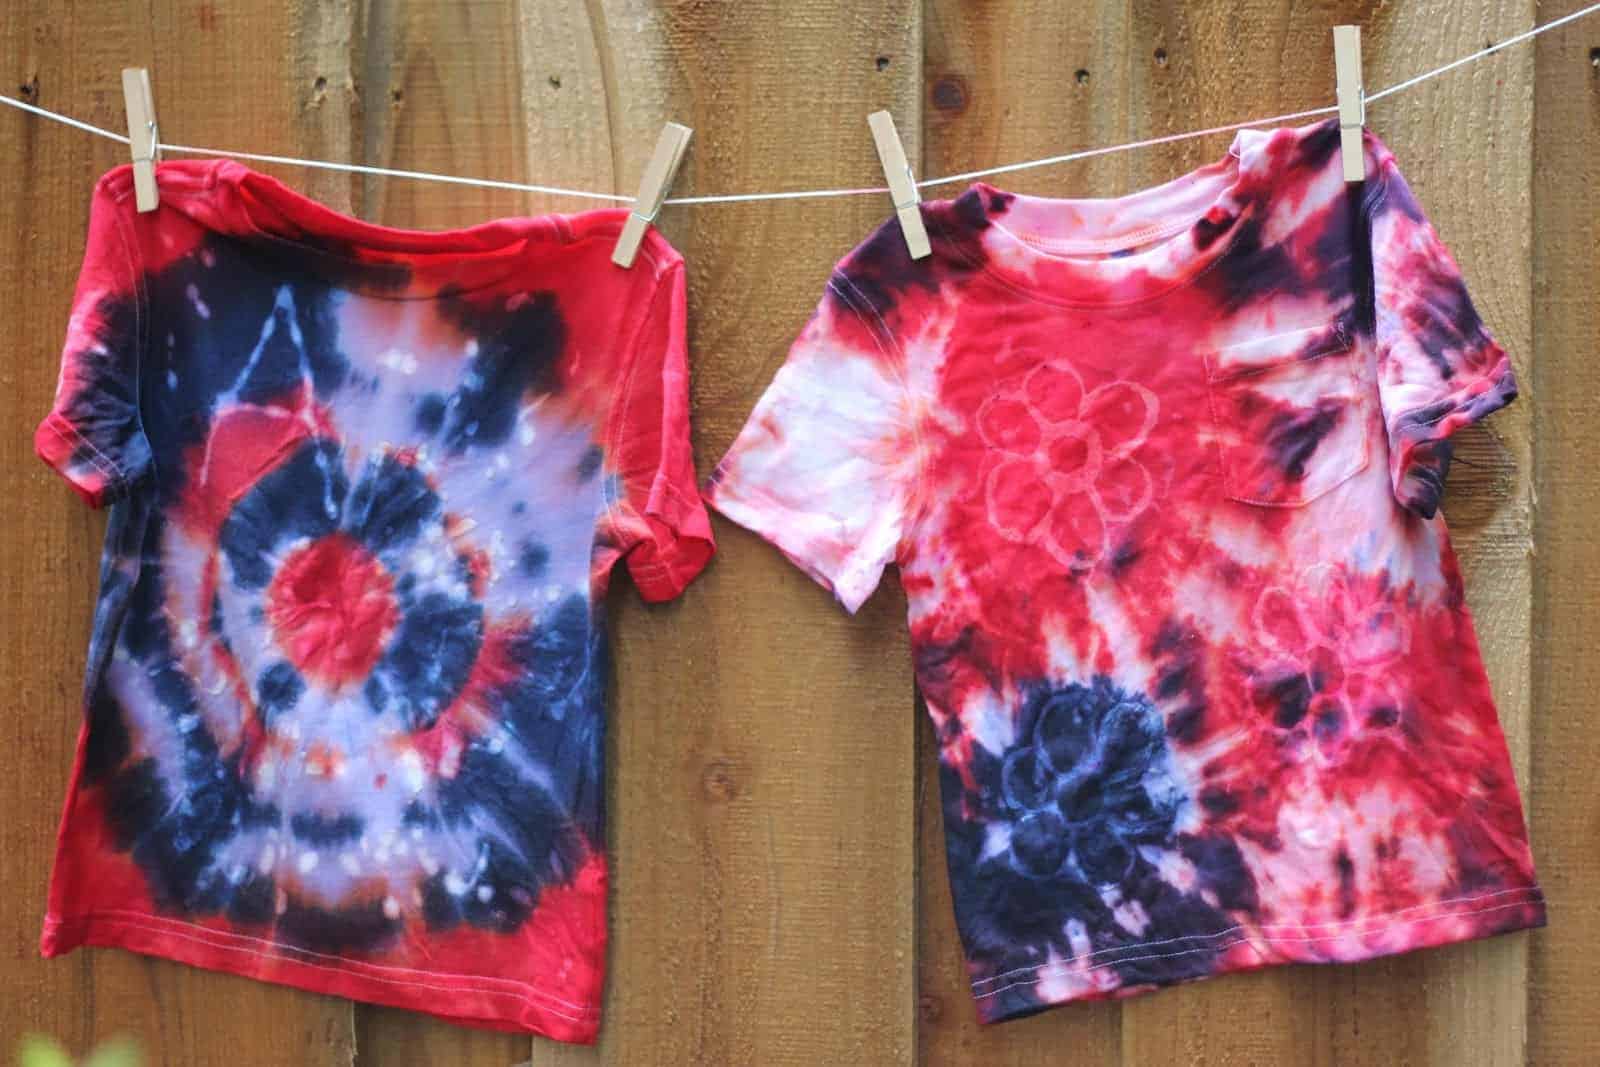
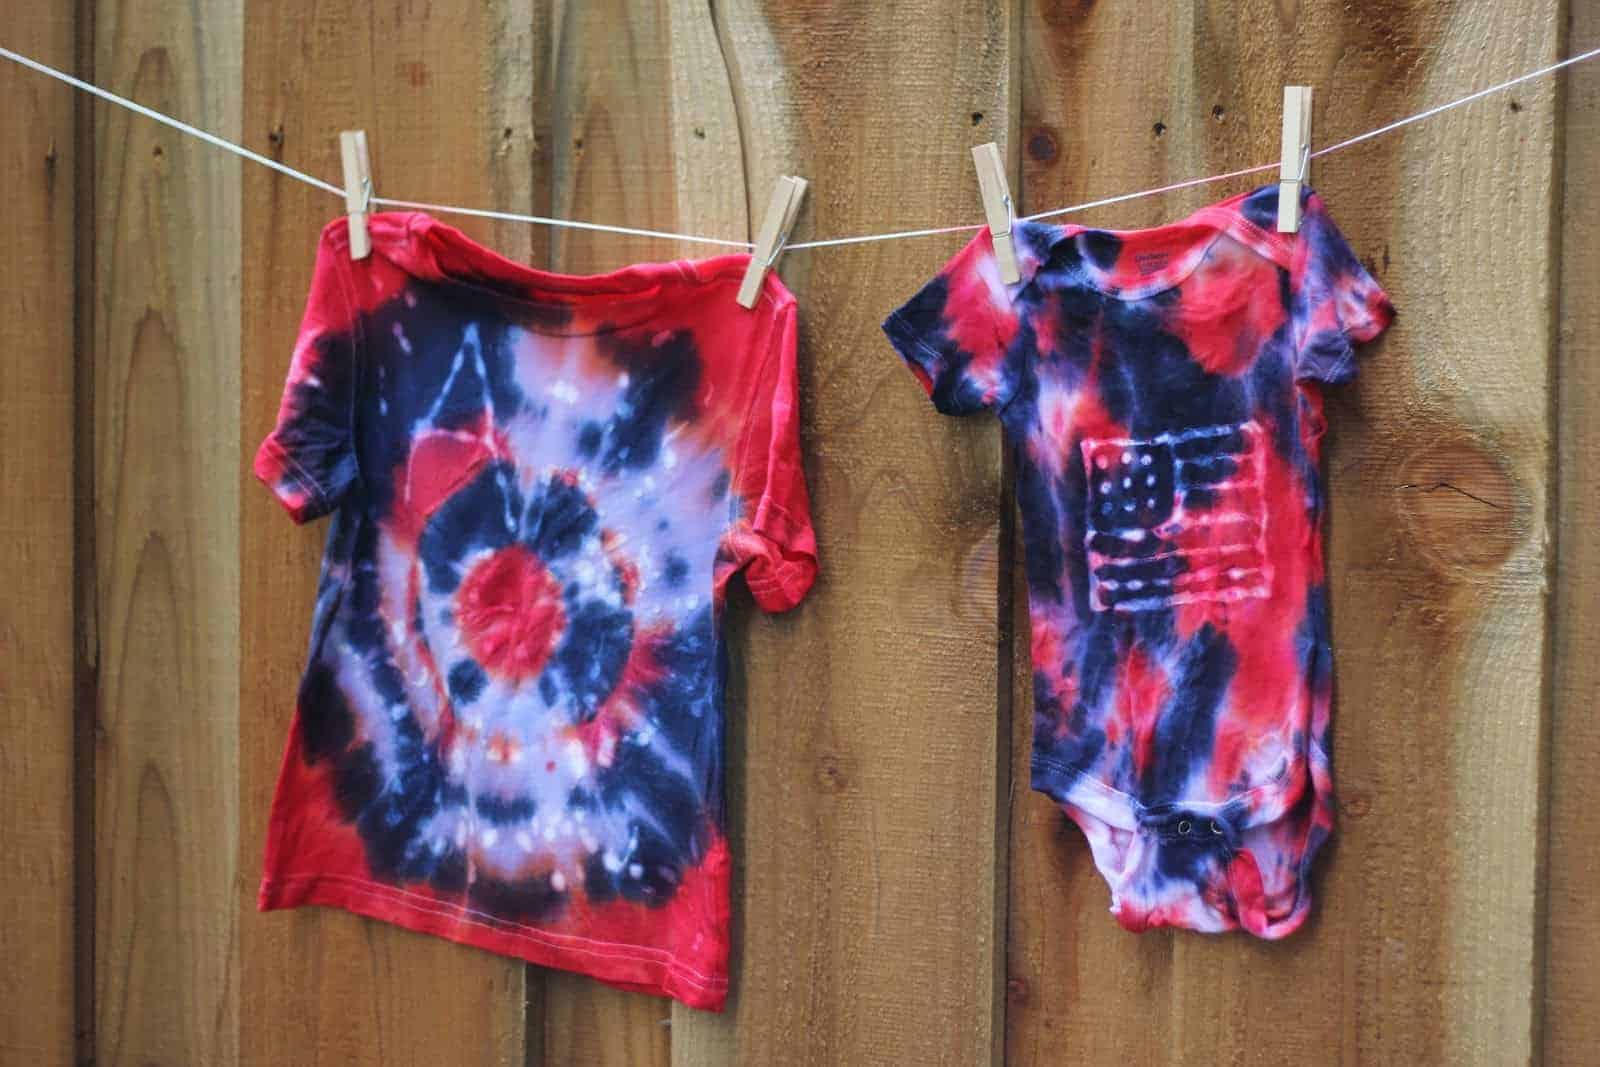
9. Check out the awesome tie dye and batik designs on your shirt!! This unveiling process is our favorite!
I grew up going to our town’s recreation department camp every summer. My twin sister and I and our friends did lip syncs to Tiffany for the talent show and spent our afternoons making dream catchers and popsicle stick jewelry boxes. I loved sitting at the picnic tables and lazily crafting while chatting with my friends.
I try to recreate this sort of fun and relaxing summer camp atmosphere in our home each year by attempting some classic camp crafts with my kids and some friends.
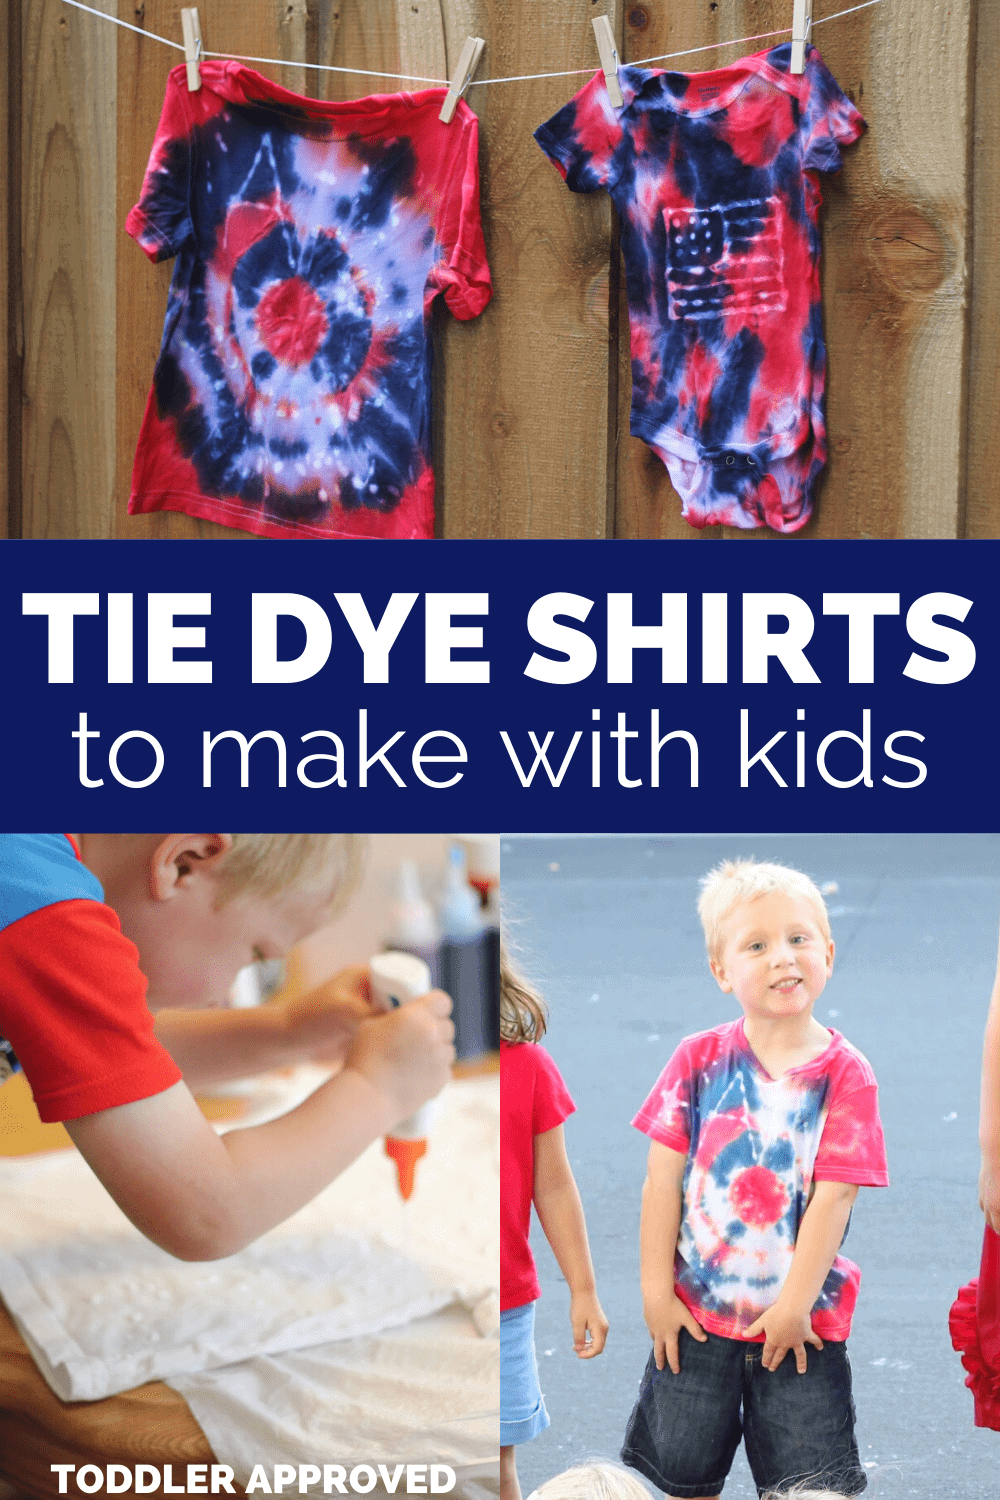
We did all of the shirts in Fourth of July colors since I think they are perfect to wear all summer long, but you can use any colors!










Leave a Comment