
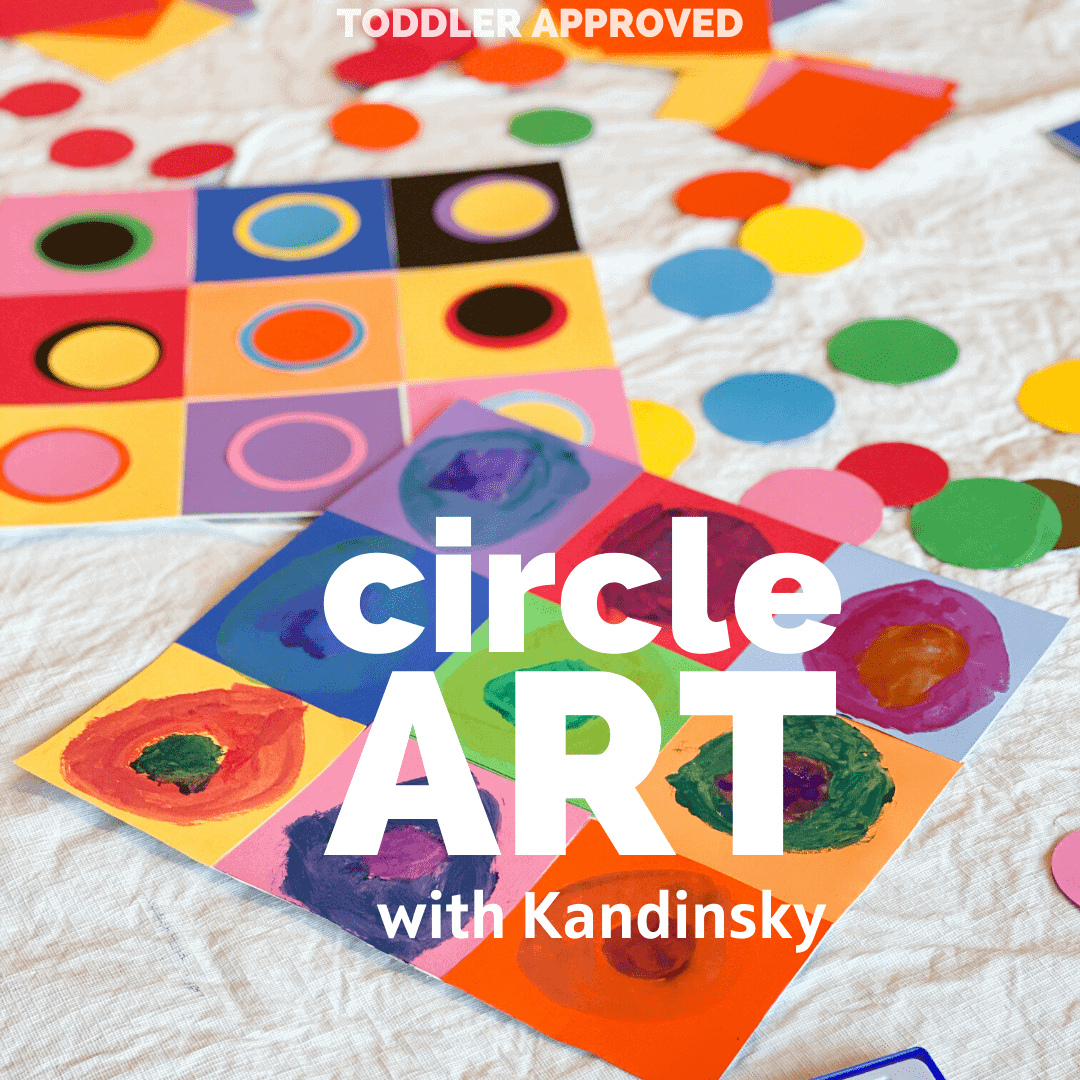
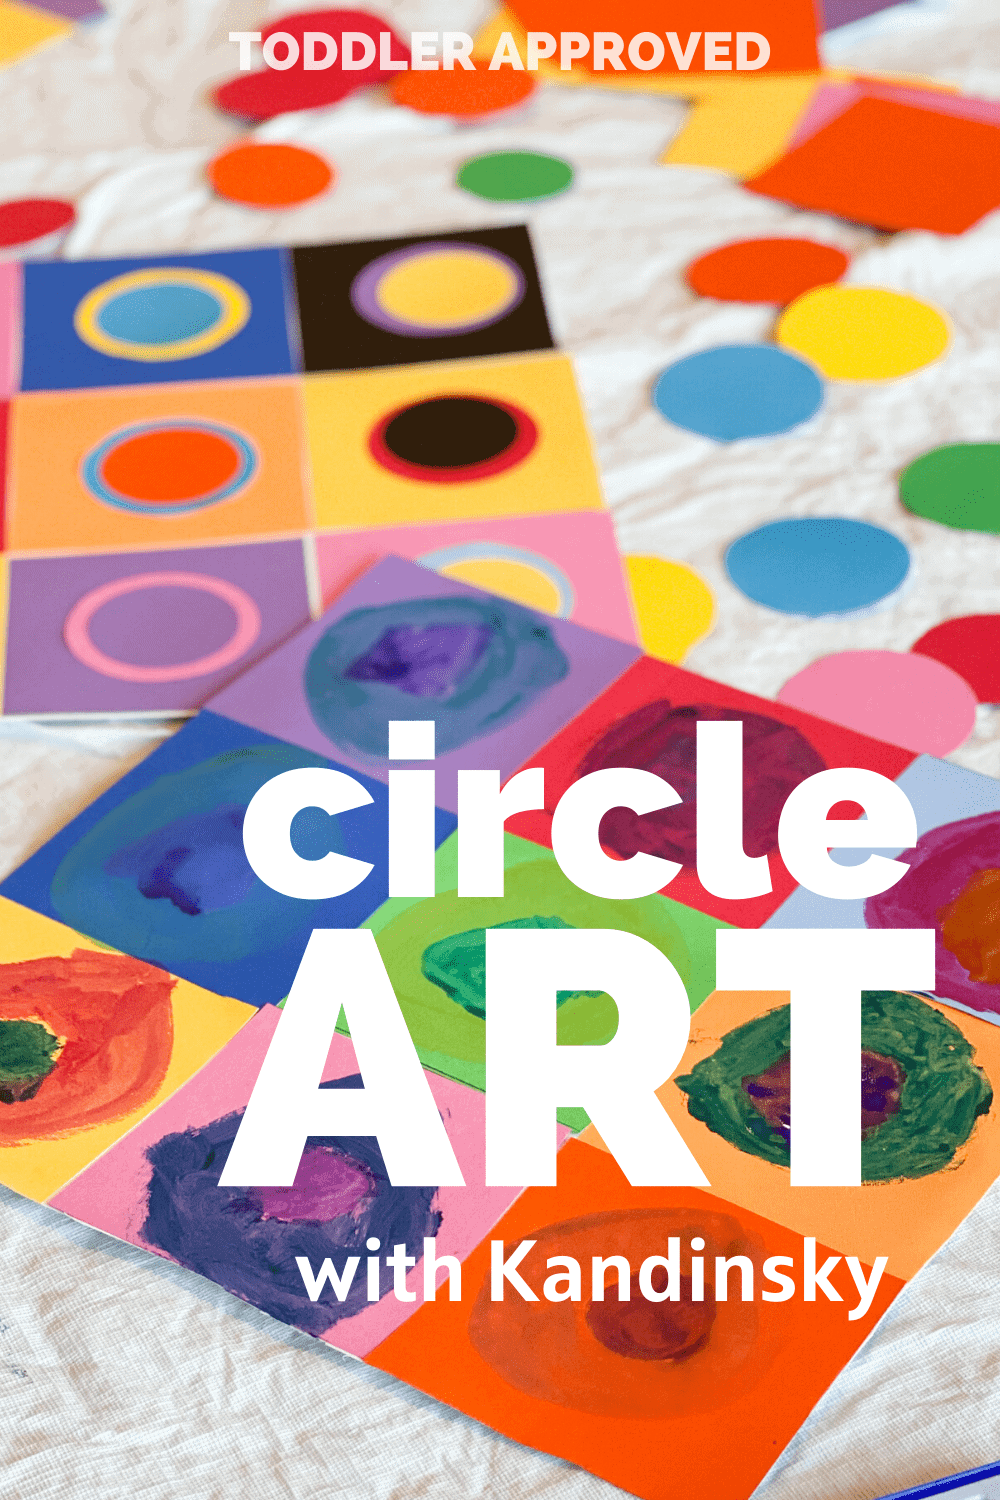
Need a simple art activity for today? Let's try some circle art.
This circle art activity combines some of our favorite art tools- paint, craft punches, lots of colorful paper, scissors, and glue! I haven't met a kid yet who doesn't love playing with a craft punch.
This activity is easy to put together and simple to modify for kids of different ages. It is such a fun way to teach kids about one of our favorite famous artists, Wassily Kandinsky.
Want to see our art activities in action? Follow me at @KristinaToddlerApproved on Instagram or go HERE to see them in our Art Instagram Stories highlight.
RELATED: Looking for more easy activities for kids? Go here to find a list of my favorite quick & easy low-prep activities for toddlers (big kids love them too).
This post contains Amazon Affiliate links.
How do you introduce Wassily Kandinsky to kids?
When I introduce a new artist to our kids, I like to do 3 things.
1. Teach them a few simple facts about the artist, including showing them a short video about the artist. There are so many simple & short ones on YouTube. Make sure you preview anything you show to your kids first.
2. Read any books we have about the artist.
3. Get them creating, inspired by the artist!
Here are some of our favorite Wassily Kandinsky resources:
READ: The Noisy Paintbox by Barb Rosenstock (This book has beautiful pictures)
WATCH FIRST: Mister Maker Discovers Wassily Kandinsky
This is a silly simple movie to introduce Wassily Kandinsky to kids.
How do you do making Circle Art inspired by Kandinsky?
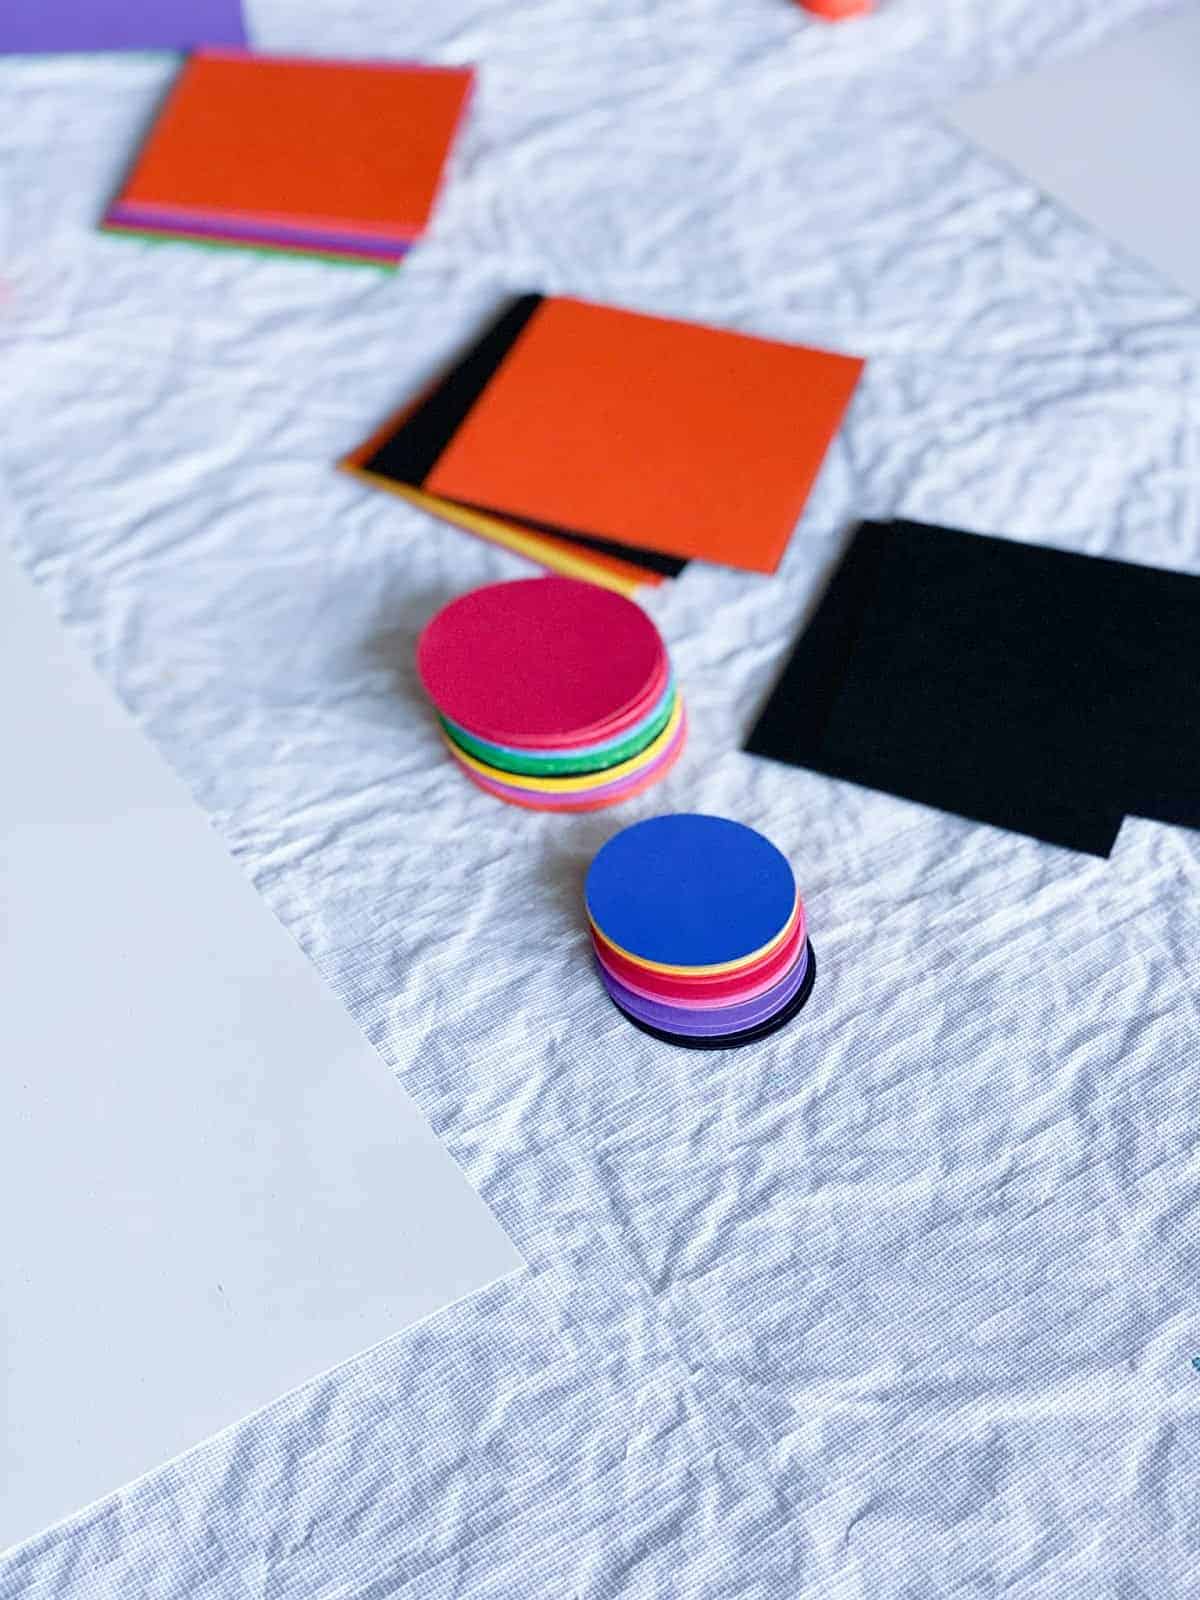
MATERIALS NEEDED:
- colored paper (variety of colors) cut into squares and different sized circles
- scissors
- gluesticks
- large piece of white paper
- Optional: circle craft punches (makes cutting circles much quicker)
- Optional: Watercolor/tempera paint & paint brush
RELATED: Want to learn about other famous artists? Go here for more simple activities inspired by Great Artists.
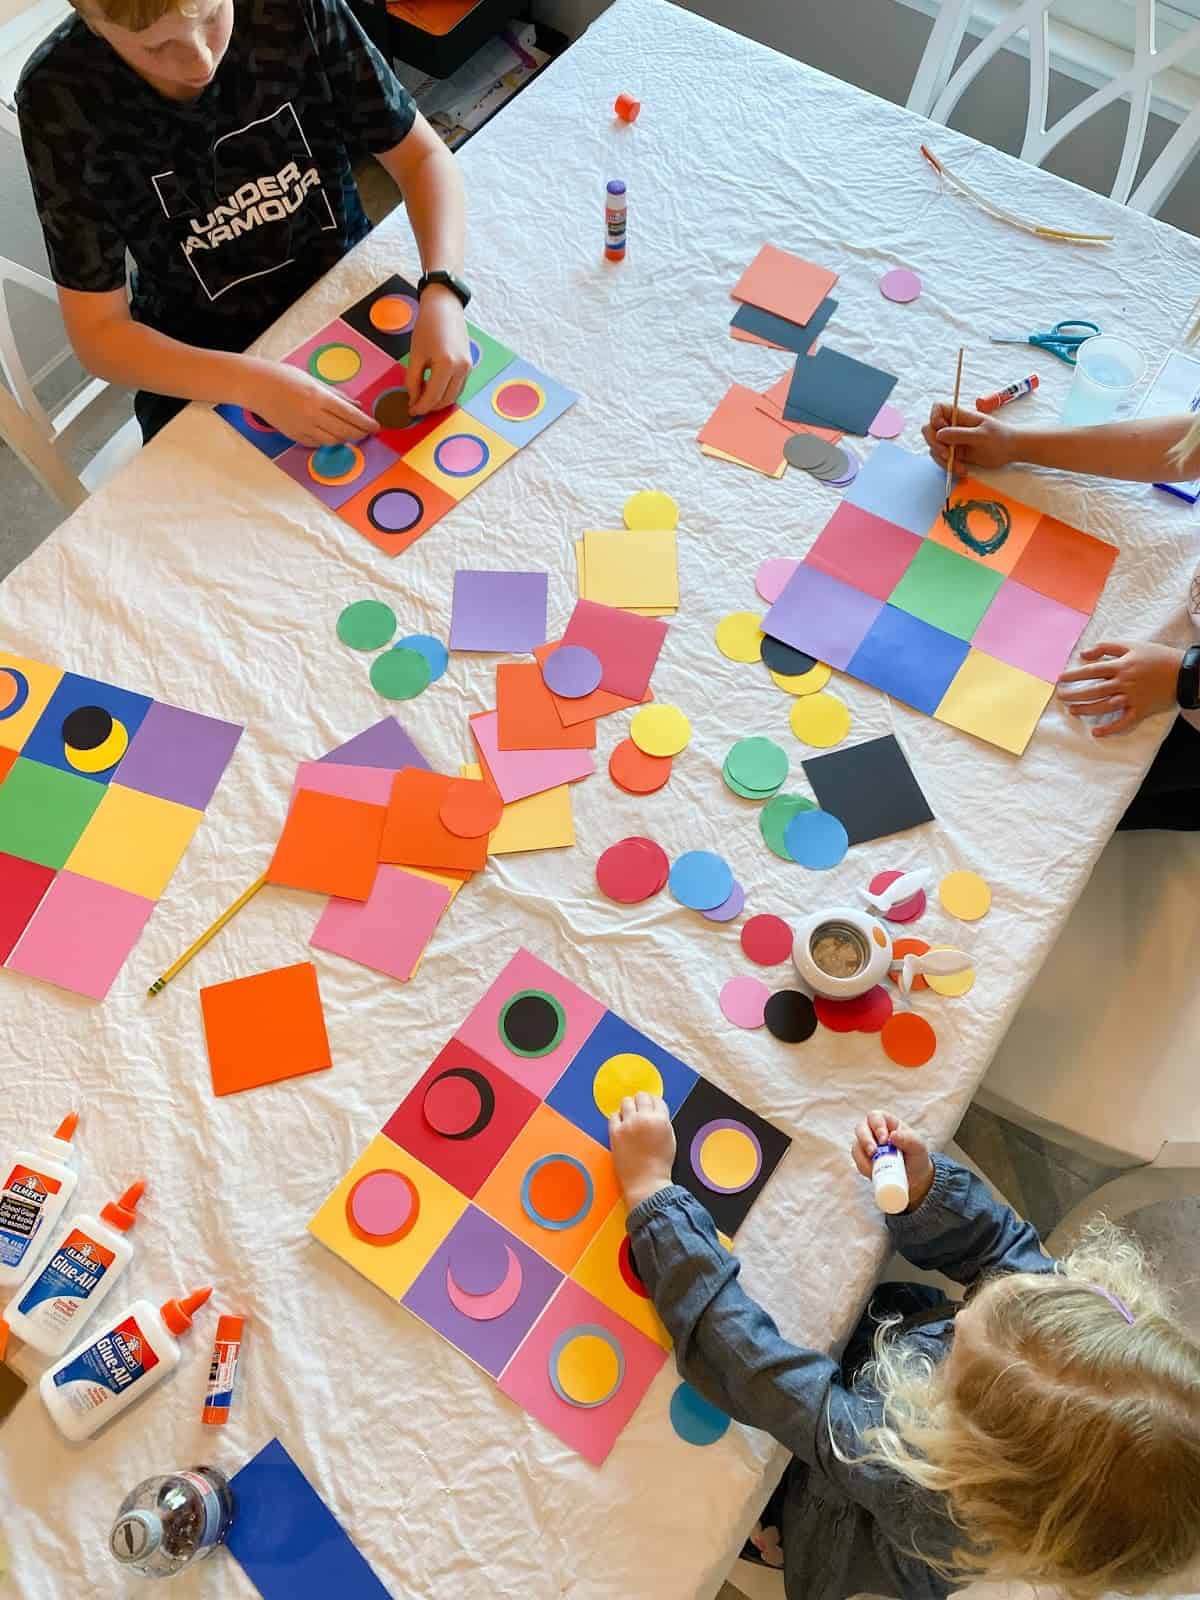
DIRECTIONS:
- Set out a large white piece of paper for each kid.
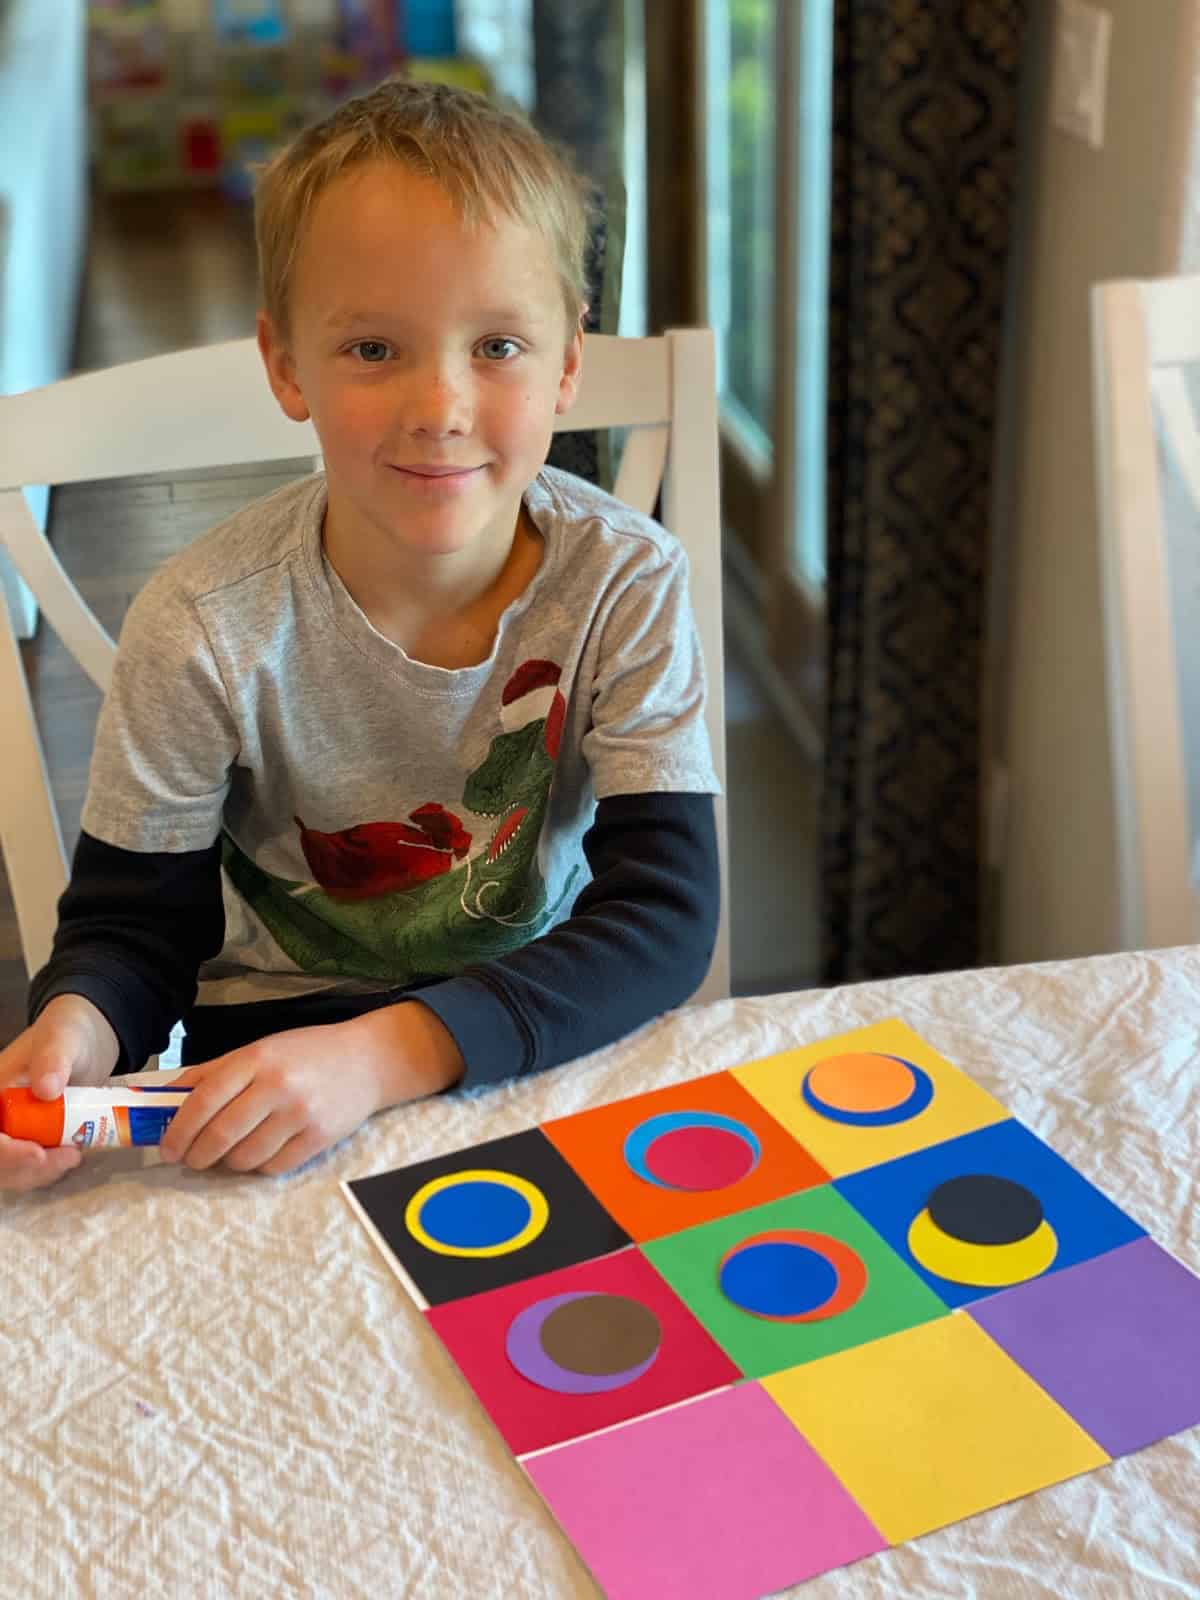
- Encourage kids to use the square pieces of paper to create a grid/checkerboard on their entire paper with a variety of colors.
- Glue the square pieces in place with a glue stick.
- If kids don't have enough of the colors they want, they can cut up other colored paper to make more squares or circles.
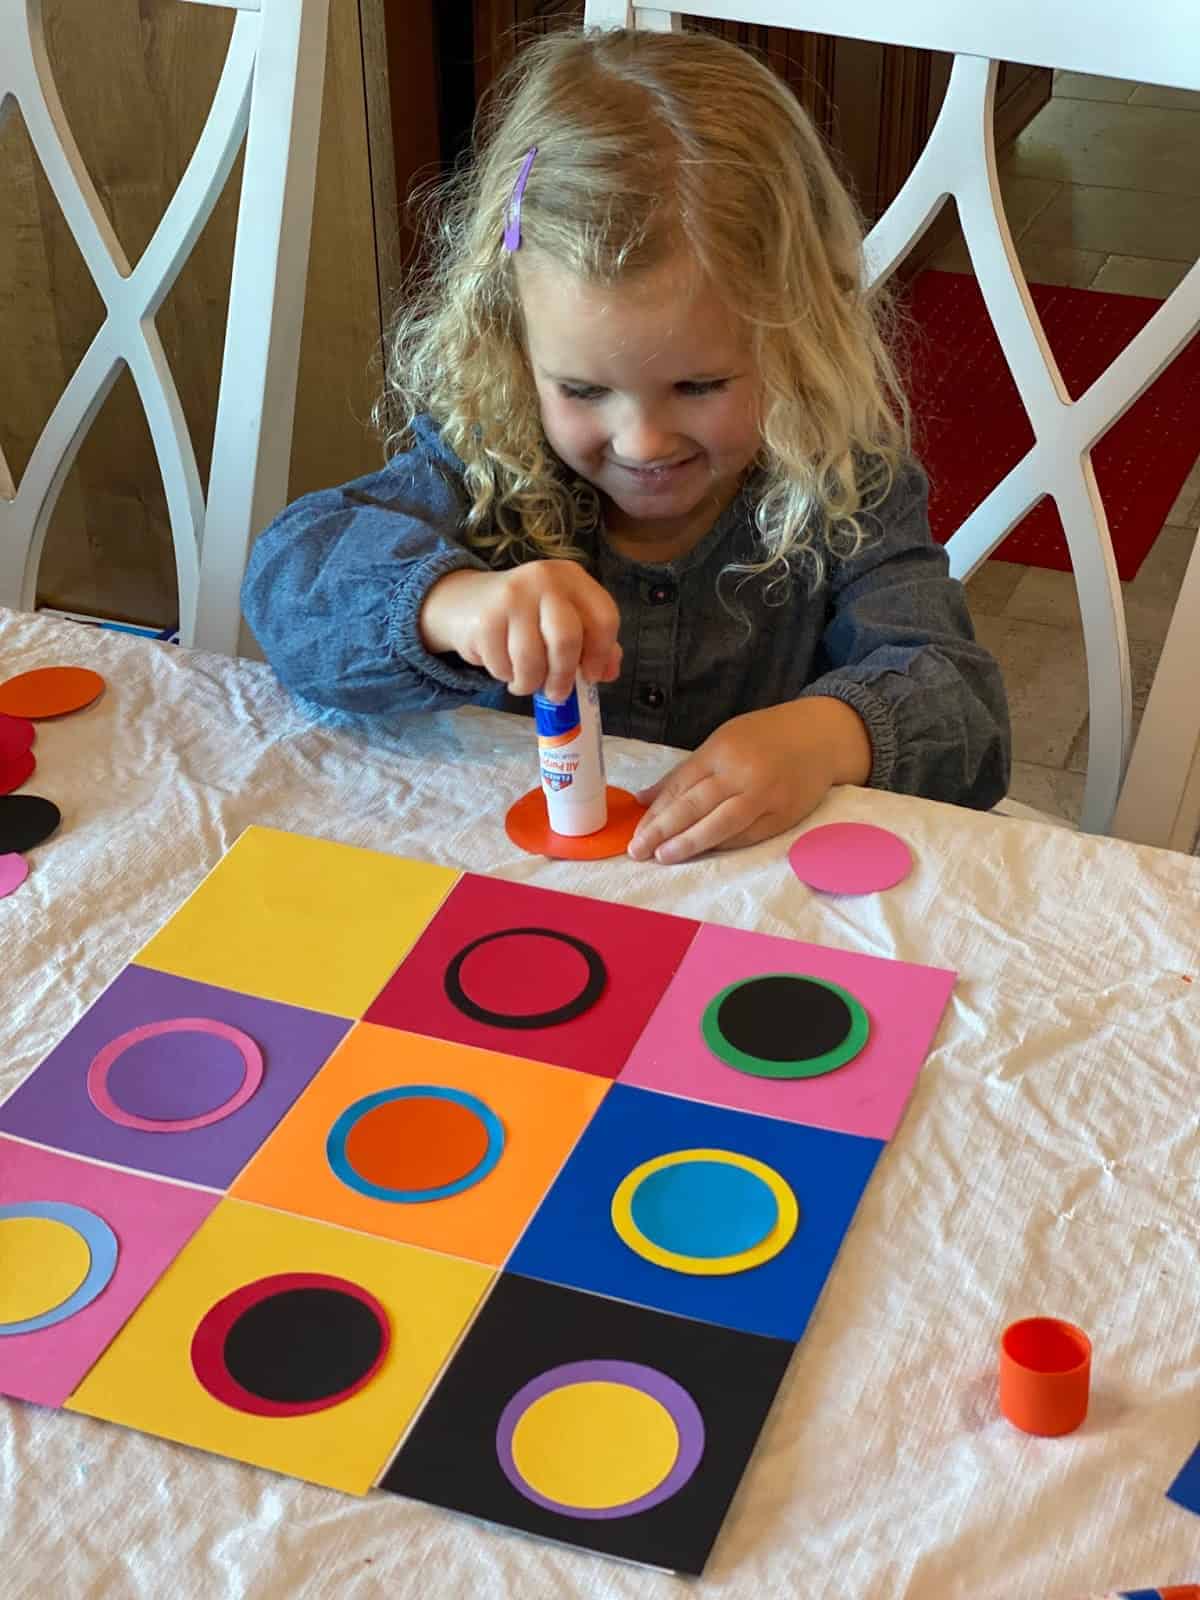
- Next, invite kids to layer circles on top of their squares to make concentric circles (circles that fit inside of one another). It's ok if they don't lay them down perfectly centered.
- After kids have laid out their squares and circles and have them arranged how they want, have them glue the circles down on the squares.
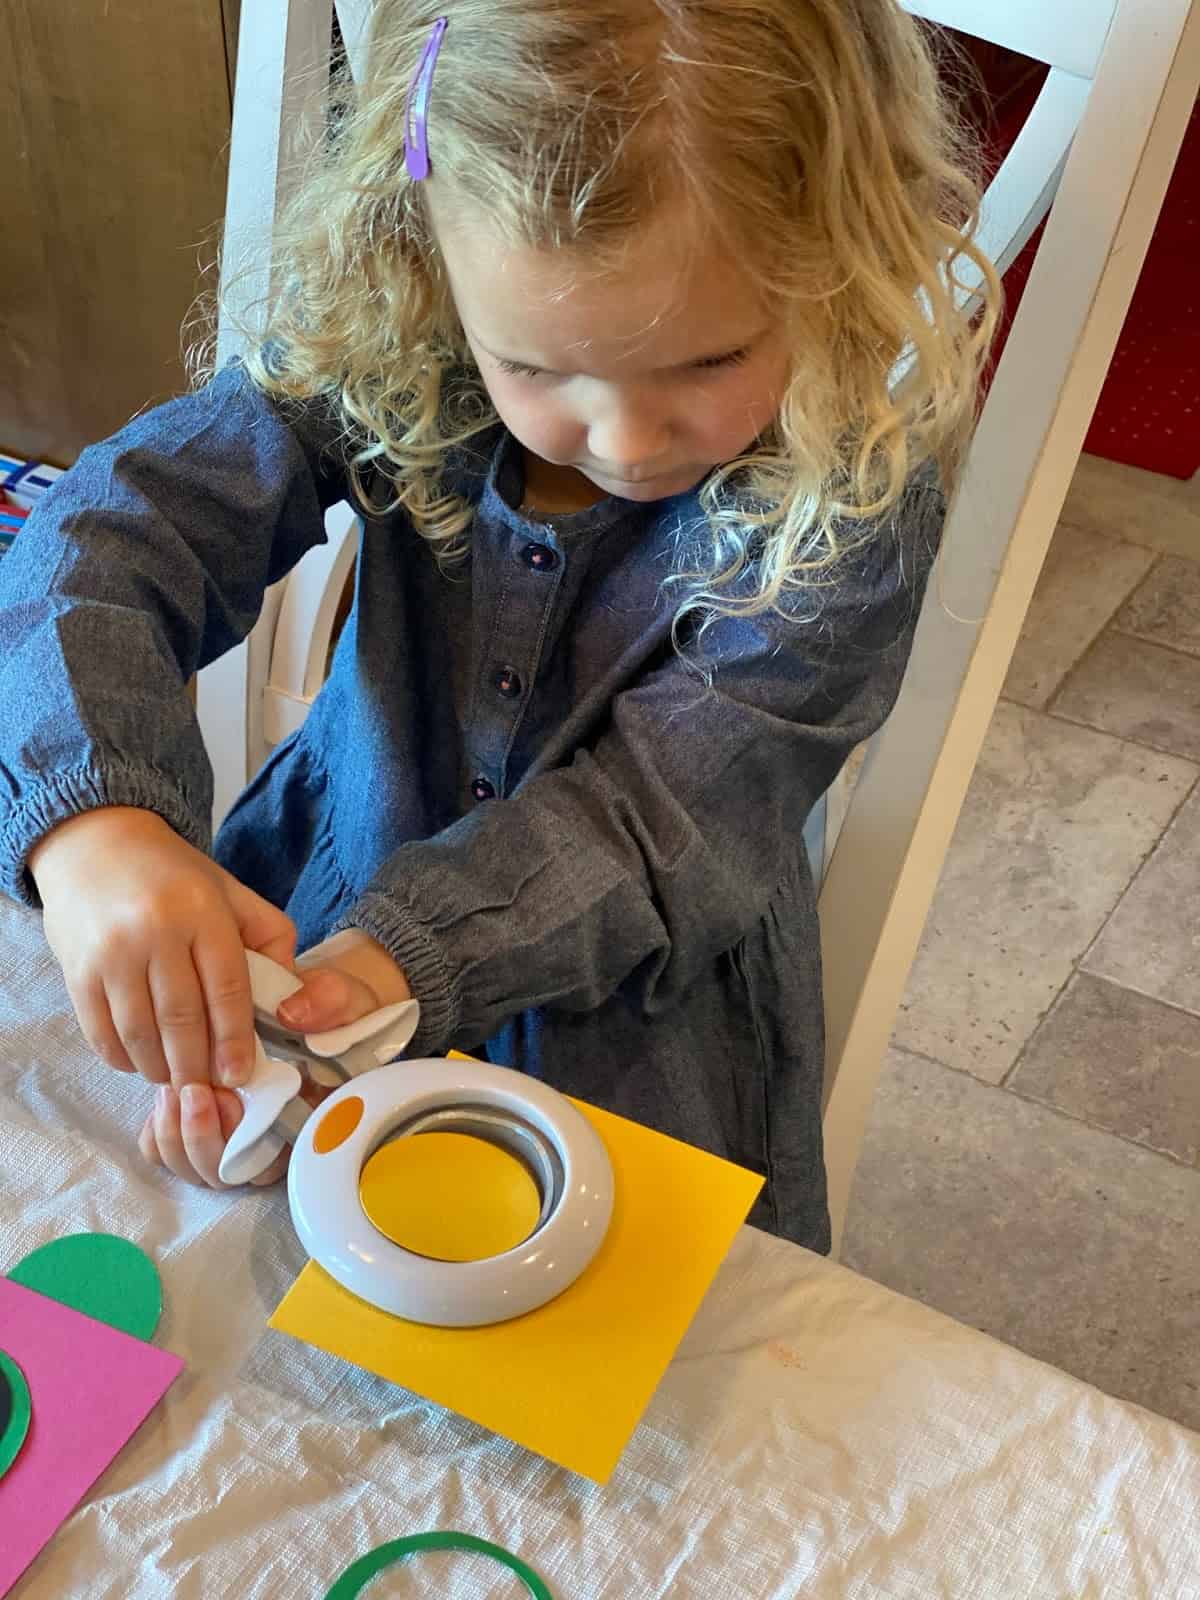
- My toddler loves using our craft punch to cut circles. It is an easy way to build strong muscles in her hands too.
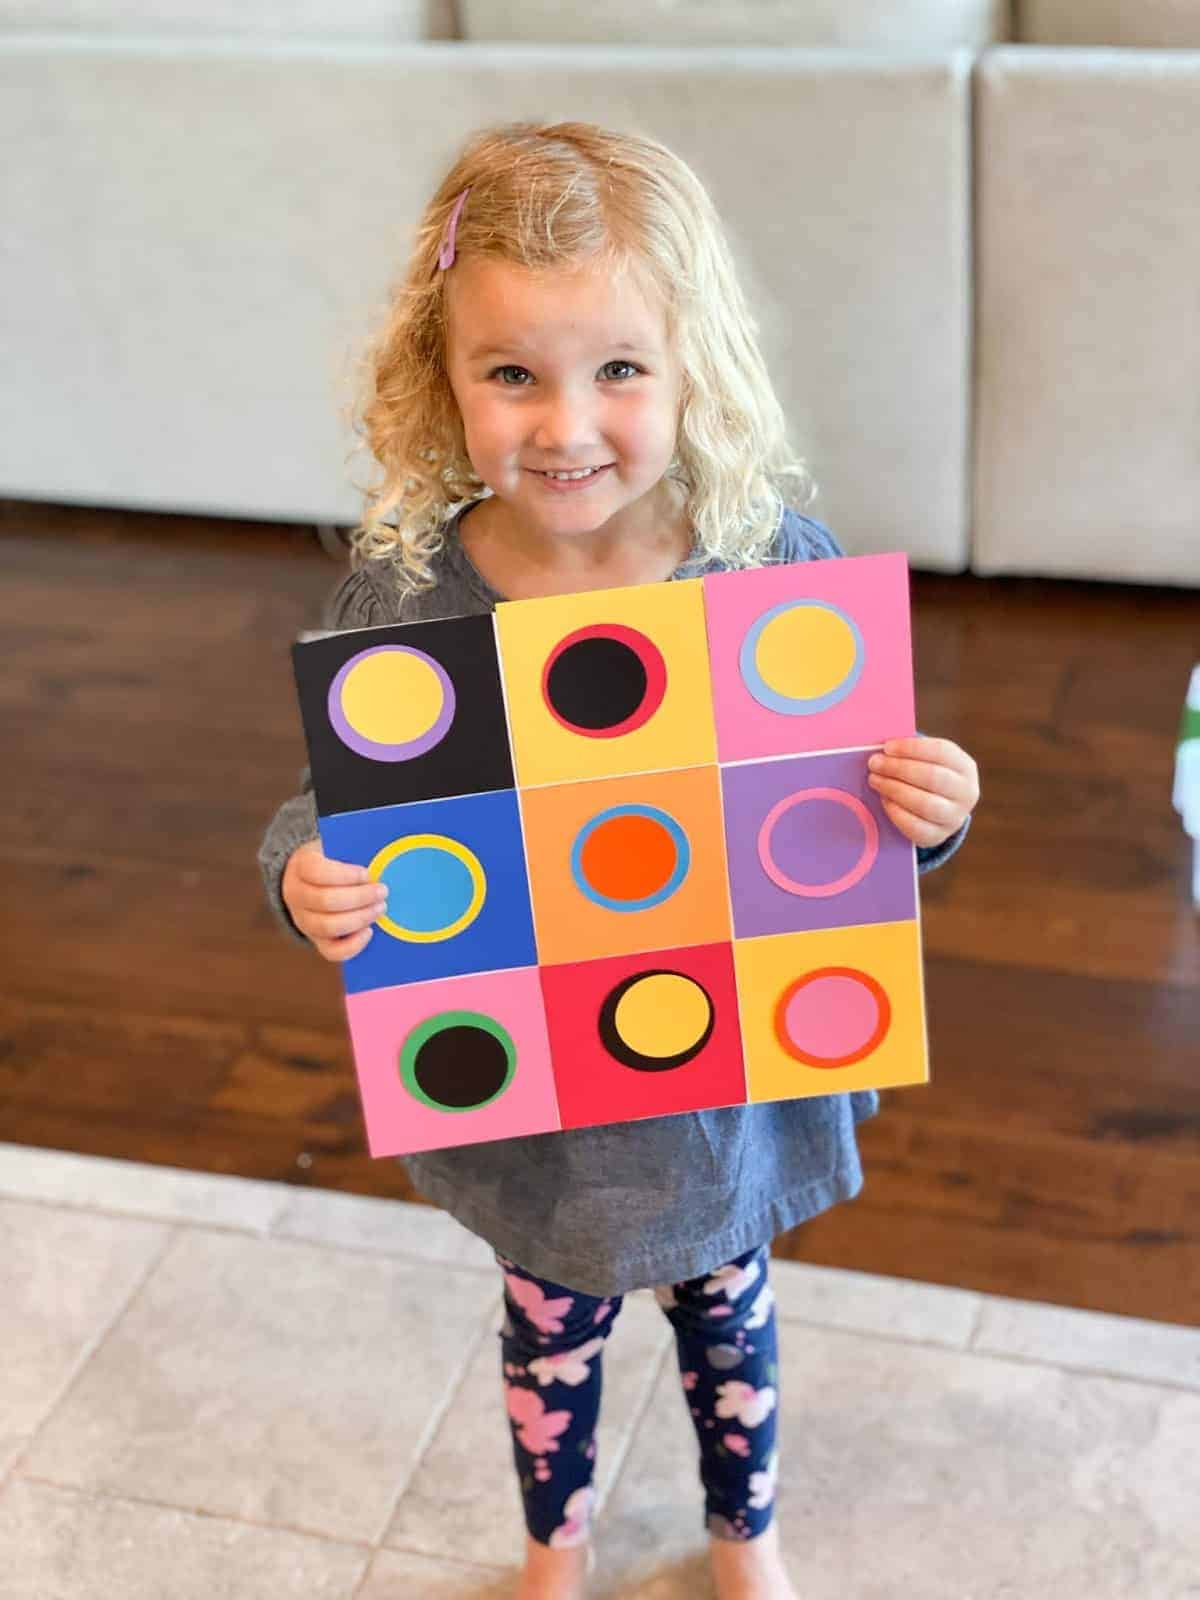
- After everything is glued down, kids can share their art with their siblings or friends and talk about the colors and designs they selected.
VARIATION
In addition to gluing squares in place, kids can also just paint their concentric circles and mix colors like Kandinksy did.
My 9 year old daughter used watercolors to mix colors and design her circle art. The end result was beautiful!

Don't forget to have a Gallery Walk and let each child showcase their art in some way after this art experience. Gallery Walks are such a great way to talk about art.
Do you have any other favorite art activities for kids inspired by famous artists? Please share them with us!
You can find all of the art activities found in our Famous Artists series HERE.

Leave a Comment