After school everything is crazy when I am trying to get kids picked up and then snacks and homework done while also trying to catch up and hear about how each child's day has gone. I have two kiddos at school for a good chunk of the day and two home with me. When three or four o'clock roll around everyone wants my attention!
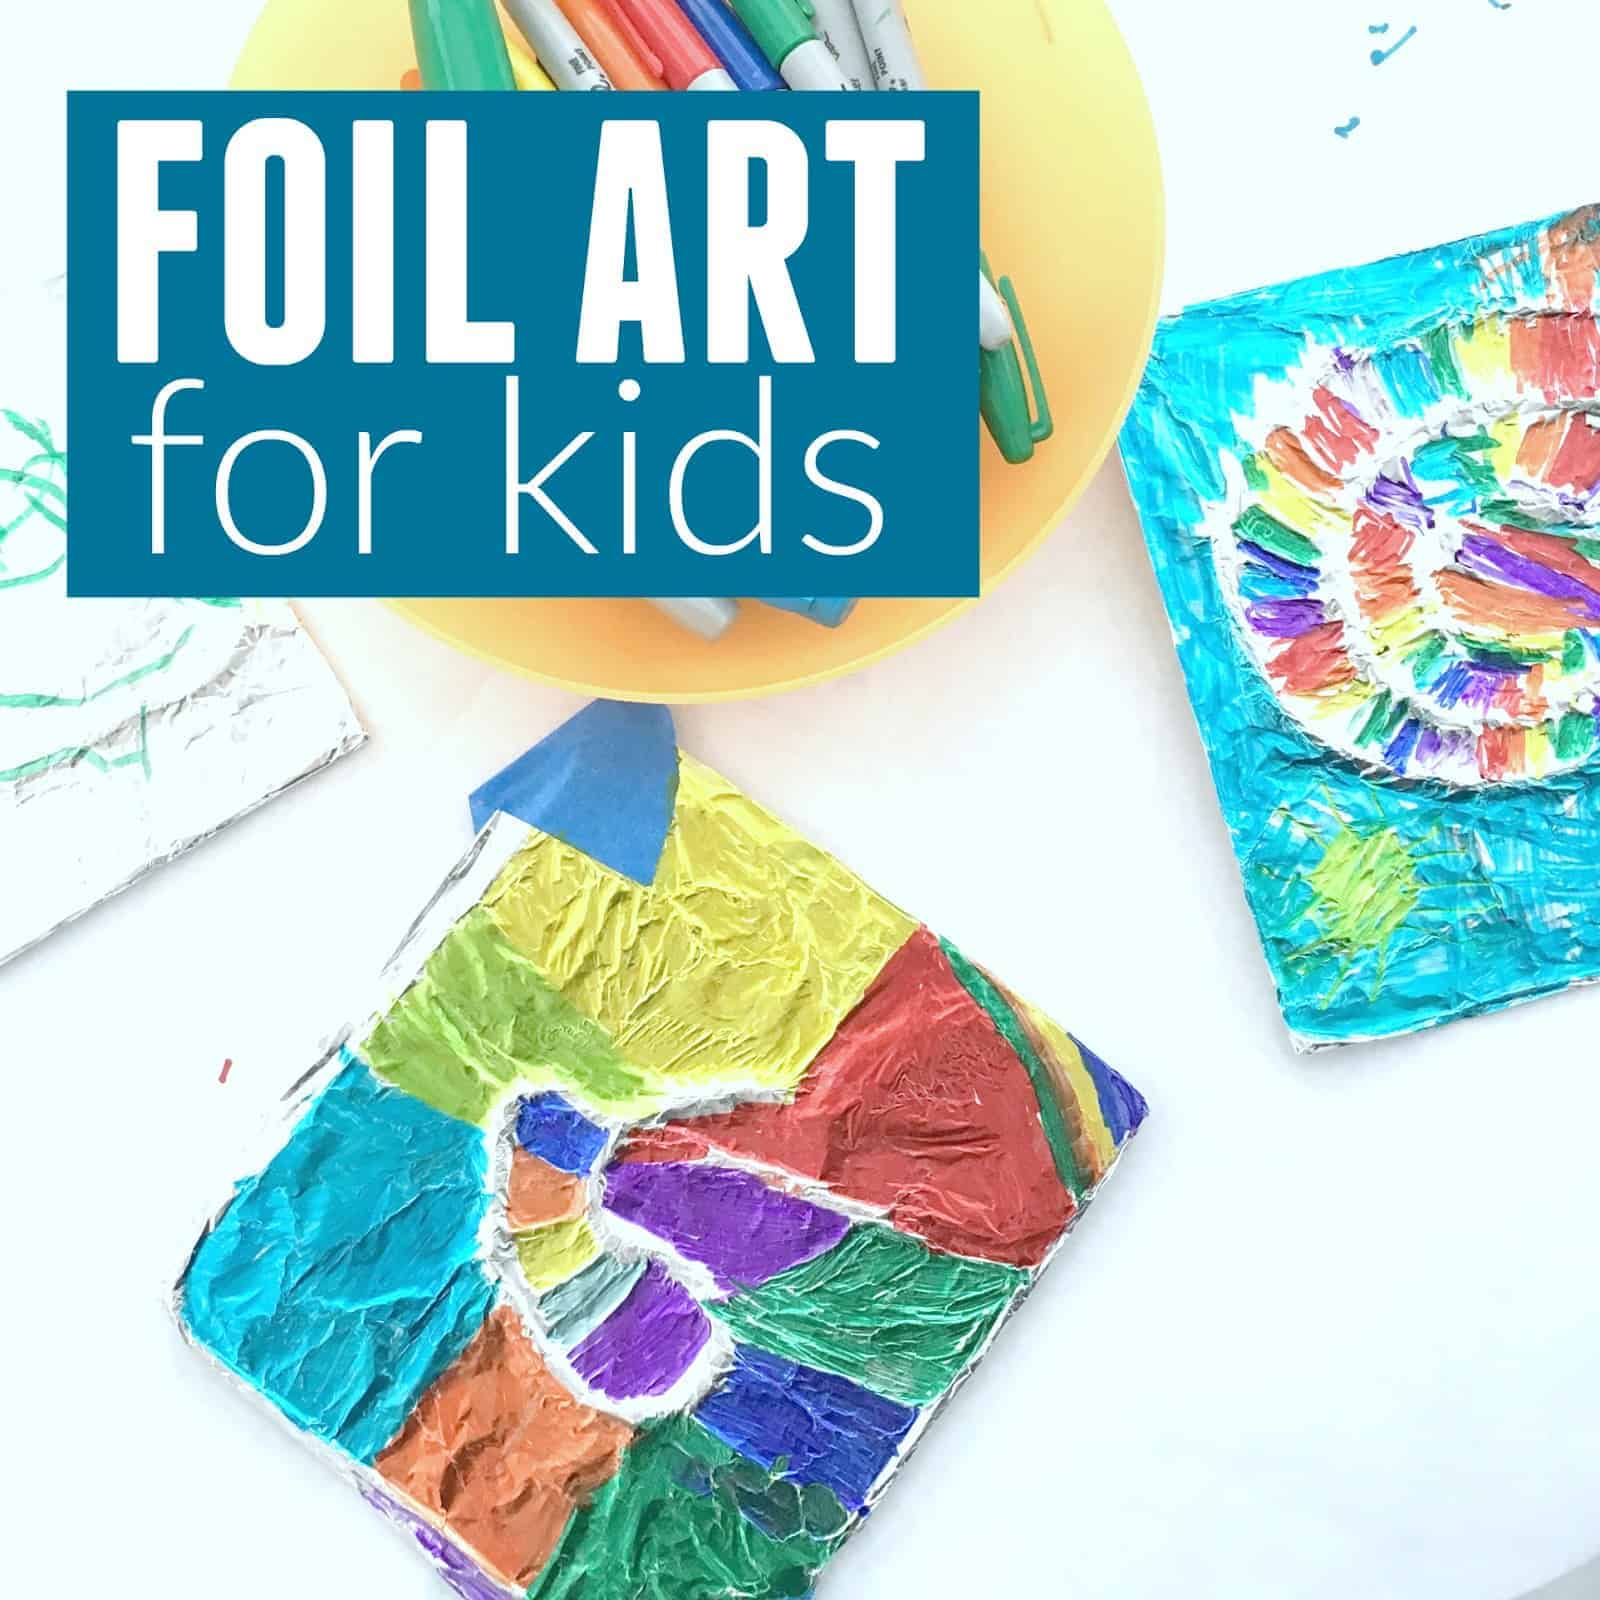
One of our favorite ways to connect during the craziness of the afternoon is to set out a simple invitation to create. I usually let my 2nd grader have some time to play and relax before starting homework/piano. Last week we did a foil art activity that the kids loved!
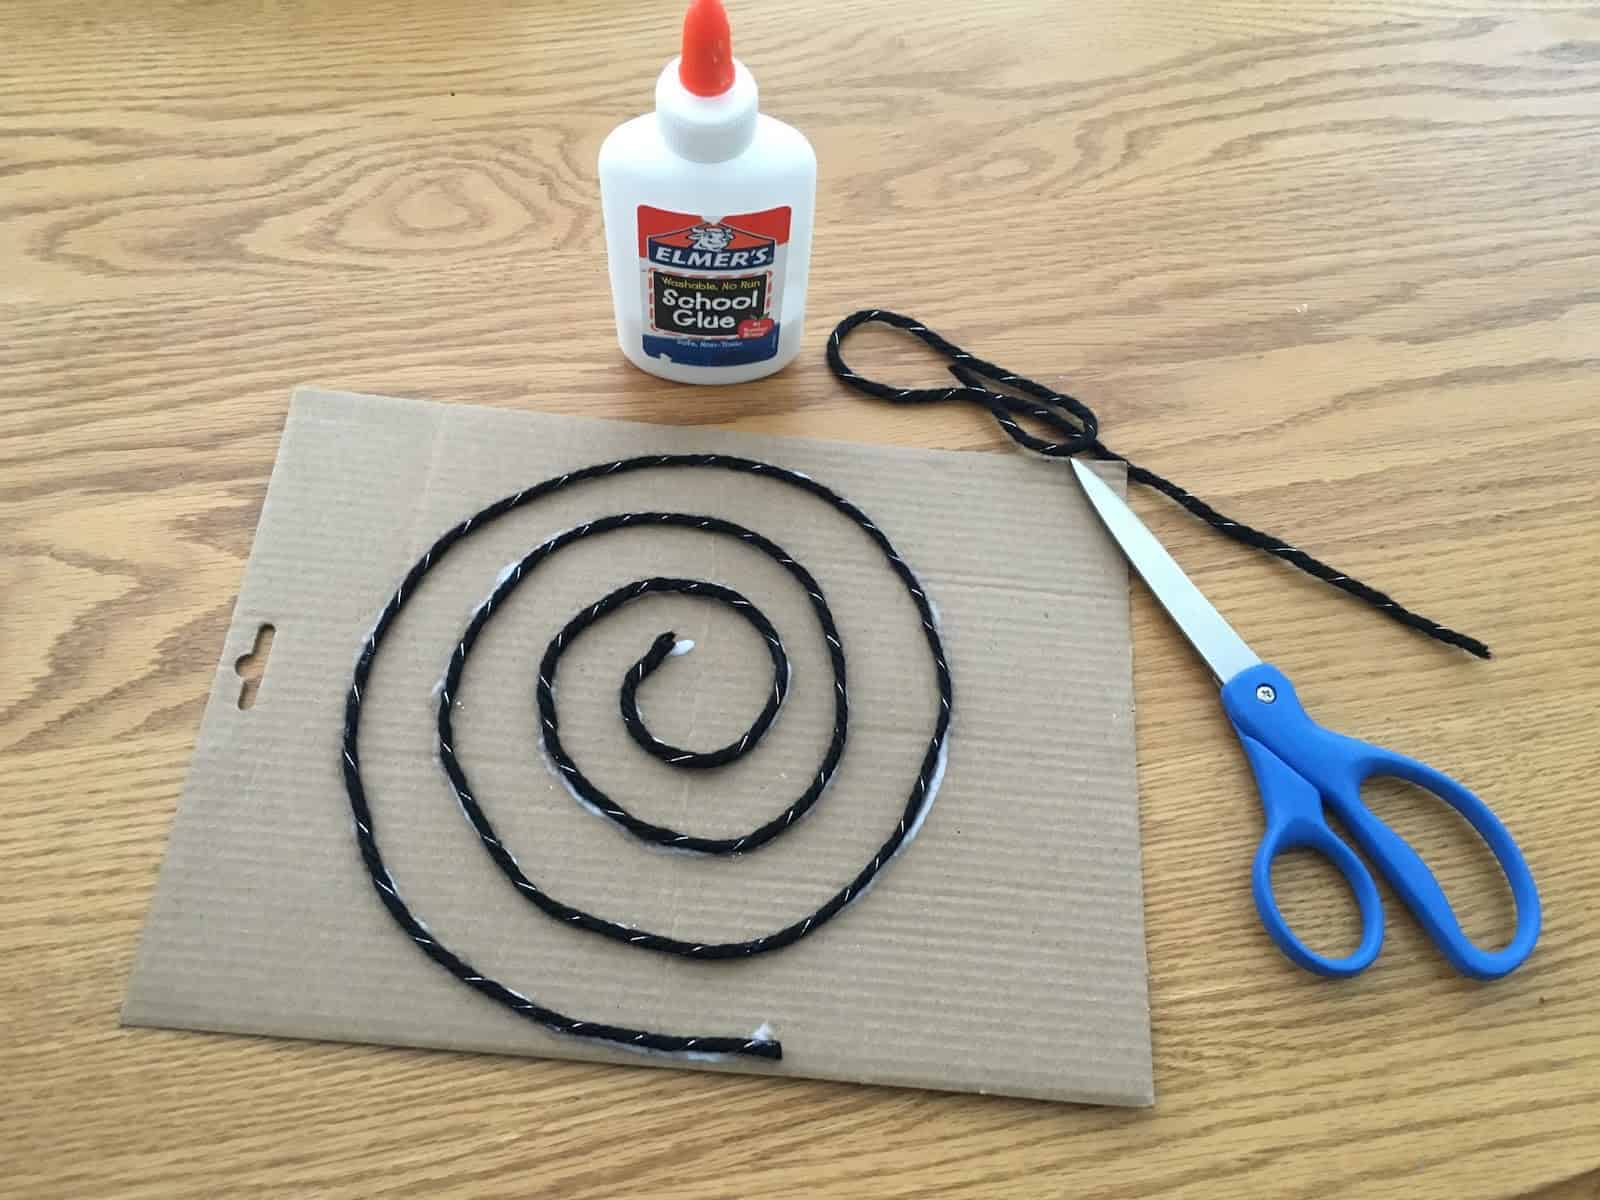
MATERIALS NEEDED FOR FOIL ART:
- glue
- yarn
- piece of cardboard
- scissors
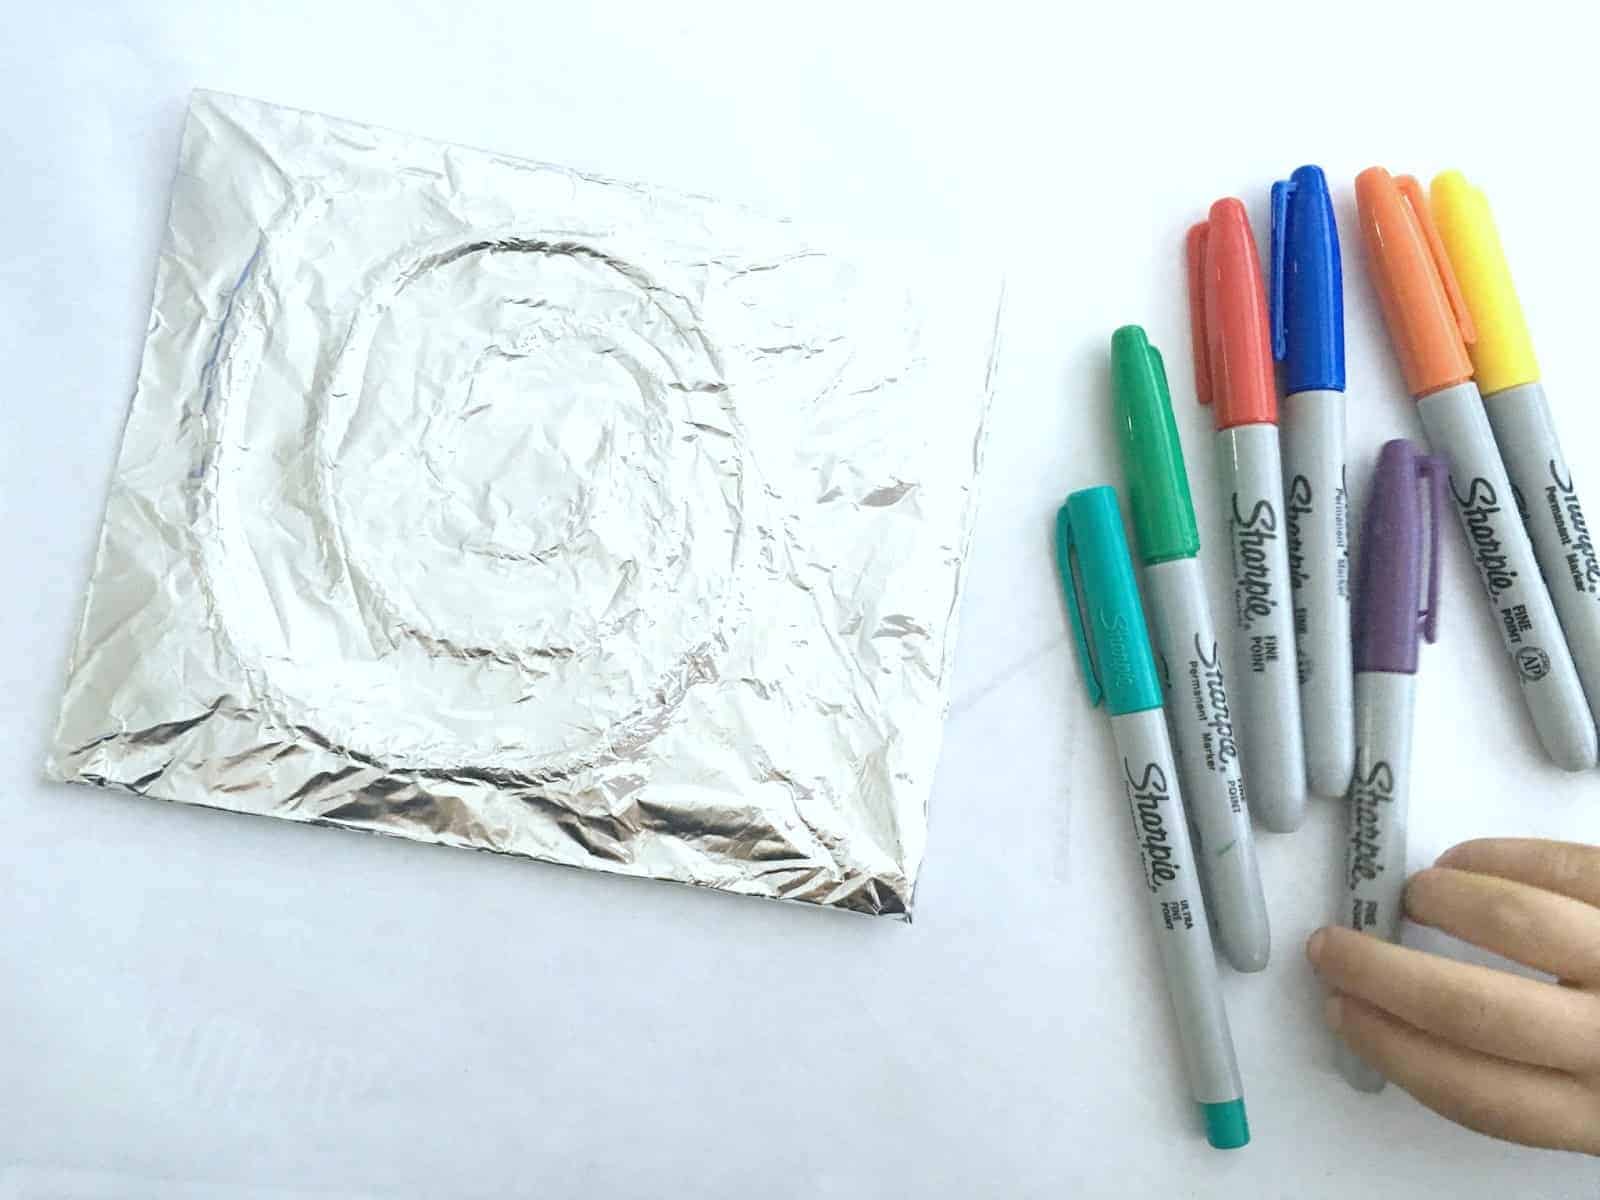
- Sharpies
DIRECTIONS FOR MAKING FOIL ART:
To get started we made a design with glue on a piece of cardboard. Then we stuck yarn onto the glue to create a raised design. Once we had the yarn looking like we wanted it then we cut the ends of the yarn off.
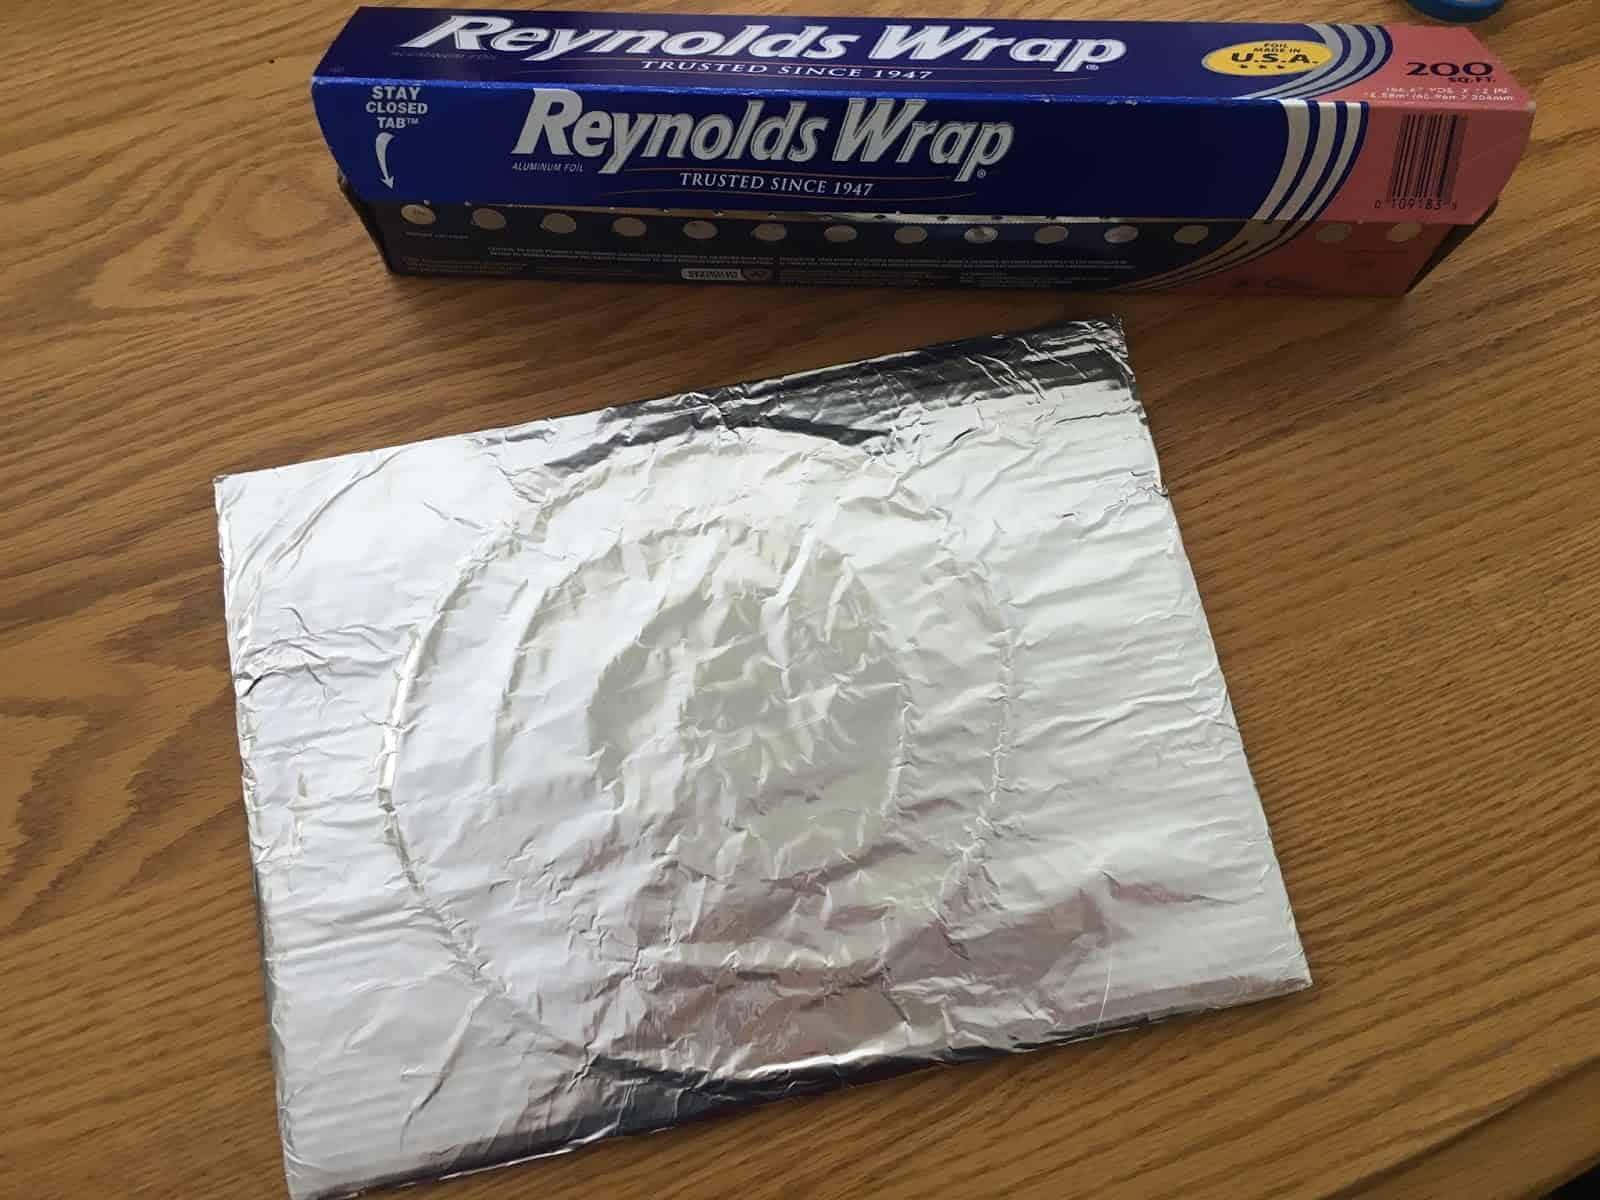
Next we covered the cardboard and yarn creation with foil.
After that we smoothed out the foil to emphasize the raised yarn design.
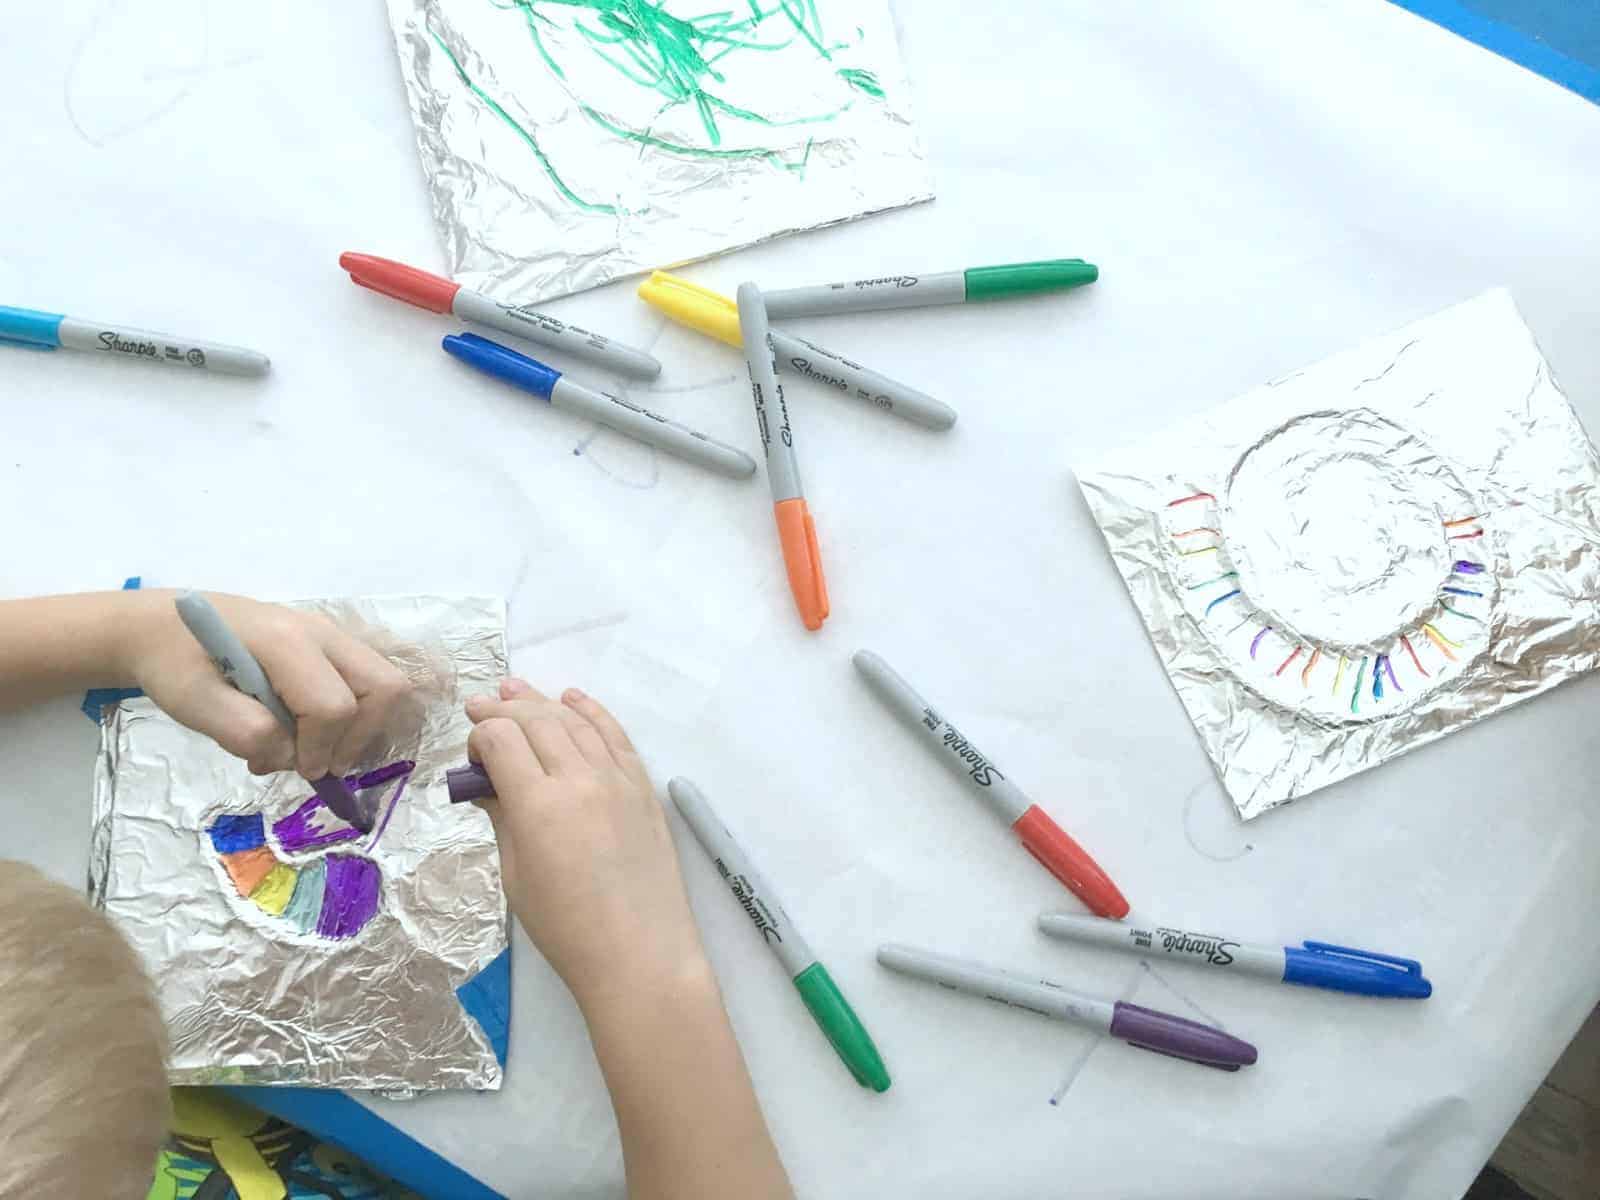
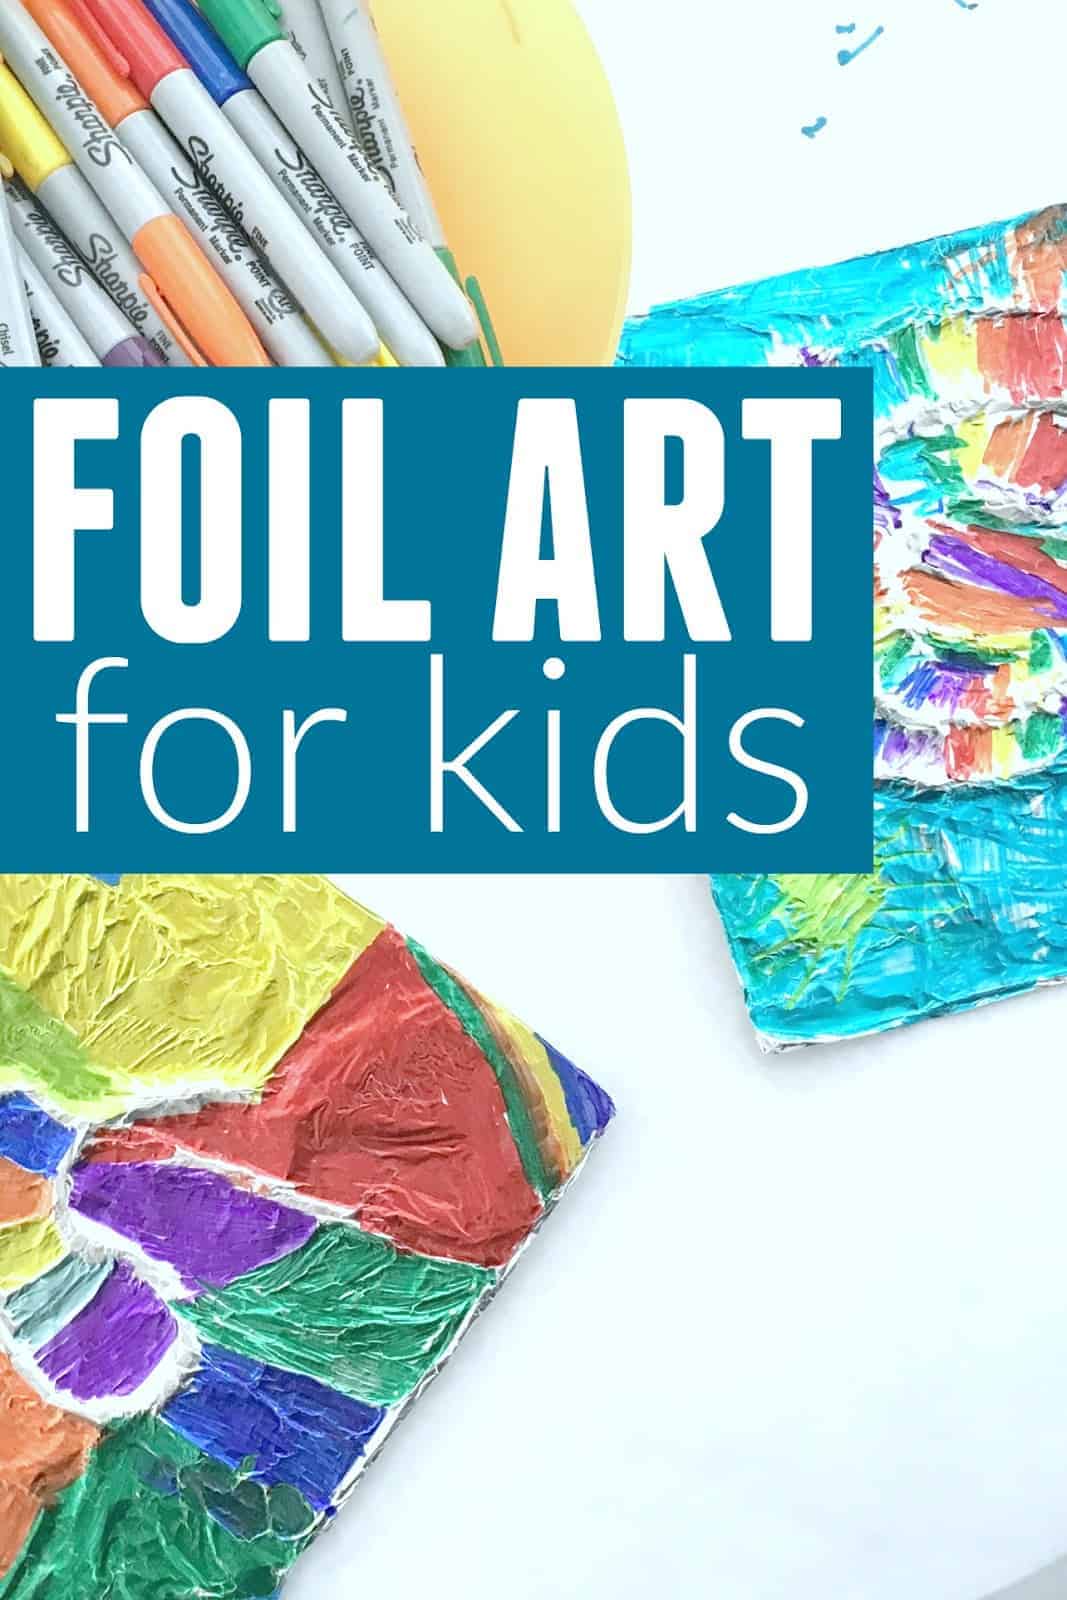
Finally we started coloring on the foil using permanent markers! It is important to be careful when you are coloring and not color too hard so that you don't get holes in the foil!
The kids sat and colored and colored. I think the main reason they were so excited about this activity was that I let them use permanent markers. I made sure to cover the table with a large roll of paper and secure it in place with painters tape.
I loved listening to my kids jabber on about their day at school (or home) while creating together. This activity was very open ended to the 3-year-old could create just as easily as my 8-year-old. I loved participating too!
Have you ever tried foil art?
Another favorite invitation to create that we've tried recently is a simple paper plate flower fine motor art activity.



do we glue the foil on to the card board?
We just typically wrap it tightly around the cardboard, but you can glue or tape it if you’d like.